
>>

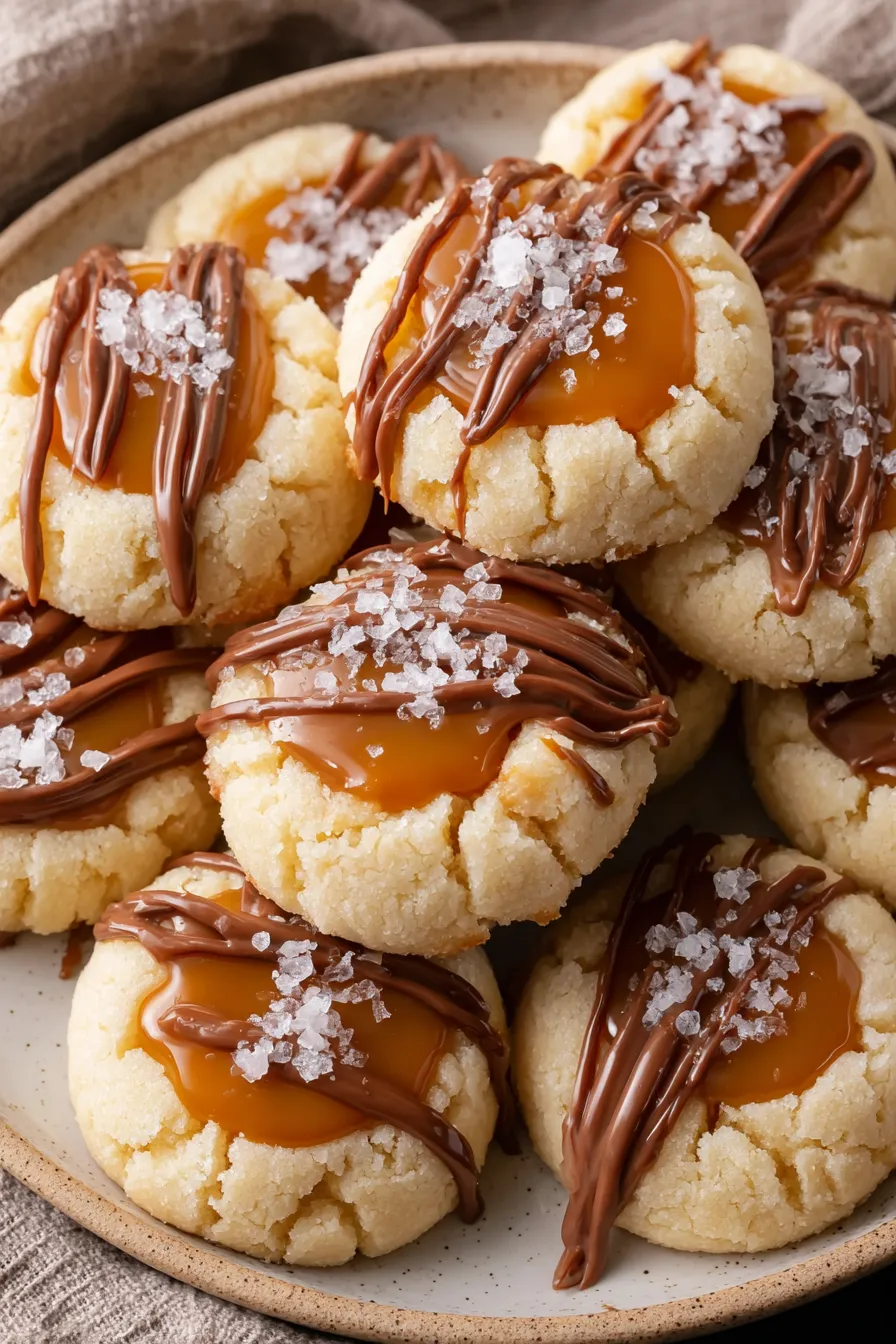
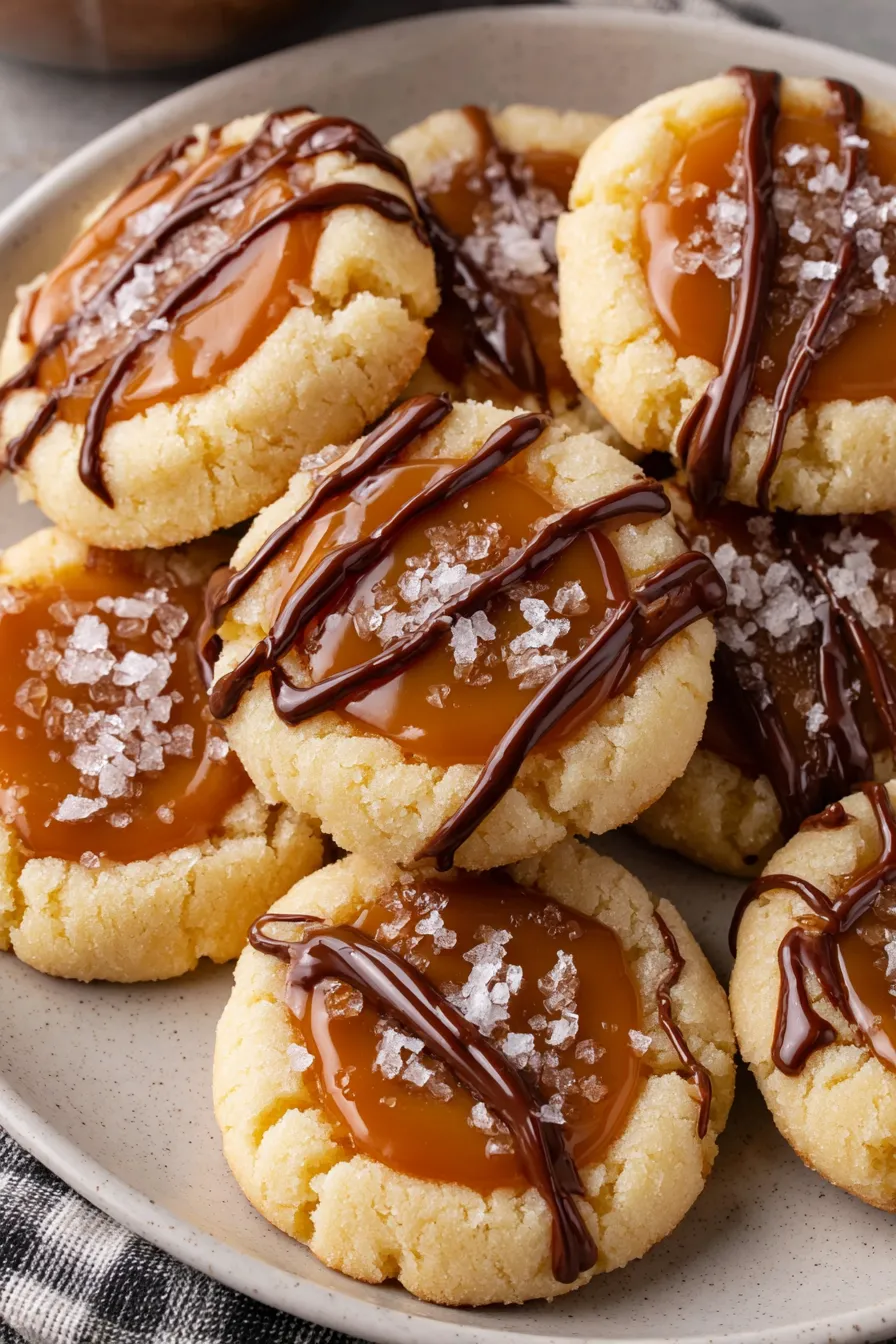
Buttery thumbprint cookies filled with chewy caramel and dipped in milk chocolate, finished with a sprinkle of flaky sea salt — a homemade Twix-inspired treat.
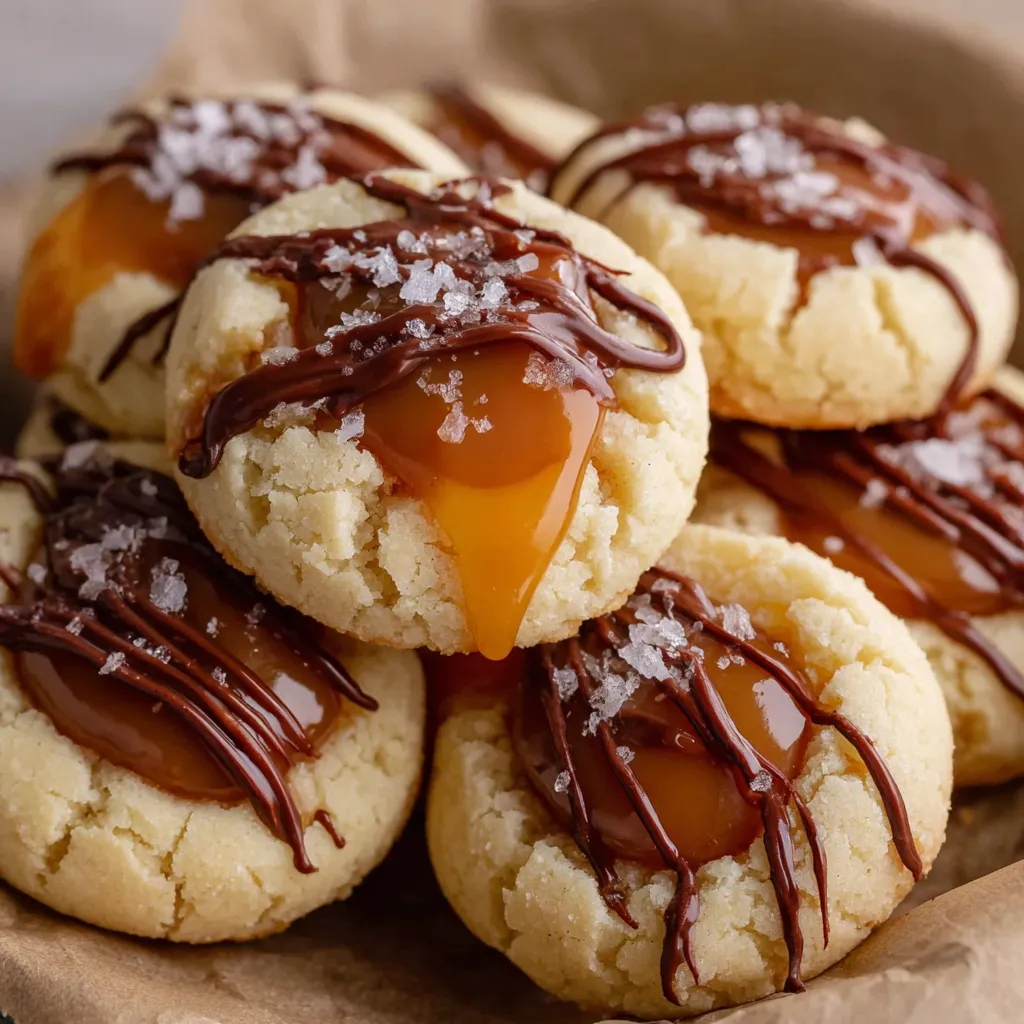
This recipe for Twix thumbprint cookies is one of those sweets that magically combines three textures everyone loves: a tender, buttery shortbread base, a soft chewy caramel center, and a crisp, chocolate shell. I first tested this version on a chilly December afternoon when I wanted a cookie that felt classic but also a little indulgent. The result reminded me of the candy bar I grew up with, only better because the cookie is fresh, warm, and sprinkled with flaky sea salt at the end. These cookies have become my go-to for cookie swaps and holiday trays because they travel well and look elegant without a lot of fuss.
What makes these cookies special is the attention to technique: creaming the butter and sugar until light and fluffy gives the base a tender, shortbread-like crumb, chilling the formed dough prevents spread and makes a perfect thumbprint, and the caramel filling gives each bite that chewy, nostalgic center. Dipping the filled cups in melted milk chocolate creates a shiny shell that cracks satisfyingly when you bite in. Over the years I have tweaked baking time and chilled the dough in advance to achieve consistent results — every batch now comes out uniform, crack-free, and irresistible.
Personally, my family always gathers around the kitchen when I dip the cookies in chocolate. The ritual of melting chocolate, dipping each caramel-filled cup, and sprinkling a little Maldon on top brings everyone into the process. My kids love licking the spatula, and my partner insists we save a few for late-night snacking. The feedback is always the same: 'You should make these every holiday.'
My favorite part of these cookies is the small ceremony at the finish line: melting chocolate, dipping, and adding a flake of salt transforms them from homemade to bakery-style. Guests always comment on how the chocolate 'snaps' and the caramel remains pleasantly chewy. When I made a batch for a birthday party, neighbors came by asking for the recipe after sampling one; that moment sealed its place in my cookie rotation.
Store cooled cookies in a single layer or separated by parchment if stacking to avoid the chocolate sticking. Room temperature storage in an airtight container is fine for up to three days; for longer keeping, refrigerate for up to a week. To freeze, place baked unfilled cookies in a single layer on a tray until firm, then transfer to a freezer-safe bag for up to three months. Thaw at room temperature and finish with warm caramel and melted chocolate for freshest texture.
If you prefer a darker chocolate profile, swap milk chocolate wafers for semisweet chocolate and reduce added sea salt slightly. For nut-allergic households, ensure caramels and wafers are processed in nut-free facilities. To make a lighter caramel center, substitute soft caramel bits mixed with a teaspoon of corn syrup; this reduces firmness slightly. For a gluten-free version, use a cup-for-cup gluten-free flour blend and chill dough longer to help it hold shape.
Present these cookies on a tiered tray at tea time or arrange them in cellophane bags tied with ribbon for gifts. They pair wonderfully with a robust coffee or a caramel latte, and for holiday spreads, offer alongside shortbread and spiced biscotti. Garnish with a small sprig of rosemary on the platter for a festive look, or serve warm with vanilla ice cream for an indulgent dessert plate.
Thumbprint-style cookies have origins in Central and Northern Europe, often filled with jam or preserves. This variation is an American-inspired riff that mimics the Twix candy bar by replacing jam with soft caramel and coating the top in milk chocolate. It marries traditional European cookie technique with modern confectionery trends to create a nostalgic yet updated treat.
In winter, swap milk chocolate for dark chocolate and add a pinch of cinnamon to the dough for warmth. For spring or summer, use salted caramel and sprinkle finely grated lemon zest on the chocolate before it sets for a bright counterpoint. Around Halloween, press a small chocolate candy into the center of each caramel for a festive look.
Make the dough two days ahead and keep it wrapped in the refrigerator; portion into balls and freeze on a tray so you can bake fresh batches when guests arrive. Alternatively, bake plain thumbprints and freeze them unfilled; when needed, warm caramels slightly and assemble, then dip in melted chocolate for freshly finished cookies in minutes.
These Twix thumbprint cookies are a celebration of texture and flavor that invite sharing. Whether you gift them, pack them for a bake sale, or save them for a cozy night in, they always seem to disappear fast — and that’s exactly the point.
Use a 1-inch cookie scoop for uniform cookies and consistent bake times.
Chill shaped dough for 30 minutes to prevent spreading and ensure a defined thumbprint cup.
Melt chocolate in short bursts and stir between intervals to avoid seizing.
If caramels are grainy, add a teaspoon of heavy cream and warm gently to smooth.
This nourishing twix thumbprint cookies recipe is sure to be a staple in your kitchen. Enjoy every moist, high protein slice — it is perfect for breakfast or as a wholesome snack any time.
Yes. You can freeze baked, unfilled cookies for up to 3 months. Thaw and add warm caramel and chocolate before serving.
If the caramels are too firm, warm them with 1 to 2 teaspoons of heavy cream over low heat until pliable.
This Twix Thumbprint Cookies recipe makes perfectly juicy, tender, and flavorful steak every time! Serve with potatoes and a side salad for an unforgettable dinner in under 30 minutes.
Line two large rimmed baking sheets with parchment paper and plan to chill shaped cookies in the freezer for 30 minutes before baking to prevent spreading.
Beat 1 cup softened unsalted butter and 3/4 cup granulated sugar on medium-high speed for 1 to 2 minutes until light and fluffy, scraping the bowl once to aerate evenly.
Add 2 large egg yolks and 1 teaspoon vanilla extract, beating for 1 to 2 minutes until fully incorporated to enrich the dough without extra liquid.
Add 2 1/3 cups all-purpose flour and 1/2 teaspoon salt, mixing on low speed until the dough just comes together into a rough ball; avoid overmixing.
Use a 1-inch cookie scoop to portion dough, roll into balls, place on the baking sheet 1 to 1 1/2 inches apart, and press a 3/4-inch shallow well into the center with your thumb or a rounded measuring spoon.
Freeze shaped cookies for 30 minutes. Preheat oven to 350°F. Bake chilled cookies 9 to 11 minutes until edges are set and bottoms are lightly golden.
Warm 35 unwrapped caramels with 2 tablespoons heavy cream over low heat until smooth and spoon or pipe into each thumbprint while cookies are warm.
Melt 4 ounces milk chocolate wafers and dip or spoon chocolate over the caramel-filled centers. Sprinkle flaky sea salt on top while chocolate is still wet and allow to set.
Last Step: Please leave a rating and comment letting us know how you liked this recipe! This helps our business to thrive and continue providing free, high-quality recipes for you.
Leave a comment & rating below or tag
@royalmorsel on social media!

Juicy beef, sweet-charred peppers, and a silky queso drizzle turn these sliders into the ultimate crowd-pleasing bite for game day or weeknight fun.

Melt-in-your-mouth braised short ribs nestled over creamy garlic mashed potatoes, all in a rich, herb-scented sauce that feels like a warm hug.

Golden, garlicky pull-apart loaf swaddled in buttery herbs and stretchy mozzarella that begs to be shared warm from the oven.
Leave a comment & rating below or tag @royalmorsel on social media!
Enjoyed this recipe? Share it with friends and family, and don't forget to leave a review!
This recipe looks amazing! Can't wait to try it.
Comments are stored locally in your browser. Server comments are displayed alongside your local comments.

Join to receive our email series which contains a round-up of some of our quick and easy family favorite recipes.
