
>>

A crowd-pleasing sheet-pan pizza that combines taco-seasoned beef, melty Colby and Monterey Jack, and fresh toppings for an easy, party-ready meal.
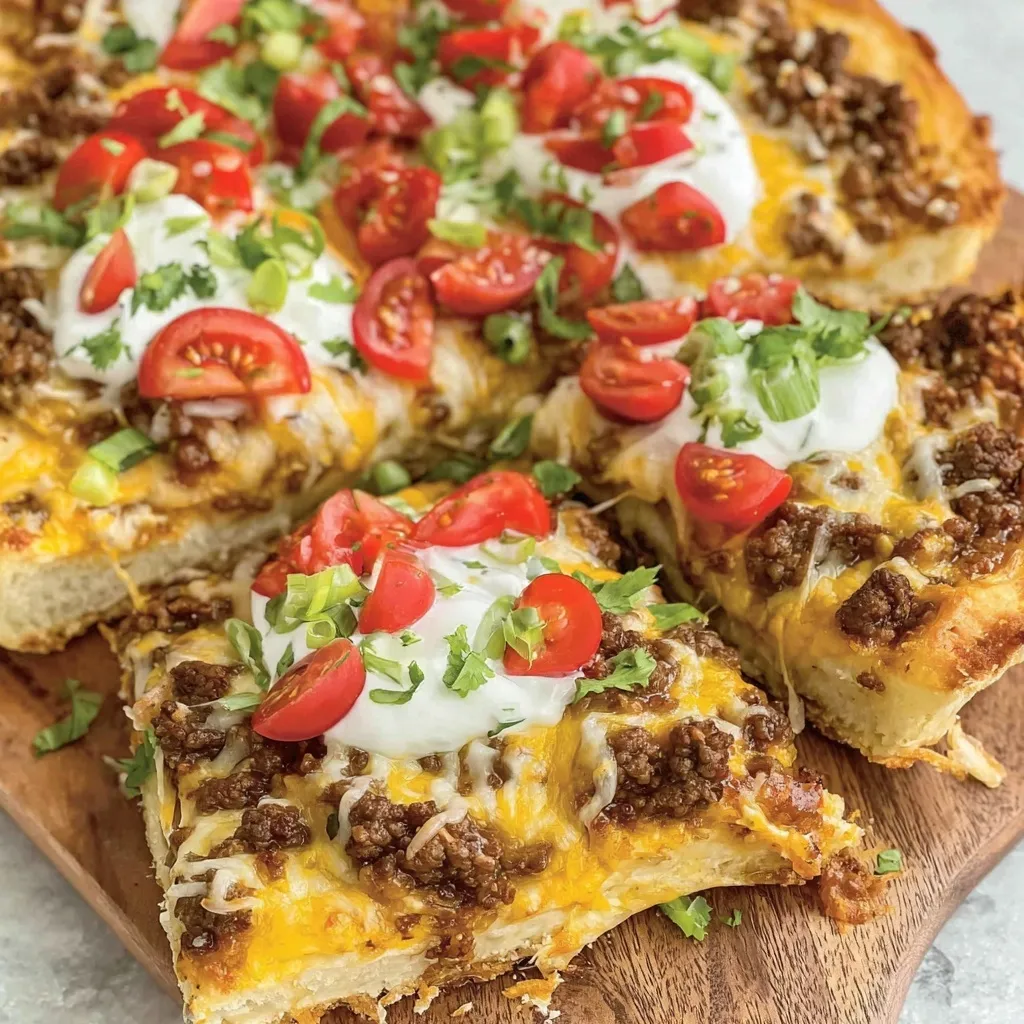
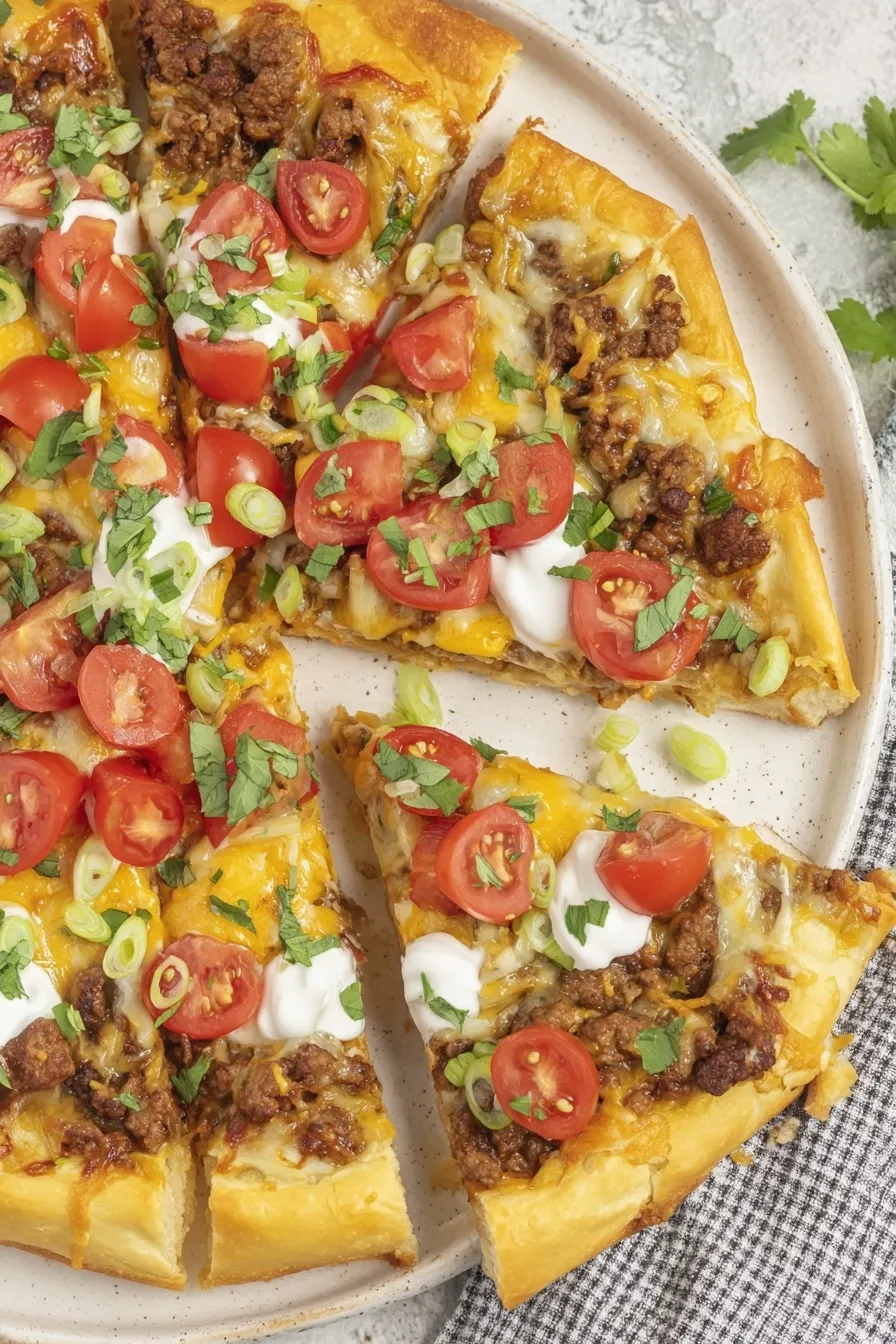
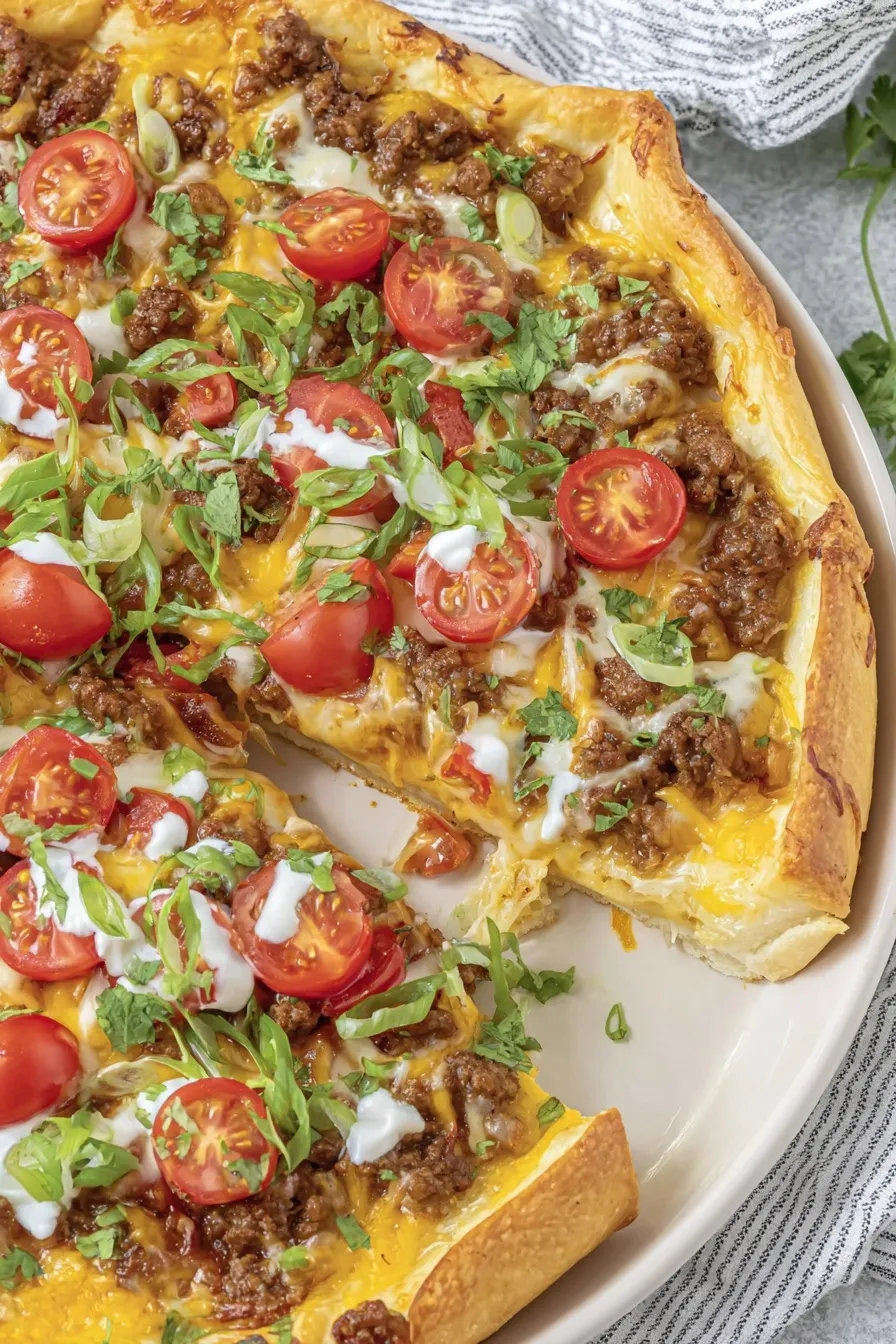
This taco pizza has been my go-to for casual gatherings and busy weeknights ever since I first adapted a crescent-dough shortcut years ago. I remember the evening clearly: a last-minute group of friends dropped by, the pantry offered crescent dough and a packet of taco seasoning, and the result was so good that everyone asked for the recipe. The crisp, golden crust created by stretching two cans of crescent dough across a full sheet pan becomes the perfect foundation for well-spiced beef and a blanket of melty Colby and Monterey Jack. The contrast between the warm, savory layers and the bright, cool garnish of grape tomatoes, green onions, and dollops of sour cream is what makes this dish memorable.
I first learned how forgiving the crescent-dough method can be when I over-stretched the dough on my very first attempt and feared a soggy disaster. Instead, the seams sealed during the brief par-bake and produced a crisp, substantial base that held up to generous toppings. What makes this version special is the simplicity paired with the familiar taco flavors everyone loves. It reheats well for an easy lunch the next day, and because it uses pantry staples, it is perfect for busy nights. I typically serve it with hot sauce on the side, and sometimes let guests assemble their own slices with extra cilantro and lime if I have them on hand.
In my house this dish always creates lively conversation. My partner insists on the exact ratio of Colby to Monterey Jack for that perfect melt, and my aunt brings a jug of slightly spicy hot sauce that elevates the whole thing. It has shown up at potlucks, game nights, and rainy-weekend lunches, and the feedback is consistently enthusiastic. I often double the toppings when guests are coming because nothing makes people happier than an extra-cheesy slice.
My favorite part of this recipe is how reliably it wins over a crowd. I once brought it to a backyard barbecue and watched people take seconds before the main course was even served. It is the sort of dish that inspires friendly debates about the perfect taco-seasoning level and whether cilantro is essential. For me, the equation of a crisp crust, seasoned meat, and cool garnishes hits a satisfying balance that keeps everyone coming back.
Store leftover slices in a shallow airtight container or wrapped tightly with plastic wrap for up to three days in the refrigerator. Cooling the pizza completely before sealing prevents condensation that can make the crust soggy. For longer storage, wrap individual slices in plastic wrap and then foil, and freeze for up to three months. When reheating from frozen, let the slice thaw in the refrigerator overnight and then re-crisp it on a wire rack in a 350 degree Fahrenheit oven for 8 to 12 minutes. This method helps the crust regain its crispness rather than becoming limp.
To make this without beef, use 1 1/2 pounds of cooked ground turkey or a plant-based crumbled meat alternative seasoned the same way; remember turkey is leaner so a tablespoon of olive oil during cooking helps develop flavor. For a gluten-free base, substitute a pre-baked gluten-free pizza crust or flatbread roughly the same size and par-bake it to set the texture. To reduce dairy, use a dairy-free shred that melts well, and skip sour cream or use a dairy-free alternative. If you prefer a spicier profile, add a teaspoon of chipotle powder or swap to medium taco seasoning.
Serve the pizza with a simple cabbage slaw dressed with lime, olive oil, and a pinch of salt to provide a crisp, acidic counterpoint. A platter of sliced avocados, lime wedges, and pickled jalapeños lets guests customize slices. For a party, offer a bowl of chopped lettuce and extra shredded cheese so slices can be topped taco-style. This also pairs well with a light Mexican-style rice or a bright corn and black bean salad for a fuller spread.
While not a traditional dish of any single culinary heritage, this mash-up blends classic American sheet-pan pizza technique with Tex-Mex taco flavors. Fusion foods like this grew popular as home cooks sought convenient, crowd-pleasing meals that combine the portability and shareability of pizza with the bold spices of tacos. It mirrors the way many regional American kitchens adapt beloved flavors into new formats, creating dishes that feel familiar yet inventive.
In summer, double the fresh toppings—heirloom cherry tomatoes, sliced radishes, and chopped fresh cilantro bring brightness. In cooler months, swap grape tomatoes for oven-roasted cherry tomatoes for concentrated sweetness and add a sprinkle of smoked paprika to the beef for warmth. For a holiday twist, offer a mini buffet of toppings so guests can customize holiday-themed slices with roasted peppers or caramelized onions.
Brown and season the meat up to two days ahead and store it in the refrigerator to cut evening prep time. Keep shredded cheese in a sealed container in the fridge and quarter the tomatoes just before serving to maintain their texture. If you are feeding a crowd, partially assemble two sheet pans and keep one refrigerated until you are ready to finish baking; this staged approach prevents the kitchen from getting overwhelmed and keeps the meal hot and fresh for guests.
Make this taco-style pizza your own by adjusting spice level, garnishes, and proteins. It is a flexible, festive option that brings together the best attributes of pizza and tacos. Enjoy the communal nature of slicing and sharing this crowd-friendly dish, and don’t be surprised if it becomes a requested repeat at your table.
Par-bake the stretched crescent dough for about 10 minutes to achieve a crisp, sturdy crust that won’t become soggy under the toppings.
Freshly shred cheese rather than using pre-shredded to ensure a smoother melt and better texture on the pizza.
If using fattier beef, drain excess grease after browning to prevent a greasy finished pizza.
Reheat slices in a 350 degree Fahrenheit oven on a wire rack to keep the crust crisp rather than microwaving and softening it.
This nourishing sheet-pan taco pizza recipe is sure to be a staple in your kitchen. Enjoy every moist, high protein slice — it is perfect for breakfast or as a wholesome snack any time.
This Sheet-Pan Taco Pizza recipe makes perfectly juicy, tender, and flavorful steak every time! Serve with potatoes and a side salad for an unforgettable dinner in under 30 minutes.
Preheat the oven to 375 degrees Fahrenheit and prepare a 13x18 inch baking sheet. Unroll the crescent dough and plan to stretch two sheets to cover the full surface, overlapping the center seam slightly before pressing to seal.
Press seams together and pierce the dough with a fork several times to allow steam to escape. Bake the crust for about 10 minutes until golden brown and set to prevent sogginess later.
While the crust bakes, brown 1 1/2 pounds ground beef in a 2 to 4 quart saucepan over medium-high heat, breaking up the meat until no pink remains. Reduce heat to medium, add 2 ounces taco seasoning and 3/4 cup water, simmer for 5 minutes until slightly thickened, then remove from heat.
Spread the seasoned beef over the par-baked crust in an even layer, then top with 3 1/2 cups freshly shredded Colby and Monterey Jack. Return to the oven for 4 to 5 minutes until the cheese is melted and slightly bubbling.
Remove from oven and scatter quartered grape tomatoes, sliced green onions, and chopped cilantro if using. Drizzle sour cream and hot sauce as desired, slice into squares, and serve immediately.
Last Step: Please leave a rating and comment letting us know how you liked this recipe! This helps our business to thrive and continue providing free, high-quality recipes for you.
Leave a comment & rating below or tag
@royalmorsel on social media!

Juicy beef, sweet-charred peppers, and a silky queso drizzle turn these sliders into the ultimate crowd-pleasing bite for game day or weeknight fun.

Melt-in-your-mouth braised short ribs nestled over creamy garlic mashed potatoes, all in a rich, herb-scented sauce that feels like a warm hug.

Golden, garlicky pull-apart loaf swaddled in buttery herbs and stretchy mozzarella that begs to be shared warm from the oven.
Leave a comment & rating below or tag @royalmorsel on social media!
Enjoyed this recipe? Share it with friends and family, and don't forget to leave a review!
This recipe looks amazing! Can't wait to try it.
Comments are stored locally in your browser. Server comments are displayed alongside your local comments.

Join to receive our email series which contains a round-up of some of our quick and easy family favorite recipes.
