
Red Velvet Cheesecake Cake

A festive red velvet cake with a creamy cheesecake center and silky cream cheese frosting—perfect for holiday gatherings and special occasions.
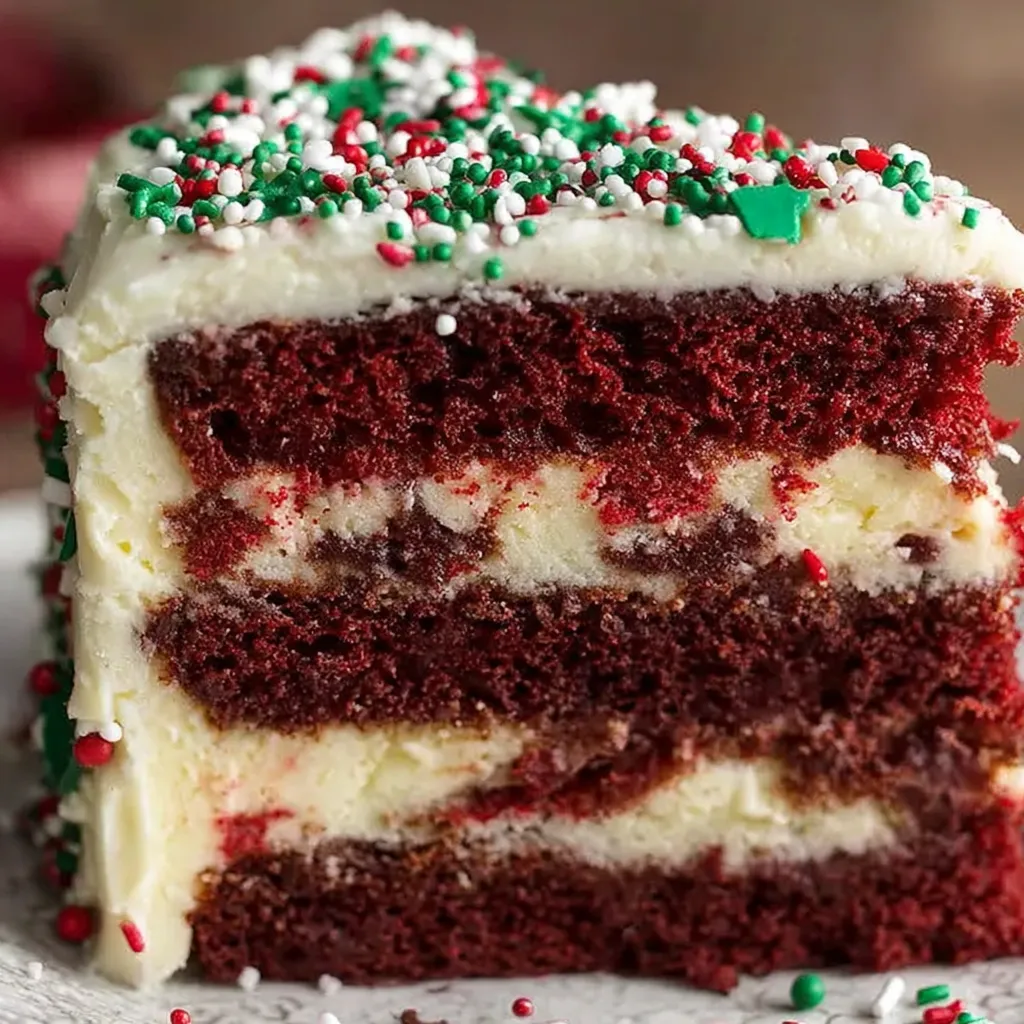
This Red Velvet Cheesecake Cake is my favorite holiday centerpiece: a tender, cocoa-kissed layer of red velvet that encases a smooth, tangy cheesecake surprise and is finished with a pillowy cream cheese frosting. I first made a version of this cake one December when I wanted something show-stopping yet approachable for a family gathering. The combination of the slightly chocolatey cake, the delicate vanilla-scented cheesecake ribbon, and the creamy frosting felt celebratory and comforting at the same time. Every bite balances richness with a bright cream-cheese tang, and the texture contrast—moist crumb, silky cheesecake, then light frosting—is what keeps people coming back for more.
It became an instant favorite at our holiday table. One year, my niece declared it the best thing she had ever eaten, and my husband suggested I rename it his new favorite holiday tradition. The technique is forgiving: as long as ingredients are at room temperature and you avoid overmixing the red velvet batter, you’ll end up with a stable cheesecake layer that bakes beautifully. I’ll walk you through the small details—temperatures, visual cues, and easy troubleshooting—so you can confidently make this showy yet reliable dessert for any celebration.
Why You'll Love This Recipe
- Layered texture contrast: moist red velvet with a creamy cheesecake ribbon creates both visual impact and delightful mouthfeel.
- Made with pantry-friendly ingredients: all-purpose flour, cocoa powder, cream cheese, and common dairy staples—no exotic items required.
- Make-ahead friendly: the cake can be baked a day ahead and frosted the next day for stress-free entertaining.
- Quick assembly: once ingredients are measured, layering takes about 10 minutes and the oven does the rest—ready in roughly an hour including cooling time.
- Customizable decorating: finish with festive sprinkles, toasted pecans, or fresh berries depending on the season.
- Kid-approved and crowd-pleasing: the vibrant color and creamy center are a hit at holiday gatherings and birthday parties.
From the first time I made this I noticed how the cheesecake center keeps the cake moist even after a day in the fridge. My family enjoys the contrast of the tangy center against the sweet frosting; we always slice it thin because people want to taste everything—this cake is rich but somehow never heavy when chilled properly.
Ingredients
- Cream cheese (Cheesecake layer): 12 ounces of full-fat cream cheese at room temperature—this ensures the cheesecake is silky without lumps. I use Philadelphia for reliable texture and flavor.
- Granulated sugar (Cheesecake layer): 1/4 cup to add sweetness while preserving the tang. Measure carefully and scrape the cup level for accuracy.
- All-purpose flour: 3 cups for the cake plus 1 tablespoon for the cheesecake; use a spoon-and-level method for consistent crumb. King Arthur or Gold Medal both work well.
- Unsweetened cocoa powder: 1/4 cup Dutch-process cocoa gives depth without overpowering the red color; not all cacaos are equal—use a mellow, dutch-processed brand if available.
- Leaveners and salt: Baking powder, baking soda, and 1 teaspoon salt balance lift and flavor in the cake layers; sift or whisk thoroughly into the dry mix.
- Oil and sugars: 1 cup neutral oil (canola or vegetable) and 1 1/2 cups granulated sugar make the crumb tender and moist. Oil keeps the cake soft even refrigerated.
- Buttermilk and sour cream: 1 cup buttermilk and 3/4 cup sour cream (or Greek yogurt) at room temperature add tang and tenderness—don’t substitute cold dairy directly into the batter.
- Eggs and vinegar: 3 large eggs plus 1 teaspoon white vinegar help structure and brighten the red color when combined with the baking soda.
- Red gel food coloring: 1 teaspoon gel gives vibrant color without adding liquid; use gel for best saturation without thinning the batter.
- Frosting: 4 ounces cream cheese, 1 cup (2 sticks) unsalted butter, 3 cups powdered sugar, and 1 teaspoon vanilla extract—room temperature butter and cream cheese whip to a light, spreadable frosting.
Instructions
Prepare the cheesecake layer: In a medium bowl, beat 12 ounces room-temperature cream cheese with 1/4 cup granulated sugar on high speed for about 1 minute until smooth and lump-free. Add 1 tablespoon all-purpose flour and 1 teaspoon vanilla extract; mix on medium until combined. Add 1 large room-temperature egg and beat on low speed just until incorporated—overbeating will incorporate air that can cause cracks. Preheat oven and prepare pan: Preheat the oven to 350°F (175°C). Lightly spray a 9×9-inch baking pan, line the bottom with parchment paper, and spray again. This double protection ensures clean release and keeps edges intact for frosting. Mix dry ingredients: Whisk together 3 cups all-purpose flour, 1/4 cup unsweetened cocoa powder, 2 teaspoons baking powder, 1 teaspoon baking soda, and 1 teaspoon salt in a medium bowl until uniform. Sifting is optional but helps eliminate pockets of cocoa or leavening. Combine wet ingredients: In a large bowl, whisk 1 cup neutral oil, 1 1/2 cups granulated sugar, 1 teaspoon white vinegar, 3 large room-temperature eggs, 3/4 cup sour cream (or Greek yogurt), 1 cup buttermilk, and 1 teaspoon red gel coloring until smooth. The mixture should be cohesive and slightly glossy—if the sour cream was cold you may notice tiny clumps, but those will even out when mixed with dry ingredients. Fold dry into wet: Gently fold the dry mixture into the wet mixture using a rubber spatula until just combined. A few streaks of flour are okay; overmixing develops gluten and yields a tougher crumb. Aim for a smooth, ribbon-like batter that is pourable but holds shape briefly. Layer the batter: Spread half the red velvet batter evenly in the prepared pan. Dollop the cheesecake batter over the red velvet in spoonfuls or using a small ice-cream scoop. Smooth the cheesecake layer carefully with an offset spatula to an even layer. Top with the remaining red velvet batter and gently spread until smooth; press lightly to level but avoid mixing the layers together. Bake and test for doneness: Bake at 350°F for 30–35 minutes. A toothpick inserted into the center should come out with just a few moist crumbs—avoid testing right at the cheesecake edge, which remains softer. The pan will spring back slightly when pressed and the cheesecake ribbon should set but still look creamy. Cool and release: Allow the cake to sit in the pan for 10 minutes after removing from the oven. Use the parchment to lift it out and transfer to a wire rack to cool completely before frosting—frosting warm cake will cause melting and sliding. Make the cream cheese frosting: Sift 3 cups powdered sugar into a bowl. Beat 1 cup (2 sticks) unsalted butter on high for 2 minutes until fluffy. Add 4 ounces room-temperature cream cheese and beat on high 1 minute until smooth. Gradually incorporate the powdered sugar on medium speed, then add 1 teaspoon vanilla and beat on high until light and spreadable. If frosting is too soft, chill briefly; if too stiff, add 1 teaspoon milk at a time. Frost and decorate: Once the cake is completely cool, spread an even layer of frosting with an offset spatula. Garnish with festive Christmas sprinkles, chopped toasted nuts, or a dusting of cocoa around the edges. Chill 20–30 minutes to set the frosting before slicing for clean edges.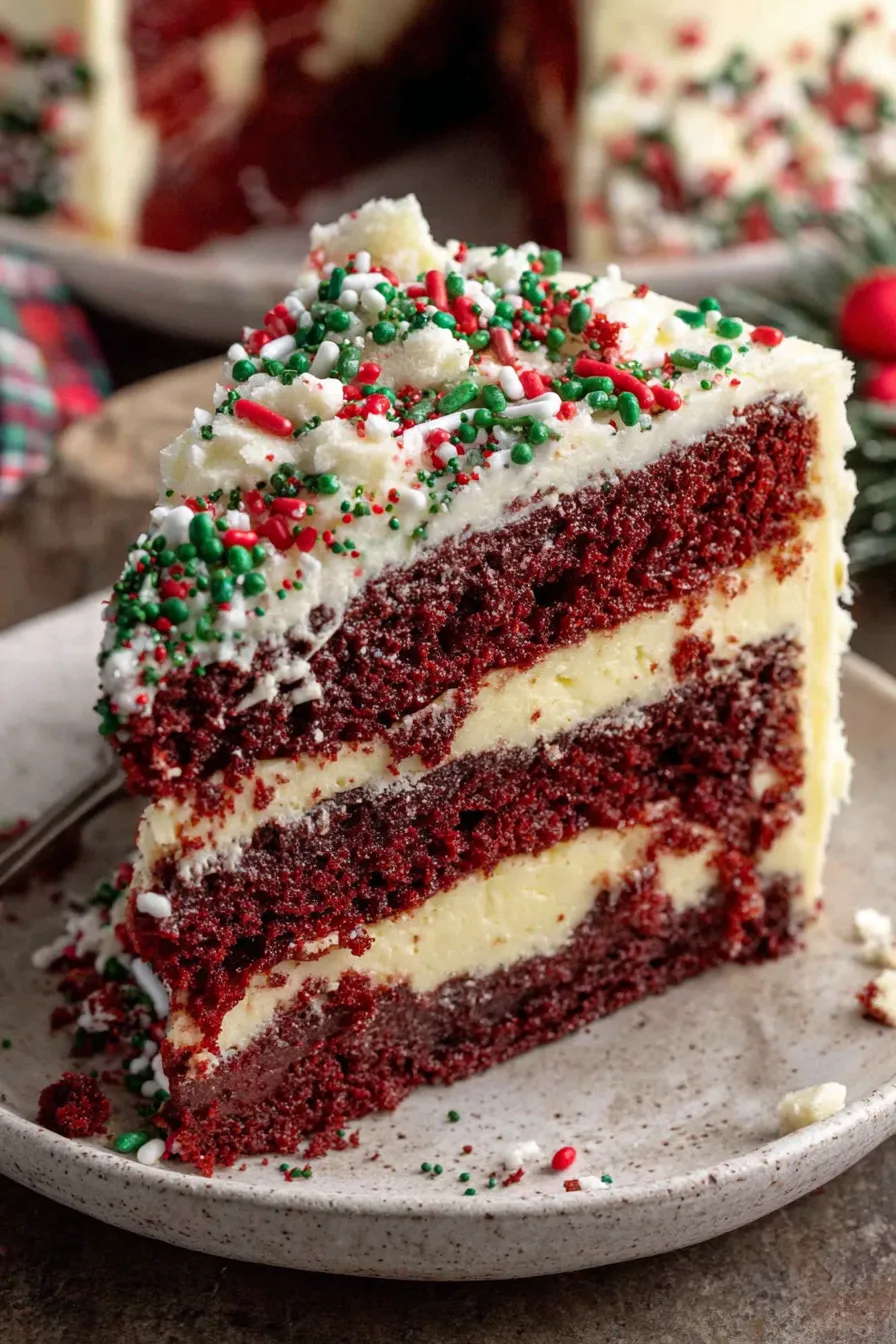
You Must Know
- This cake stores well: keep in an airtight container in the refrigerator for up to 4 days or freeze slices tightly wrapped for up to 3 months.
- Room-temperature dairy matters: using room-temperature cream cheese, eggs, and butter prevents lumps and ensures a smooth cheesecake and frosting.
- Don’t overbeat the cheesecake: overbeating adds air that can cause cracking; mix until just combined.
- High-sugar frosting stays soft at room temperature but slices cleaner if chilled 15–20 minutes before serving.
- Calories and richness: this is an indulgent dessert—serve in modest slices and pair with unsweetened coffee or sparkling water.
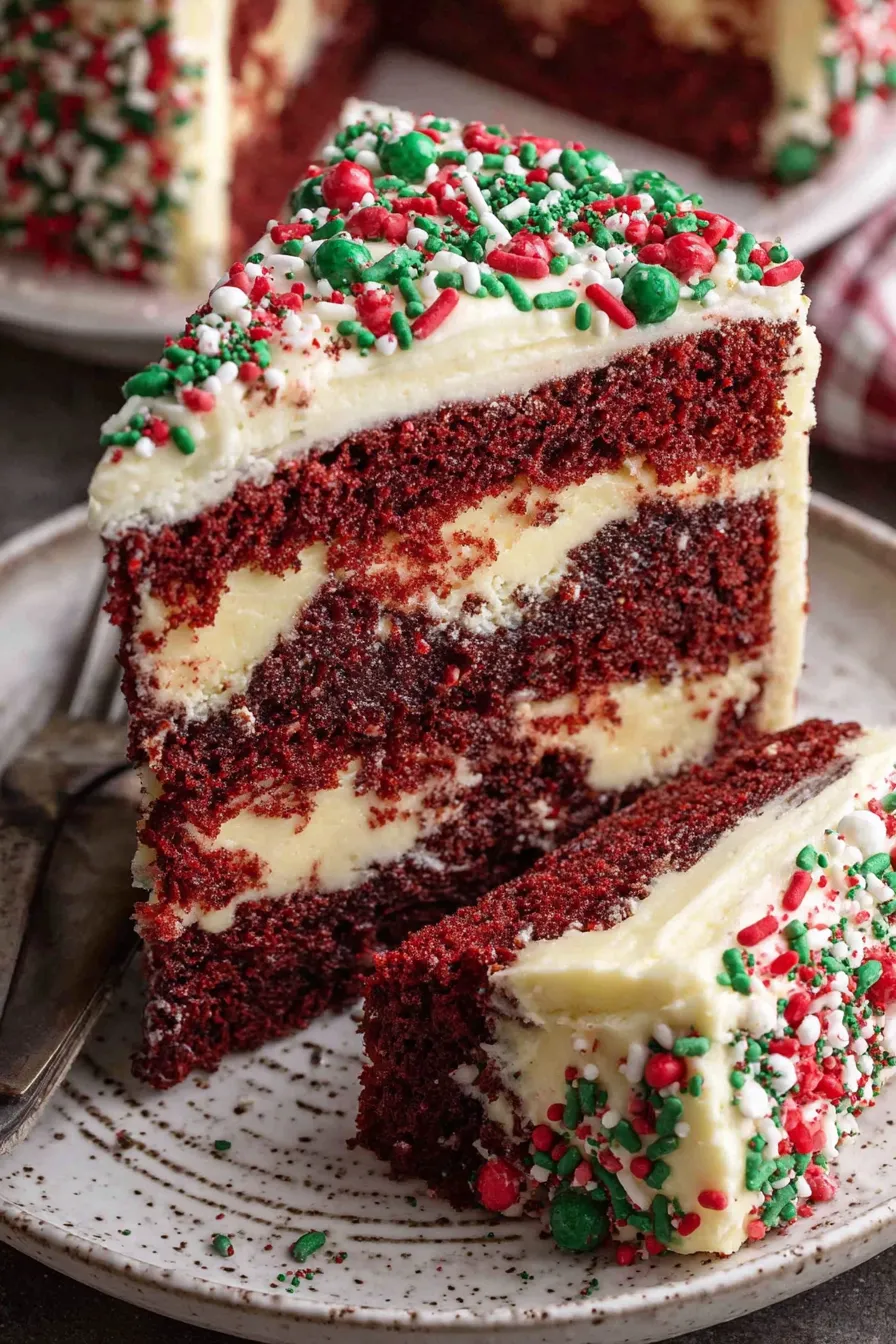
My favorite part of this cake is the moment you cut the first slice and see the pale cheesecake ribbon contrasted against the deep red crumb—guests always smile. Years of making this taught me to trust the slightly underbaked center; it firms while cooling and remains silky rather than rubbery. For holiday parties I often make two and freeze one unfrosted so I can pull it out and finish fresh the morning of the event.
Storage Tips
Store finished cake in the refrigerator, covered loosely with plastic wrap or in an airtight cake carrier. Proper refrigeration keeps the frosting stable and the cheesecake ribbon safe—consume within 3–4 days for best texture. To freeze, wrap individual slices in plastic wrap then aluminum foil and freeze up to 3 months. Thaw slices overnight in the refrigerator before serving to preserve the delicate crumb. If you need to transport the cake, chill it first so the frosting firms and use a non-slip mat in your carrier for safe travel.
Ingredient Substitutions
If you’re out of sour cream, full-fat Greek yogurt is a great swap at a 1:1 ratio; it will add a touch more tang. For a dairy-free adaptation, use a plant-based cream cheese and vegan butter, though texture will vary slightly and the cheesecake center may be less firm—add 1 teaspoon cornstarch to help set. To avoid artificial coloring, use concentrated beet powder or powdered freeze-dried raspberries (start with 1 teaspoon and adjust) but expect a subtler red. If Dutch-process cocoa isn’t available, natural cocoa can be used, though you may need to increase the acid slightly by replacing the vinegar with lemon juice for color balance.
Serving Suggestions
Serve thin slices because the cake is rich; pair with a dollop of lightly sweetened whipped cream or fresh raspberries to cut through the richness. For a holiday table, arrange slices on a platter with mint springs and sugared cranberries for color contrast. This cake also pairs beautifully with bitter espresso, aged balsamic drizzle (a tiny pat), or a glass of cold milk—each brings out different notes in the cream cheese and cocoa.
Cultural Background
Red velvet traces its modern popularity to Southern United States baking traditions, where the addition of vinegar and buttermilk provided a delicate texture and mild tang. The cake’s vivid hue became a holiday favorite, and pairing it with cream cheese frosting is a natural match due to the complementary tang. The cheesecake-in-the-middle concept is rooted in layered American indulgent baking where combining two classics produces a celebratory centerpiece.
Meal Prep Tips
To prep ahead: bake the cake 1–2 days in advance and refrigerate un-frosted, tightly wrapped. Make the frosting the day you plan to serve and chill briefly before whipping. For party prep, cut and arrange slices on parchment-lined trays and cover to keep neat—this reduces last-minute slicing mess. If serving for a buffet, place a chilled serving plate under the cake to keep it cool through the event.
Whether you’re making this for Christmas or any special occasion, the cake brings color, flavor, and an element of surprise that guests always remember. Share it with people you love and let the layers tell the story—it's become a little ritual in my holiday kitchen, and I hope it becomes one in yours too.
Pro Tips
Bring all dairy and eggs to room temperature before starting to ensure smooth batters and even baking.
Use gel food coloring for bright red without thinning the batter; add a little at a time to reach desired saturation.
Chill the cake briefly before slicing to get clean edges from the cream cheese frosting.
If the frosting is too soft, chill 10–15 minutes and re-whip briefly to reach spreadable consistency.
This nourishing red velvet cheesecake cake recipe is sure to be a staple in your kitchen. Enjoy every moist, high protein slice — it is perfect for breakfast or as a wholesome snack any time.
FAQs about Recipes
Can I freeze this cake?
Yes—bake the cake fully, cool completely, then wrap tightly and freeze for up to 3 months. Thaw overnight in the refrigerator before frosting.
How do I avoid cracks in the cheesecake layer?
Use room-temperature cream cheese and eggs; avoid overbeating the cheesecake batter to prevent cracks.
Tags
Red Velvet Cheesecake Cake
This Red Velvet Cheesecake Cake recipe makes perfectly juicy, tender, and flavorful steak every time! Serve with potatoes and a side salad for an unforgettable dinner in under 30 minutes.
Ingredients
Cheesecake layer
Red velvet cake
Cream cheese frosting
Instructions
Prepare Cheesecake Layer
Beat 12 oz room-temperature cream cheese with 1/4 cup sugar until smooth. Add 1 TBSP flour and 1 tsp vanilla, mix until combined. Add 1 large egg and mix on low until just incorporated. Set aside.
Preheat Oven and Prepare Pan
Preheat oven to 350°F (175°C). Spray a 9×9-inch pan, line with parchment, and spray again to ensure easy release.
Mix Dry Ingredients
Whisk together 3 cups flour, 1/4 cup cocoa, 2 tsp baking powder, 1 tsp baking soda, and 1 tsp salt until well combined. Set aside.
Combine Wet Ingredients
Whisk 1 cup oil, 1 1/2 cups sugar, 1 tsp vinegar, 3 eggs, 3/4 cup sour cream, 1 cup buttermilk, and 1 tsp red gel coloring until smooth.
Incorporate Dry Ingredients
Fold the dry ingredients into the wet mixture gently with a rubber spatula until just combined; avoid overmixing to preserve tenderness.
Layer the Batter
Spread half the red velvet batter in the pan. Dollop the cheesecake batter and smooth with an offset spatula. Top with remaining red velvet batter and even out.
Bake the Cake
Bake at 350°F for 30–35 minutes or until a toothpick inserted in the center comes out with a few moist crumbs. Let rest 10 minutes in pan.
Cool and Frost
Transfer to a wire rack to cool completely. Prepare frosting by beating butter and cream cheese, then slowly adding sifted powdered sugar and vanilla. Frost cooled cake and decorate.
Last Step: Please leave a rating and comment letting us know how you liked this recipe! This helps our business to thrive and continue providing free, high-quality recipes for you.
Nutrition
Did You Make This?
Leave a comment & rating below or tag
@royalmorsel on social media!
Categories:
You might also like...
Cheeseburger Queso Sliders
Juicy beef, sweet-charred peppers, and a silky queso drizzle turn these sliders into the ultimate crowd-pleasing bite for game day or weeknight fun.
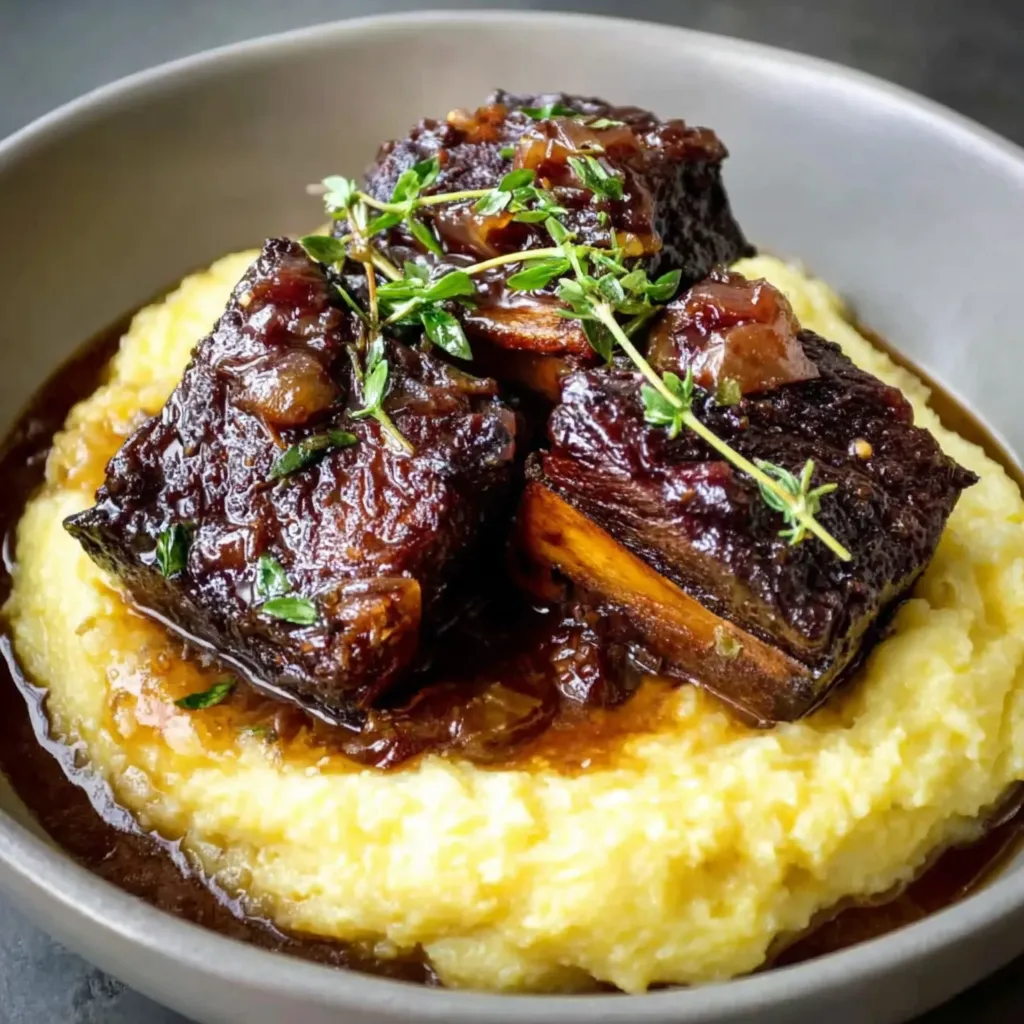
Short Ribs with Garlic Mash
Melt-in-your-mouth braised short ribs nestled over creamy garlic mashed potatoes, all in a rich, herb-scented sauce that feels like a warm hug.
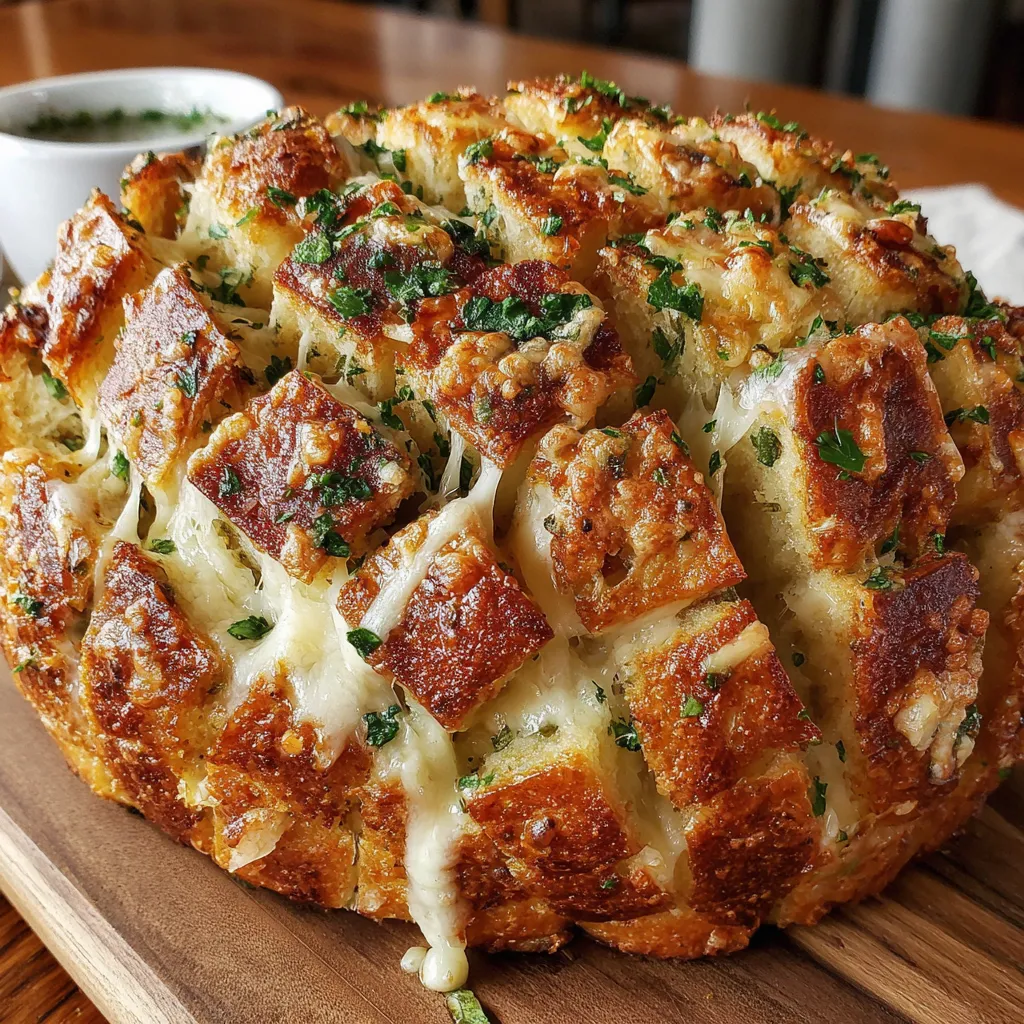
Cheesy Garlic Pull-Apart Bread
Golden, garlicky pull-apart loaf swaddled in buttery herbs and stretchy mozzarella that begs to be shared warm from the oven.
Did You Make This?
Leave a comment & rating below or tag @royalmorsel on social media!
Rate This Recipe
Share This Recipe
Enjoyed this recipe? Share it with friends and family, and don't forget to leave a review!
Comments (1)
This recipe looks amazing! Can't wait to try it.
Comments are stored locally in your browser. Server comments are displayed alongside your local comments.

Hi, I'm Emma!
What's Popular
30-Minute Meals!
Join to receive our email series which contains a round-up of some of our quick and easy family favorite recipes.