
>>

Quick, nostalgic peanut butter no-bake cookies made on the stovetop—ready in under 30 minutes and perfect for last-minute sweets or lunchbox treats.
This peanut butter no-bake cookie has been a weekday hero in my kitchen for years: fast, forgiving, and reliably delicious. I first made this version late one summer evening when I had a pantry full of quick oats and a jar of peanut butter nearing its end. My goal was a simple, comforting sweet without turning on the oven. The result was a chewy, slightly glossy cookie with a familiar peanut-sugar flavor and a texture kids and adults both love. It quickly became a standby for after-school snacks and potluck desserts.
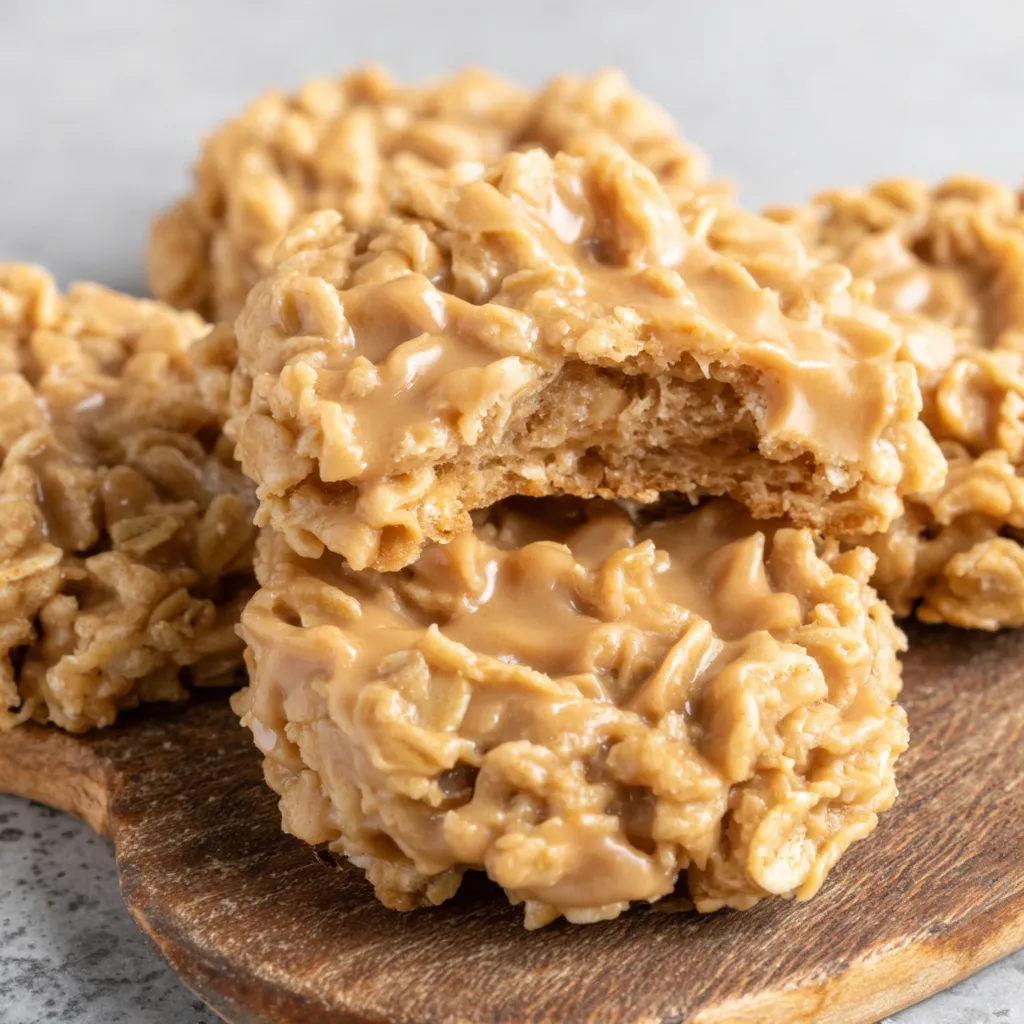
What makes these particularly special is the balance of textures and temperatures—the hot, glossy peanut-butter-sugar mixture is stirred into cool oats, creating cookies that set to a tender, slightly crumbly exterior and a chewy center. The recipe is forgiving: whether your oats are a touch old or your peanut butter is runny, the chemistry of boiling sugar and butter helps everything come together. A few minutes at the stove, a brief scoop-and-set on wax paper, and you have dozens of individually portioned treats that keep well in the fridge or on the counter for a few days.
My family has a ritual around these: I bring a tray to the sofa during movie night, and everyone grabs one (or three). My sister still remembers the first time I made them for a picnic—she insisted they beat any bakery cookie. They’ve traveled to potlucks, birthday parties, and rainy-day craft sessions. Every time someone asks for the recipe, they’re surprised at how few ingredients and how little time it takes.
My favorite part of making these is the moment the tray comes out of the fridge and the family gathers: the cookies are a tactile, nostalgic treat that brings people together. Over the years I've adjusted boil times, swapped nut butters, and learned to trust the visual cues (glossy syrup, fully coated oats) more than exact seconds on the stove. Each batch carries small improvements learned from previous attempts.
Store in an airtight container layered with parchment or wax paper to prevent sticking. At room temperature they stay fresh for 48–72 hours; refrigeration preserves texture and extends life to about two weeks. Freeze in a single layer on a tray first, then transfer to a freezer bag to avoid sticking—thaw at room temperature for 20–30 minutes when ready to eat. Keep away from humidity, as moisture can soften the exterior and change texture.
For a dairy-free version, substitute butter with a plant-based spread and use unsweetened soy or oat milk—expect a slightly different mouthfeel. To make nut-free cookies, swap peanut butter for sunflower seed butter in a 1:1 ratio and add an extra 1/8 teaspoon salt to balance sweetness. To reduce sugar, try replacing up to 1/3 of the granulated sugar with coconut sugar, but note the color and flavor will darken and set time may vary.
Serve warm with milk for a classic pairing or alongside coffee for adults. For a party tray, alternate with small clusters of nuts and dried fruit to add contrast. Garnish with a light sprinkle of flaky sea salt for a modern twist or press a few chocolate chips on top of each warm cookie before they set for a visually appealing finish.
No-bake drop cookies became popular in mid-20th-century American home cooking when stovetop candy-making and mass-produced peanut butter made them an accessible treat. They’re closely tied to budget-friendly cooking—sweet, filling, and simple enough for children to help make. Regional variations abound: some families add cocoa for chocolate peanut butter cookies, while others fold in coconut or chopped nuts depending on local tastes and seasonal availability.
In cooler months, add 1/2 teaspoon cinnamon or a pinch of nutmeg to warm the flavor profile. For summer, replace half the peanut butter with creamy almond butter and press a raspberry on top for a bright finish. During holidays, press festive sprinkles into the tops just after scooping for color and crunch.
Make a double batch and freeze in portioned bags so you always have a quick dessert or snack. Freeze flattened cookies separated by parchment to save space; thaw at room temperature for a few minutes. Prepare the dry oats in zip-top bags labeled with the recipe name and quantities so children or guests can quickly assemble and finish on the stove with supervision.
These peanut butter no-bake cookies are proof that simple ingredients, a little technique, and a few minutes at the stove can produce something nostalgic and delightful. Enjoy the process, and don’t be afraid to tweak minor details until the texture and flavor match your memories or household preferences.
Bring peanut butter to room temperature or stir well if natural to ensure smooth incorporation.
Boil the sugar-butter-milk mixture for about 60 seconds at a full rolling boil for proper setting.
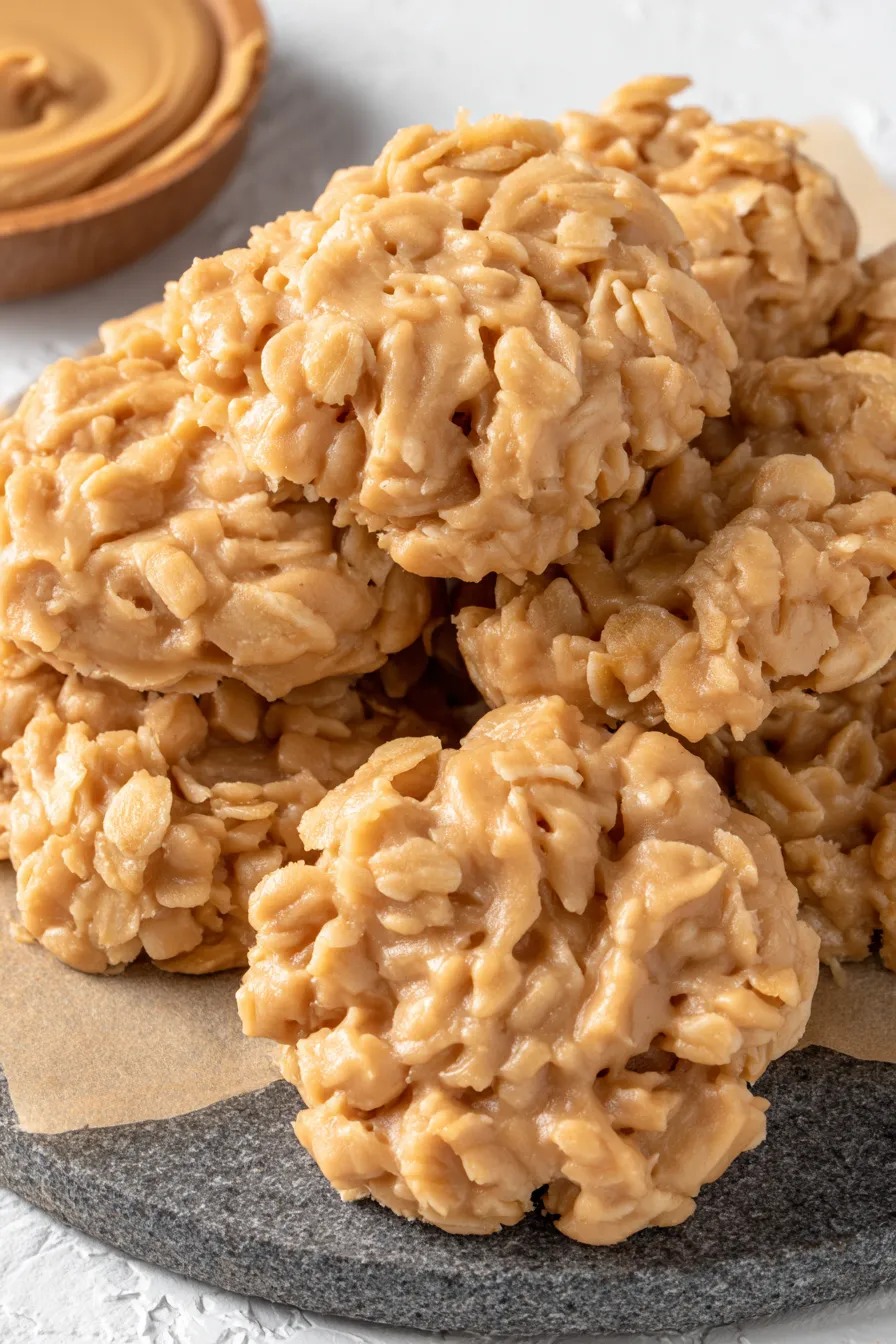
Use a medium cookie scoop for uniform cookies and consistent set time.
If cookies are too soft after cooling, refrigerate briefly to firm them up.
Line the tray with wax paper or parchment to prevent sticking and simplify cleanup.
This nourishing classic peanut butter no-bake cookies recipe is sure to be a staple in your kitchen. Enjoy every moist, high protein slice — it is perfect for breakfast or as a wholesome snack any time.
This Classic Peanut Butter No-Bake Cookies recipe makes perfectly juicy, tender, and flavorful steak every time! Serve with potatoes and a side salad for an unforgettable dinner in under 30 minutes.
In a large bowl, stir together 3 cups quick-cook oats and 1/4 teaspoon salt. Set aside in a wide bowl to allow room for mixing later.
In a small saucepan over medium-high heat, whisk 1/2 cup butter, 2 cups sugar, and 1/2 cup milk. Bring to a full rolling boil and maintain the boil for about 60 seconds.
Remove the pan from heat and whisk in 1 cup peanut butter and 2 teaspoons vanilla until completely smooth and glossy.
Pour the peanut-butter mixture over the oats and stir until fully coated and no dry pockets remain. Work quickly while the mixture is still hot and fluid.
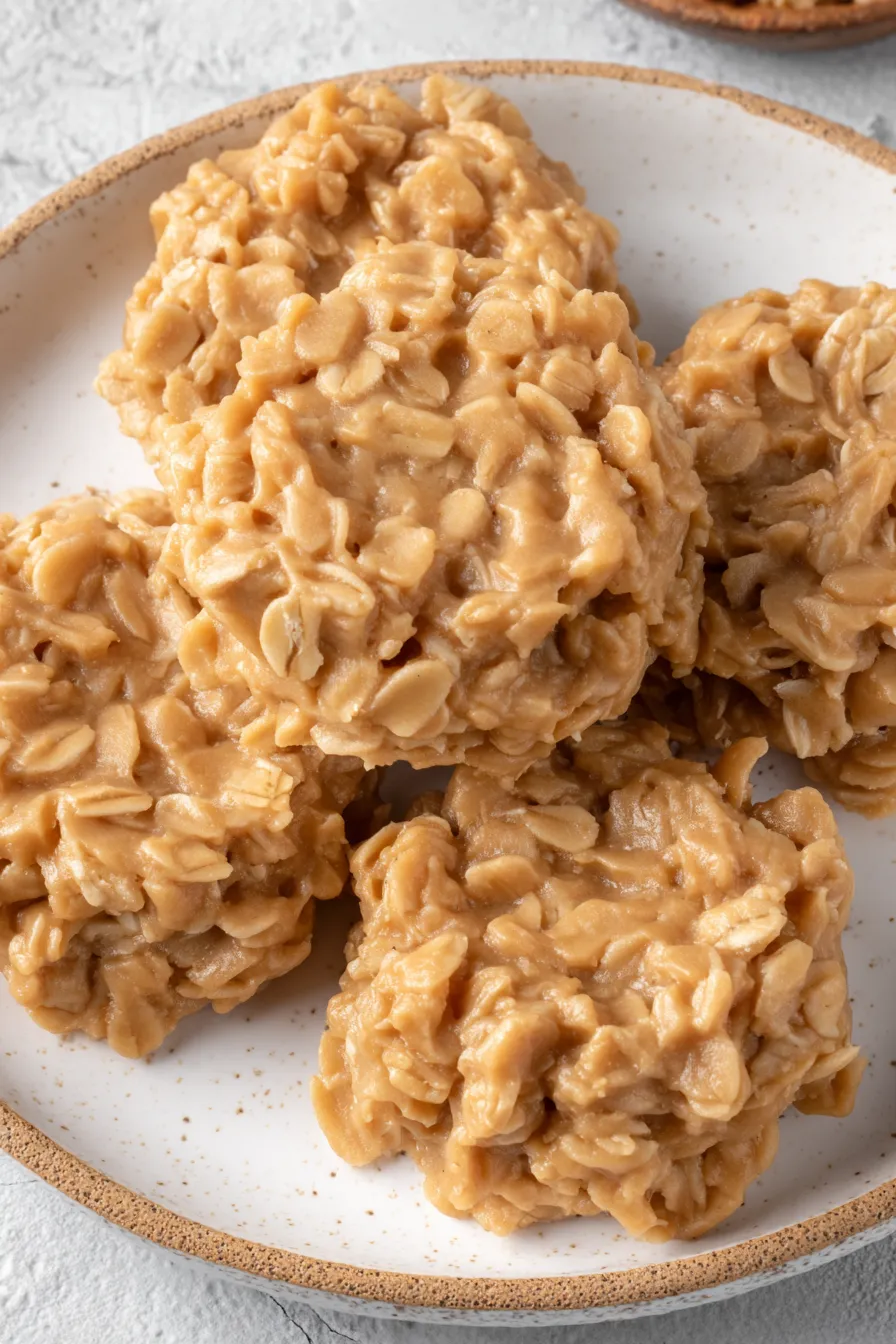
Drop mounds onto a wax-paper-lined baking sheet using a medium cookie scoop or two spoons. Let set at room temperature about 20–30 minutes or refrigerate for 10–15 minutes to speed setting.
Once set, store in an airtight container at room temperature for 2–3 days, refrigerated up to two weeks, or frozen up to 3 months.
Last Step: Please leave a rating and comment letting us know how you liked this recipe! This helps our business to thrive and continue providing free, high-quality recipes for you.
Leave a comment & rating below or tag
@royalmorsel on social media!

Juicy beef, sweet-charred peppers, and a silky queso drizzle turn these sliders into the ultimate crowd-pleasing bite for game day or weeknight fun.

Melt-in-your-mouth braised short ribs nestled over creamy garlic mashed potatoes, all in a rich, herb-scented sauce that feels like a warm hug.

Golden, garlicky pull-apart loaf swaddled in buttery herbs and stretchy mozzarella that begs to be shared warm from the oven.
Leave a comment & rating below or tag @royalmorsel on social media!
Enjoyed this recipe? Share it with friends and family, and don't forget to leave a review!
This recipe looks amazing! Can't wait to try it.
Comments are stored locally in your browser. Server comments are displayed alongside your local comments.

Join to receive our email series which contains a round-up of some of our quick and easy family favorite recipes.
