>>

Fudgy chocolate squares marbled with creamy peanut butter — a nostalgic, easy-to-make treat that balances rich cocoa with nutty sweetness.
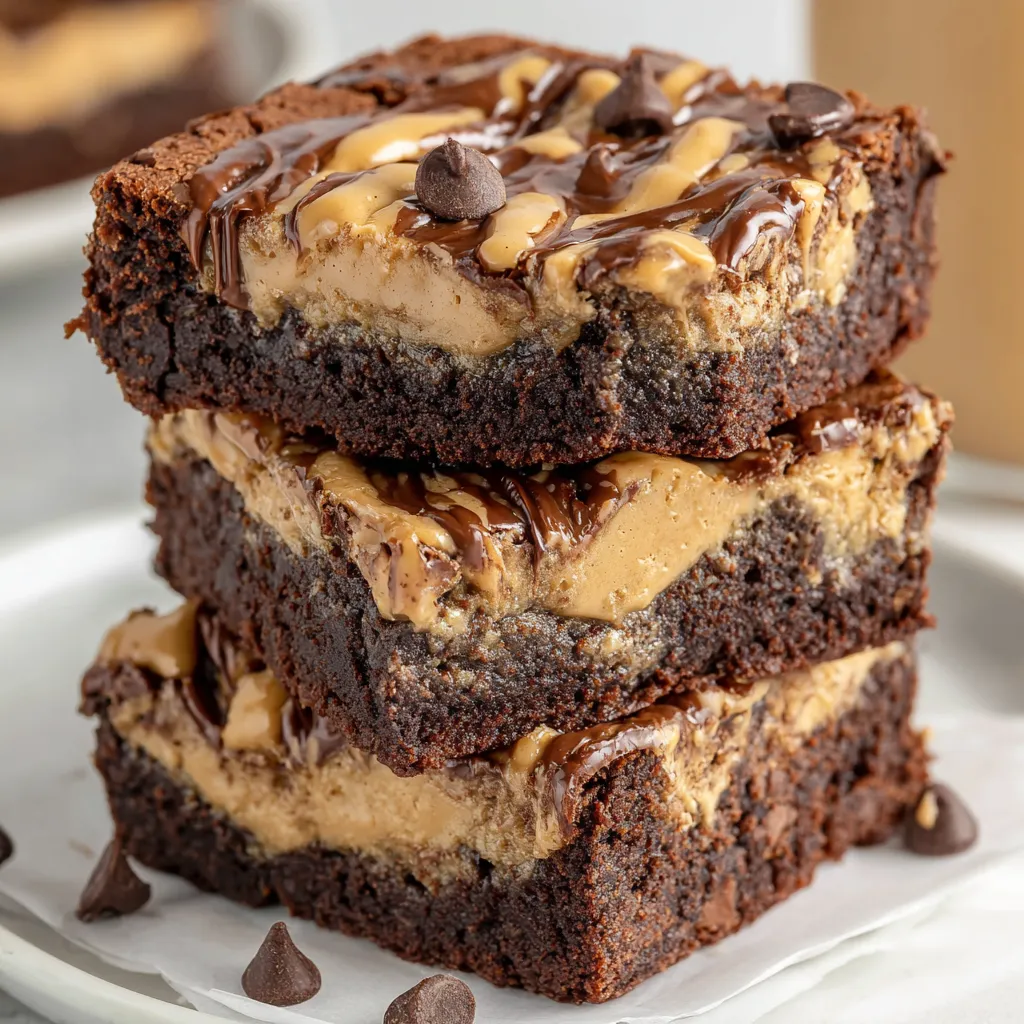
From my first batch to the latest, family members still argue over who gets the corner pieces. I once took a pan to a school bake sale and it sold out within 20 minutes; parents told me the peanut butter swirl made them nostalgic for after-school snacks. These squares reliably deliver that warm, familiar comfort.
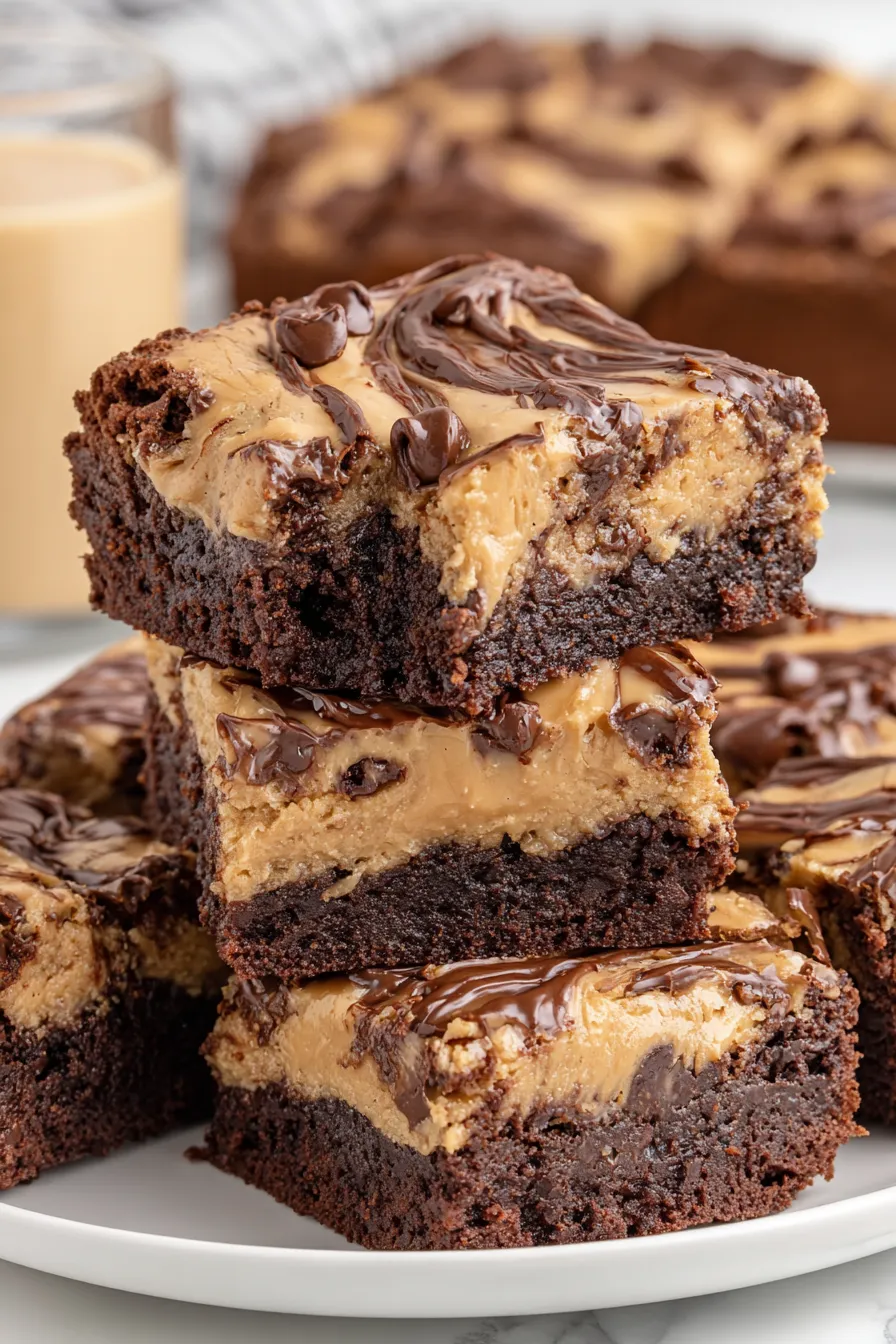
My favorite part of this recipe is how forgiving it is. The first time I made it for a family gathering, I under-baked it slightly and the resulting ultra-fudgy center became everyone's favorite. I've also learned that spreading the batter carefully and doing a single gentle swirl produces the best visual marbling without mixing the flavors away.
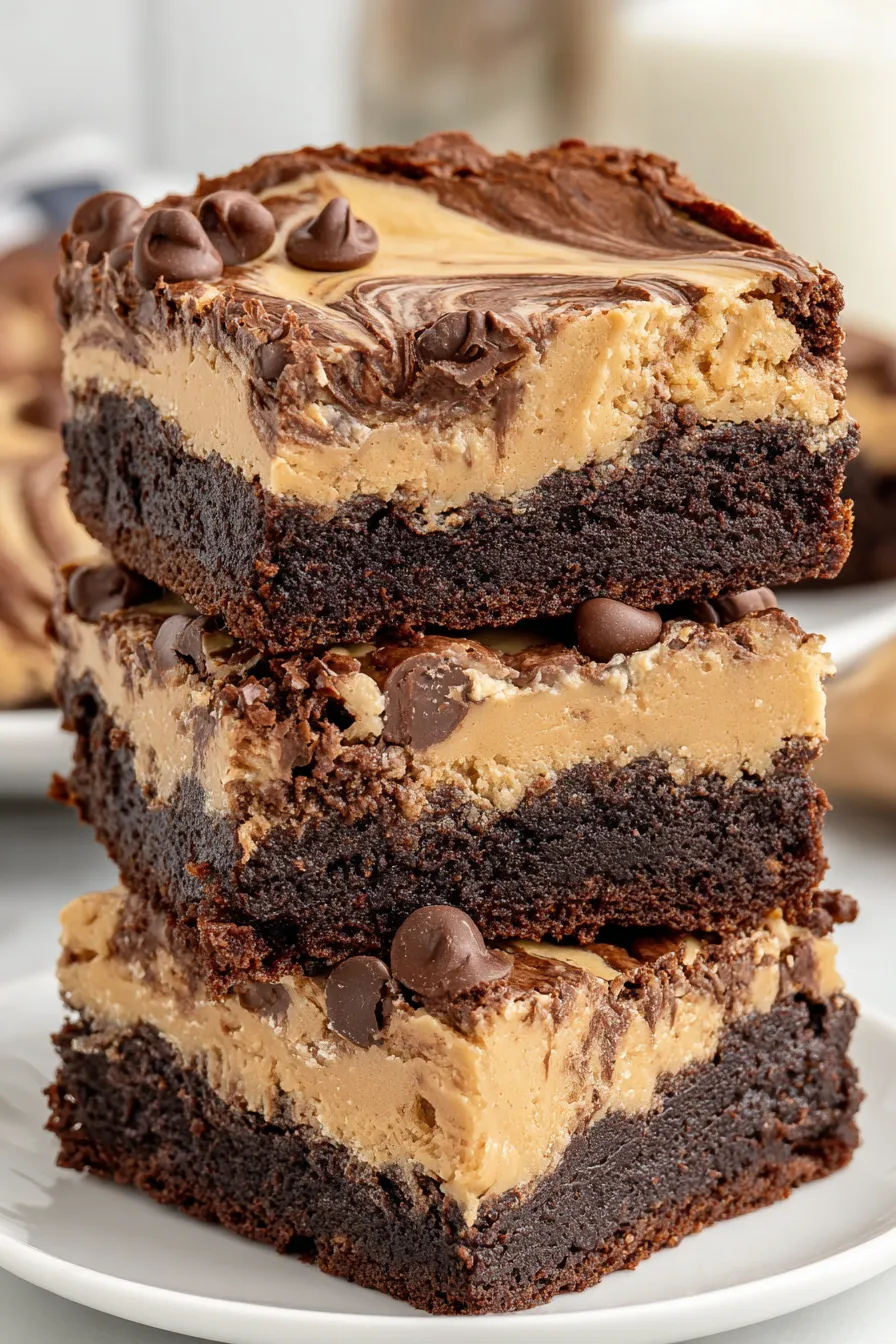
To keep these squares at peak quality, store them in an airtight container layered between sheets of parchment to prevent sticking. At room temperature they remain tender for 2–3 days; refrigeration extends shelf life to about a week but can slightly firm the texture — bring to room temperature before serving for the best mouthfeel. For longer storage, wrap individual squares tightly in plastic wrap and freeze in a sealed bag for up to 3 months. Reheat frozen squares in a 325°F oven for 8–12 minutes or microwave briefly to revive the fudgy texture.
If you prefer a slightly lighter bite, swap one egg for two egg whites and reduce overall richness. For a nuttier flavor, substitute crunchy peanut butter for half of the creamy amount, though this will create small pockets of texture. Use almond or sunflower seed butter to make a peanut-free variation, keeping in mind the flavor will shift — sunflower butter is slightly more savory. To reduce sugar, try 1/2 cup granulated and 1/2 cup brown sugar, but expect a firmer texture and less chew.
Serve these warm with a scoop of vanilla ice cream and a sprinkle of flaky sea salt for a decadent contrast. For a party platter, cut into bite-sized squares and garnish each with a tiny peanut butter dollop or a few chopped roasted peanuts for crunch. These are also excellent alongside a strong cup of coffee or an afternoon glass of cold milk — the bitter chocolate and nutty sweet swirl pair especially well with bitter beverages.
Marbling chocolate with nut butter is a classic American-American innovation that blends two beloved flavors: fudgy chocolate squares and creamy peanut butter. Variations appear across home kitchens and bake sales where accessibility and comfort are primary drivers. In the U.S., peanut butter has long been a pantry staple and pairing it with chocolate taps into a deep nostalgia — think peanut butter cups — which is why this combination is so widely adored.
In winter, add a pinch of cinnamon and a teaspoon of espresso powder to the batter for warmth and depth. For summer gatherings, serve chilled squares topped with whipped cream and sliced strawberries for a bright companion. Around holidays, fold in 1/2 cup chopped roasted peanuts or sprinkle crushed pretzels on top before baking to introduce a salty-sweet contrast that complements festive spreads.
For make-ahead planning, bake the pan and cut into squares once cooled, then store in a single layer between parchment in airtight containers. Portion into individual bags for lunches or snacks. If you want fresh swirls without extra work, prepare the batter and peanut butter swirl mixture separately, refrigerate both overnight, and assemble and bake the next day. This saves morning time while delivering freshly baked aroma at serving time.
Whether you’re baking for a potluck, a cozy night at home, or to treat kids after school, these squares bring comfort and a nostalgic smile. They’re easy enough for a weekday treat and special enough for company — make them your own by experimenting with chips, salts, or nut butters.
Do not overmix after adding flour to avoid developing gluten and tough textures.
Check doneness with a toothpick; seek moist crumbs rather than a clean pick for fudgy results.
Heat the reserved peanut butter slightly before drizzling so it spreads and swirls easily.
Let the pan cool completely before slicing to retain the fudgy structure; refrigerate briefly if you need to speed it up.
This nourishing peanut butter brownies recipe is sure to be a staple in your kitchen. Enjoy every moist, high protein slice — it is perfect for breakfast or as a wholesome snack any time.
This Peanut Butter Brownies recipe makes perfectly juicy, tender, and flavorful steak every time! Serve with potatoes and a side salad for an unforgettable dinner in under 30 minutes.
Preheat oven to 350°F. Line a 9x9-inch baking dish with parchment paper leaving an overhang and lightly spray with nonstick cooking spray.
Whisk together 3/4 cup flour, 1/2 cup cocoa powder, 1/2 teaspoon baking powder, and 1/2 cup chocolate chips in a small bowl until evenly combined.
In a medium bowl combine 1/2 cup melted cooled butter, 3/4 cup granulated sugar, 3/4 cup light brown sugar, 2 room-temperature eggs, 2 teaspoons vanilla, and 1/2 teaspoon kosher salt until glossy.
Gently fold dry ingredients into wet until just combined, avoiding overmixing to prevent toughness.
Spread half the batter in the prepared pan, dollop teaspoons of 2/3 cup peanut butter over it, spread remaining batter on top, heat remaining 1/3 cup peanut butter 10 seconds and drizzle, then swirl with a knife.
Bake at 350°F for about 30 minutes or until a toothpick yields moist crumbs. Cool completely at room temperature for 2 hours before cutting into 4x4 grid (16 pieces).
Last Step: Please leave a rating and comment letting us know how you liked this recipe! This helps our business to thrive and continue providing free, high-quality recipes for you.
Leave a comment & rating below or tag
@royalmorsel on social media!
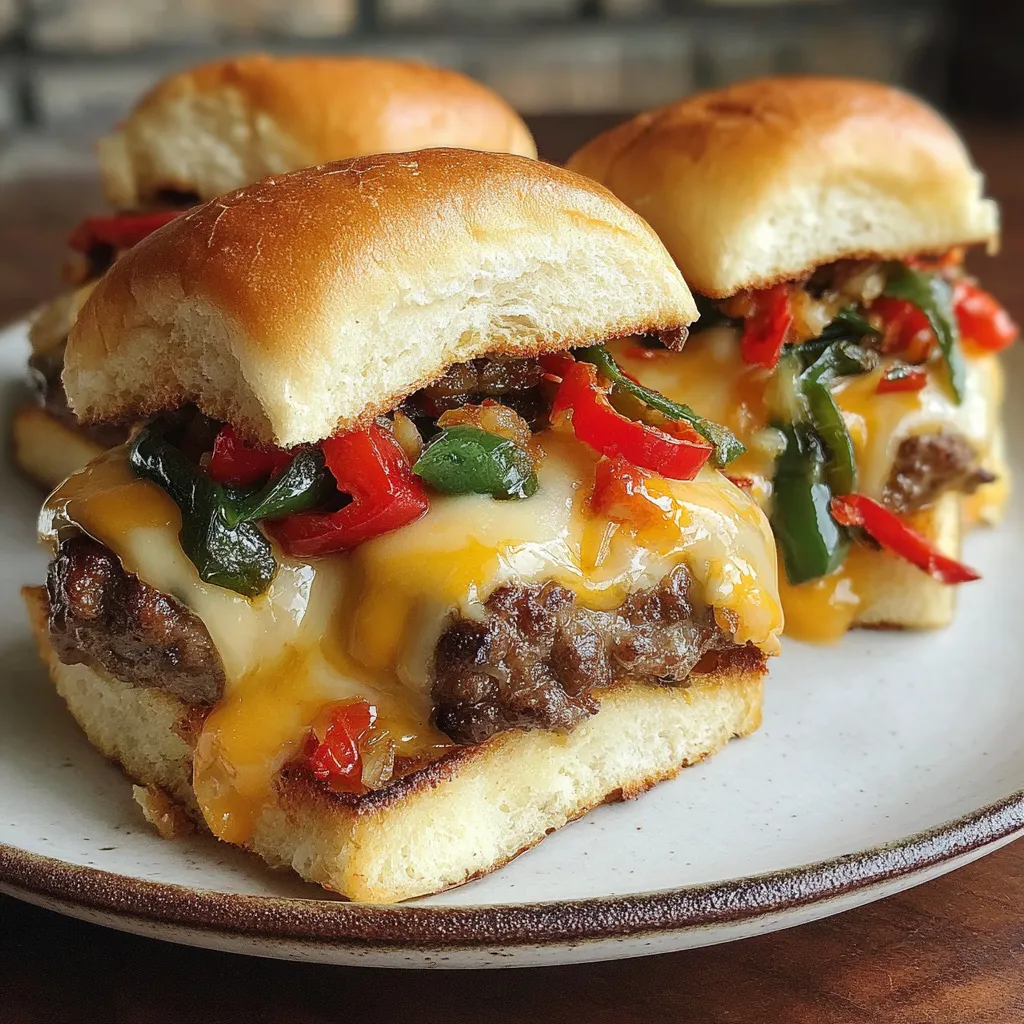
Juicy beef, sweet-charred peppers, and a silky queso drizzle turn these sliders into the ultimate crowd-pleasing bite for game day or weeknight fun.
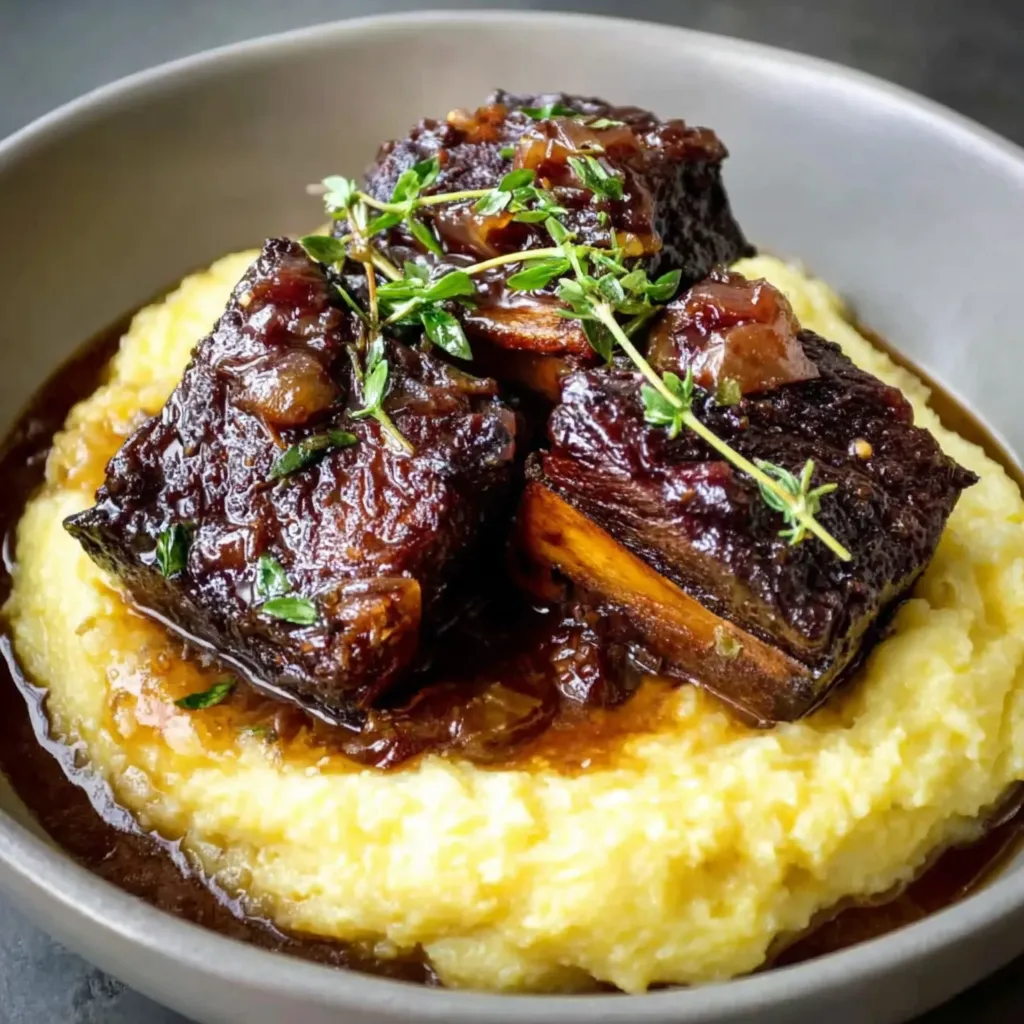
Melt-in-your-mouth braised short ribs nestled over creamy garlic mashed potatoes, all in a rich, herb-scented sauce that feels like a warm hug.
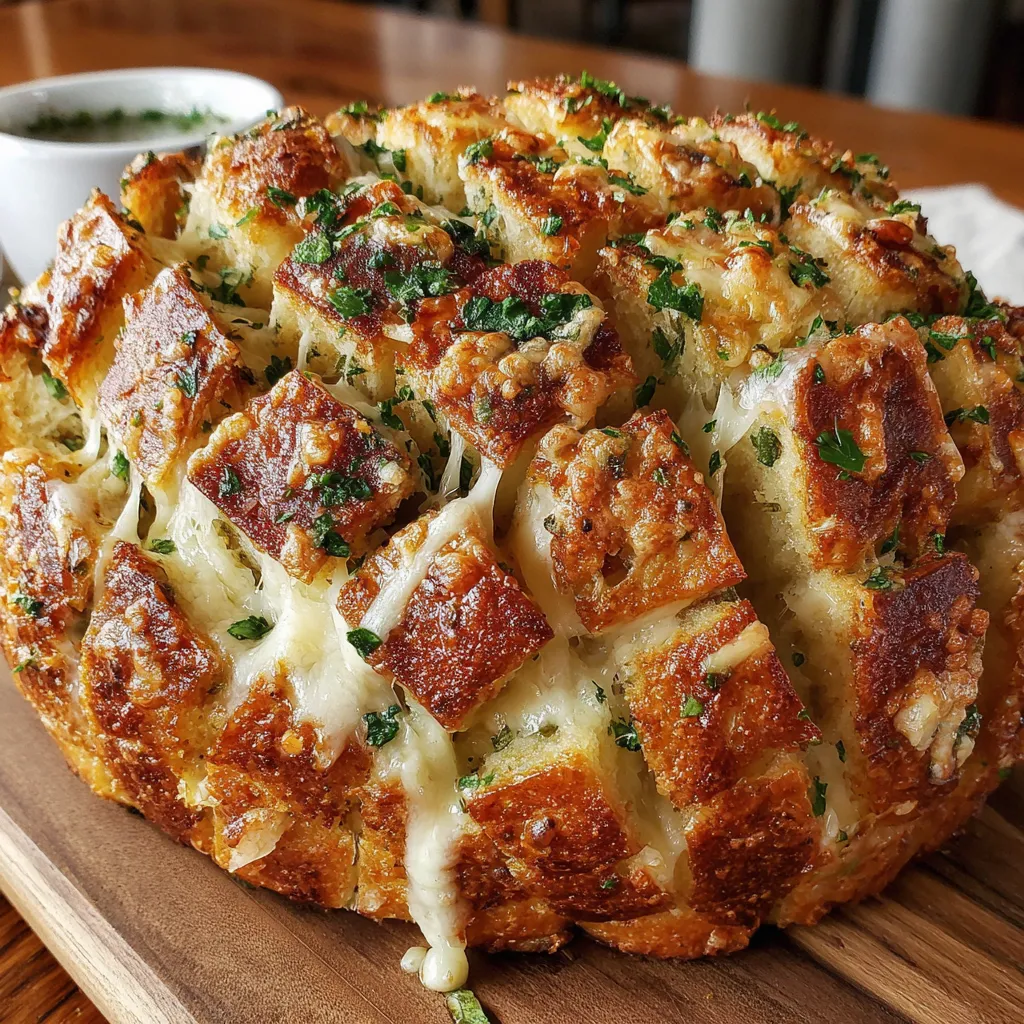
Golden, garlicky pull-apart loaf swaddled in buttery herbs and stretchy mozzarella that begs to be shared warm from the oven.
Leave a comment & rating below or tag @royalmorsel on social media!
Enjoyed this recipe? Share it with friends and family, and don't forget to leave a review!
This recipe looks amazing! Can't wait to try it.
Comments are stored locally in your browser. Server comments are displayed alongside your local comments.

Join to receive our email series which contains a round-up of some of our quick and easy family favorite recipes.