
>>

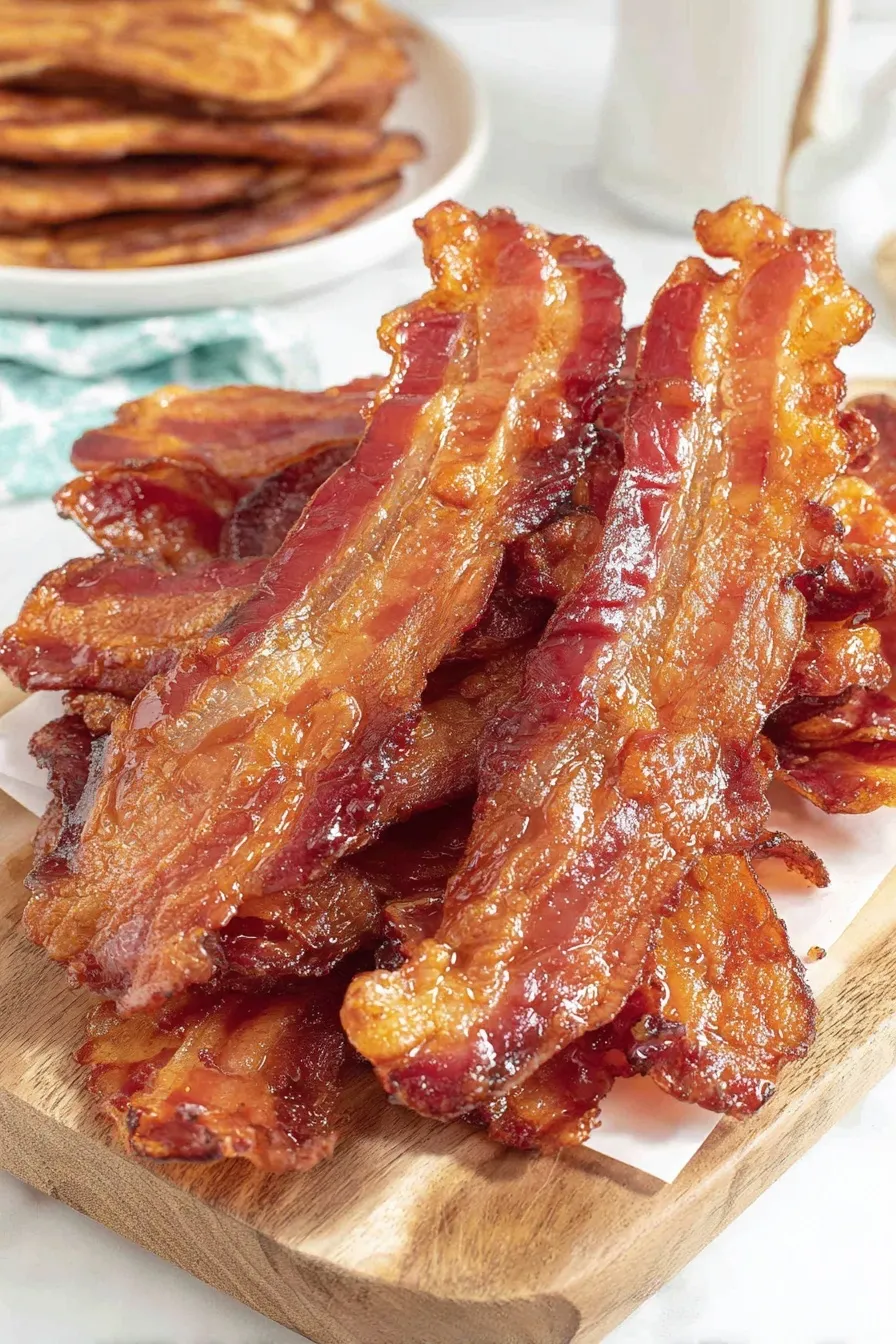
Perfectly crispy oven baked bacon made hands-off, evenly cooked, and easy to scale — a foolproof technique for breakfasts, salads, sandwiches, and meal prep.

This oven baked bacon is my go to when I need consistent results without standing over a skillet. I first landed on the technique during a busy holiday morning when pans were already full and the stovetop was a chaotic mess. Baking the strips at a moderate temperature produced even cooking, less splatter, and slices that crisp without burning the edges. The result is a craveable balance of chew and crunch that is remarkably forgiving whether you prefer thin or thick cut.
I learned to treat the oven method as both a time saver and a stress reducer. It frees up stovetop real estate for eggs or pancakes and allows you to prepare large batches for guests or meal prep. Because the bacon cooks flat on parchment, fat renders out cleanly and flip timing is predictable. This version works for weekday breakfasts, adding smoky crunch to salads and sandwiches, or to finish a holiday brunch spread. Little changes in time and rack position let you dial in chewiness or snap to fit your personal preference.
I remember serving this at a family brunch and watching everyone reach for second slices before the main course arrived. My sister remarked that it tasted like bacon from a deli rather than store cooked at home, and that little compliment pushed me to make this our standard method. Over time I tuned sheet placement and timing for my oven and now recommend the exact windows above so you get the same reliable result.
My favorite aspect is the predictability. Over years of testing I found 350 degrees provides a sweet spot where fat renders without the edges overcooking. For large gatherings I stagger two sheets on adjacent racks and rotate them halfway through so each tray experiences similar heat exposure. This small step keeps every slice equally crisp and was a revelation when I first tried it for a holiday brunch that served twelve people.
Store cooled bacon in an airtight container in the refrigerator for up to four days. To preserve crispness, sandwich paper towels between layers to absorb residual grease. For longer storage, freeze slices flat on a baking sheet for an hour then transfer to a freezer bag; frozen bacon keeps well for about three months. Reheat in a skillet over medium heat for a minute or two per side, or in a hot oven at 375 degrees Fahrenheit on a wire rack for best texture. Avoid microwaving for extended times which can make bacon rubbery.
If you avoid pork, substitute turkey bacon but expect different texture and faster rendering times; cook turkey slices for about 10 to 12 minutes per side, monitoring closely. For lower fat, choose center cut bacon which has less visible fat but similar flavor. To intensify smoke, use a smoked variety or brush with a light maple or brown sugar glaze before the final bake for a sweet glazed finish — add glaze in the last five minutes to prevent burning. For nitrate free options, check labels from brands specializing in uncured products.
Serve alongside eggs and toast for classic breakfast, crumble warm slices over a Caesar or spinach salad for a smoky crunch, or layer on grilled cheese and BLT sandwiches. As a sophisticated garnish, chop crisp slices to finish scalloped potatoes or scatter over roasted vegetables. For entertaining, present whole strips on a platter with small bowls of maple syrup and mustard for dipping. Pair with coffee or a light sparkling beverage to balance the savory richness.
Bacon has deep roots in many European and American food traditions where cured pork belly became a staple preservation technique. In the United States bacon evolved into an iconic breakfast element during the 20th century and gained culinary versatility across regions. Oven baking reflects modern adaptations favoring convenience and uniformity; restaurants and home cooks use it to maintain consistency during busy service. Variations across cultures swap smoking woods, curing salts, and spices to produce distinctive local flavors.
Adjust the approach for seasons by pairing bacon with seasonal produce. In summer toss crisp bits into a chilled corn and tomato salad. In autumn combine chopped bacon with roasted Brussels sprouts and a splash of balsamic. For holiday brunches try brown sugar and black pepper sprinkled on slices before the final bake for a candied top. During colder months, add a pinch of ground clove or smoked paprika to the baking sheet for warming aromatics that enhance the savory profile.
Prepare multiple batches and store portions in the refrigerator ready to reheat. For sandwiches pack slices between parchment to prevent sticking. Freeze single serving stacks inside labeled freezer bags so you can pop a portion into a skillet or oven to re-crisp in minutes. When reheating, a quick sear in a dry skillet restores snap without adding extra fat. This method saves breakfast time and elevates quick lunches with minimal morning effort.
Oven baked bacon has become a small ritual that makes mornings smoother and gatherings simpler. It rewards minimal attention with reliably delicious results, and that reliability is why I keep coming back to this technique. Try the timing suggestions, note how your oven performs, and make it your own — the best bacon is the one that fits your taste and routine.
Line rimmed baking sheets with parchment to catch grease and make cleanup easy.
Flip bacon once halfway through to ensure even browning on both sides.
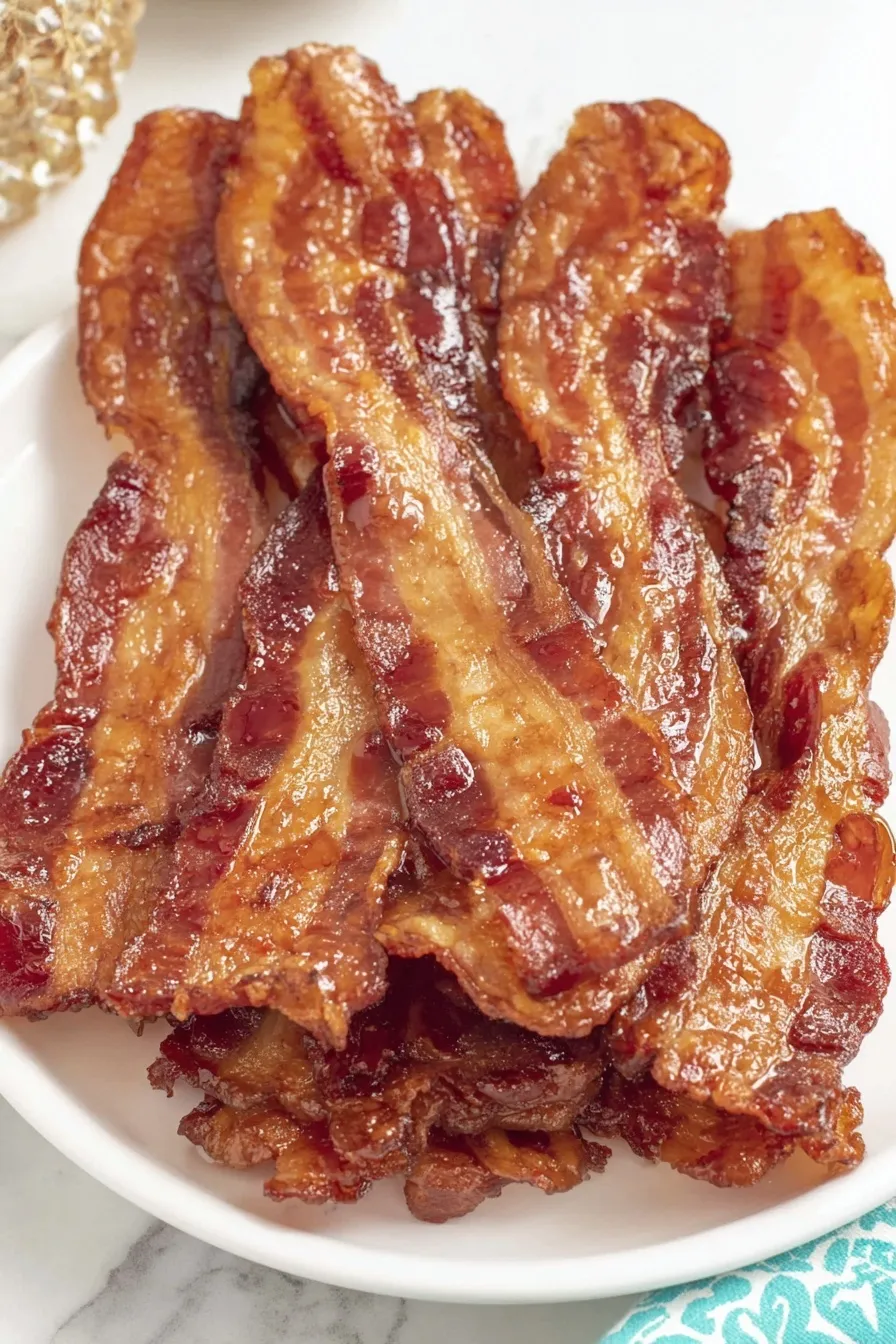
For maximum crispness, finish on a wire rack for the last few minutes so hot air circulates around slices.
This nourishing oven baked bacon recipe is sure to be a staple in your kitchen. Enjoy every moist, high protein slice — it is perfect for breakfast or as a wholesome snack any time.
Yes. Cook slices until they are hot and crisp to your liking. Store cooled bacon in an airtight container in the refrigerator for up to four days.
Use 15 minutes per side at 350 degrees Fahrenheit for regular sliced bacon, and 20 minutes per side for thick cut. Adjust time slightly depending on your oven's performance.
This Oven Baked Bacon recipe makes perfectly juicy, tender, and flavorful steak every time! Serve with potatoes and a side salad for an unforgettable dinner in under 30 minutes.
Preheat the oven to 350 degrees Fahrenheit and line two rimmed baking sheets with parchment paper. Position a rack in the middle of the oven for balanced heat.
Lay bacon slices in a single layer on the prepared parchment, avoiding heavy overlap so each piece cooks evenly and fat renders properly.
Bake for 15 minutes for regular sliced bacon or 20 minutes for thick sliced. Watch for color change and rendered fat but avoid opening the oven frequently.
Remove sheets carefully, flip each slice with tongs, and return to the oven for another 15 minutes for regular or 20 minutes for thick cut until desired crispness.
Transfer cooked slices to paper towels and top with another sheet to absorb excess grease. Let rest a minute before serving or storing.
Last Step: Please leave a rating and comment letting us know how you liked this recipe! This helps our business to thrive and continue providing free, high-quality recipes for you.
Leave a comment & rating below or tag
@royalmorsel on social media!

Juicy beef, sweet-charred peppers, and a silky queso drizzle turn these sliders into the ultimate crowd-pleasing bite for game day or weeknight fun.

Melt-in-your-mouth braised short ribs nestled over creamy garlic mashed potatoes, all in a rich, herb-scented sauce that feels like a warm hug.

Golden, garlicky pull-apart loaf swaddled in buttery herbs and stretchy mozzarella that begs to be shared warm from the oven.
Leave a comment & rating below or tag @royalmorsel on social media!
Enjoyed this recipe? Share it with friends and family, and don't forget to leave a review!
This recipe looks amazing! Can't wait to try it.
Comments are stored locally in your browser. Server comments are displayed alongside your local comments.

Join to receive our email series which contains a round-up of some of our quick and easy family favorite recipes.
