
>>

Tender, fall-off-the-bone baby back ribs rubbed with a sweet-spicy brown sugar blend and finished under the broiler with a sticky barbecue glaze—easy weeknight or weekend favorite.
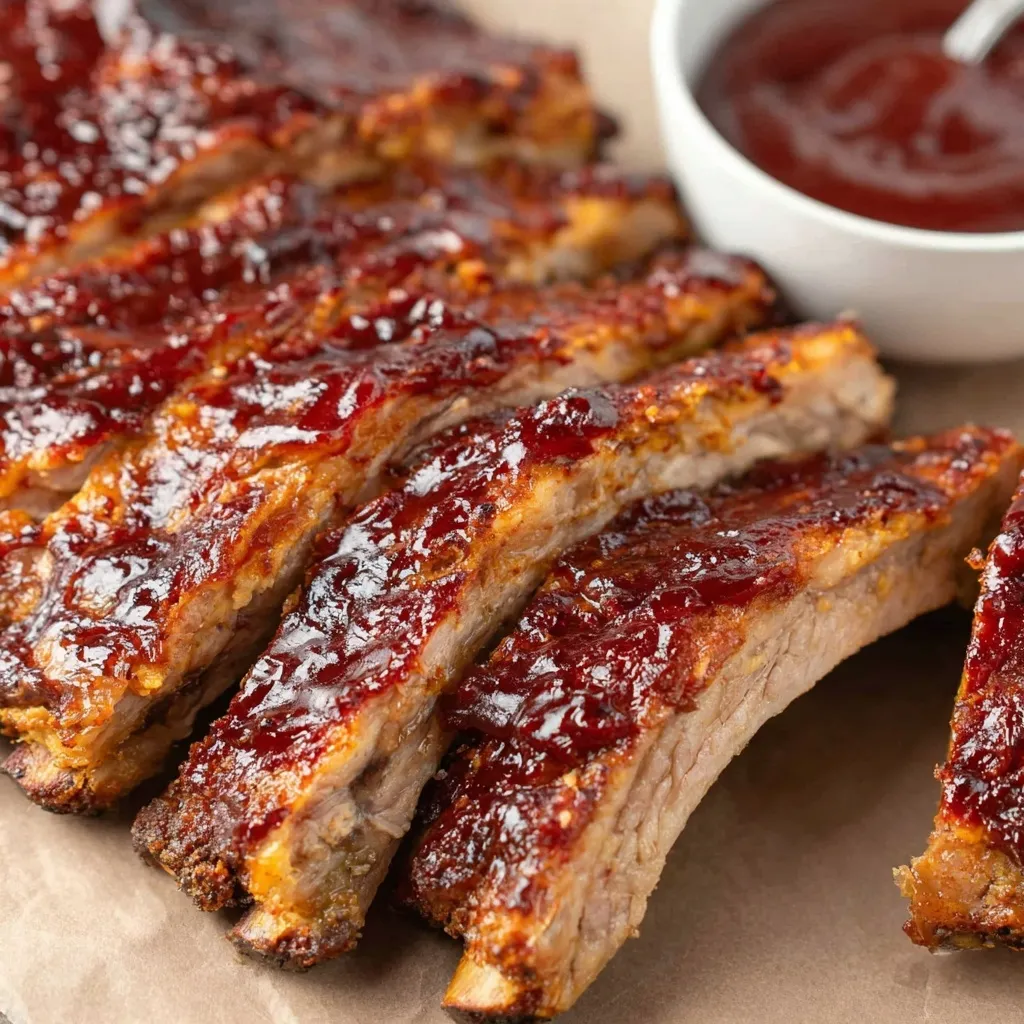
This rack of baby back ribs became my go-to for relaxed weekend dinners and last-minute gatherings. I first discovered this method on a rainy Saturday when the grill was out of the question and I still wanted that caramelized finish you expect from outdoor cooking. Slow, gentle heat in the oven, a generous brown sugar–forward dry rub, and a brief hit under the broiler deliver deeply flavored, tender ribs with a glossy, sticky finish. The texture is where it sings: meat that yields to a gentle tug but still clings to the bone, with a caramelized crust that provides contrast to the soft interior.
I connect this preparation to family Sundays—kids running between the kitchen and living room while the house fills with the warm scent of smoked paprika and brown sugar. It’s approachable enough for cooks who don’t use a smoker regularly, yet sophisticated enough to impress company. The method is forgiving: a careful membrane removal, accurate seasoning, and a sealed foil bake are the three small investments that reward you with consistently delicious ribs every time.
In my experience, guests immediately comment on the caramelized edges after broiling; even those who claim they "don’t like ribs" usually come back for seconds. The method taught me that low-and-slow in the oven followed by a high-heat finish is a reliable shortcut to restaurant-quality results.
What I love most about this approach is its reliability: the oven does the heavy lifting, and the broiler adds the finishing drama. I often make two racks—one for dinner and one to slice for sandwiches the next day—and the family never complains about leftovers.
Cool ribs to room temperature no longer than two hours, then refrigerate in an airtight container or wrapped tightly in plastic wrap and foil; they will keep 3 to 4 days. For longer storage, remove glaze, wrap each rack tightly in plastic, then aluminum foil and freeze up to 3 months. To reheat, thaw overnight in the refrigerator, brush with extra barbecue sauce, and reheat at 300°F wrapped in foil until warmed through, then broil 1 to 2 minutes to revive the glaze.
If you can’t find baby back ribs, spare ribs are an option but require a longer baking time due to greater connective tissue—add 30 to 45 minutes. Swap light brown sugar for dark brown for a molasses note; use maple sugar for a more complex sweetness. If you’re avoiding mustard powder substitute 1 tablespoon apple cider vinegar mixed with a teaspoon of Dijon in the glaze to keep acidity. To make it less sweet, reduce brown sugar in the glaze by half.
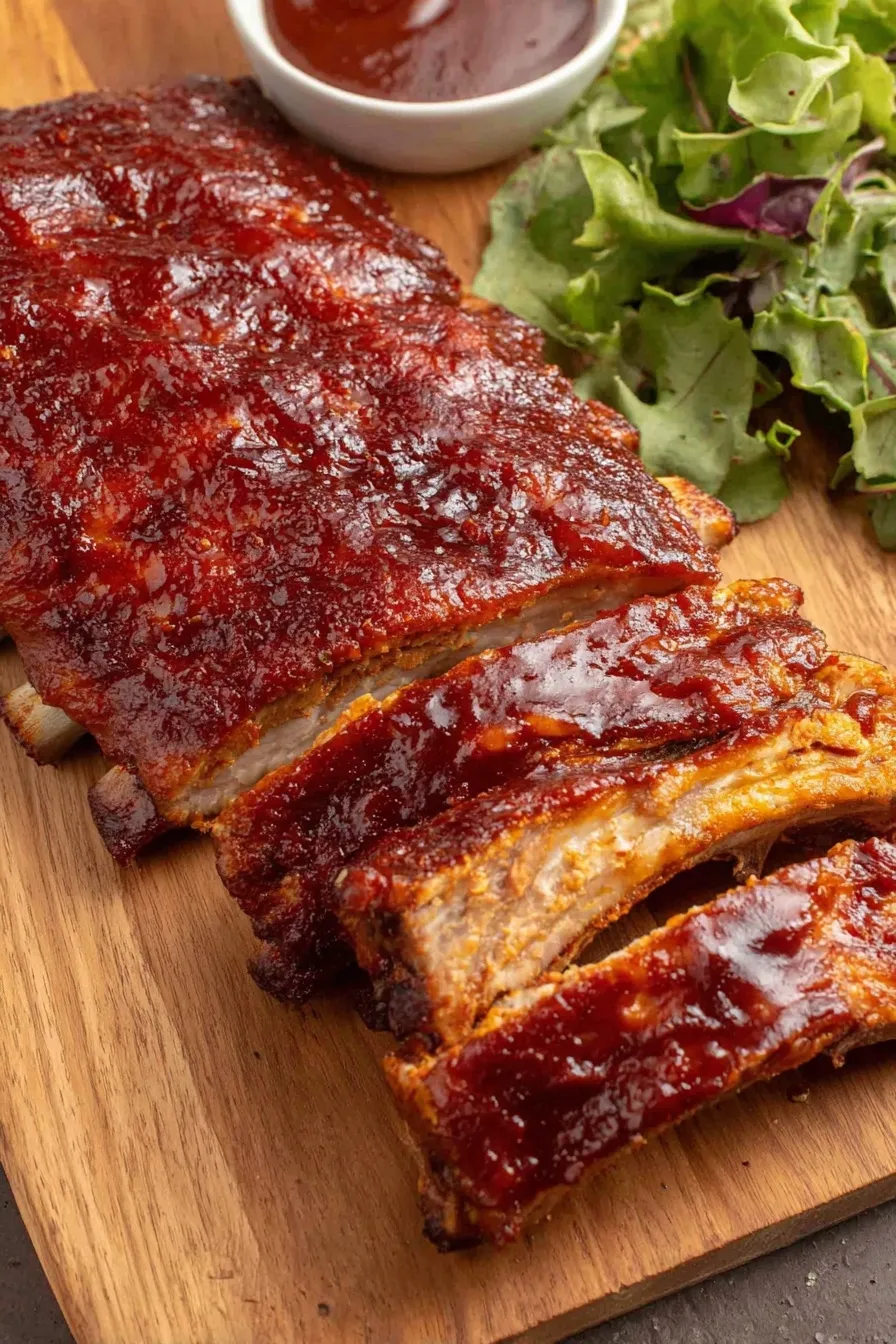
Serve these ribs with classic sides such as creamy coleslaw, roasted sweet potatoes, or cornbread. For a lighter plate, pair with a crisp green salad tossed in a tangy vinaigrette to cut through the richness. Garnish with chopped parsley or scallions and a wedge of lemon for brightness. For game-day service, slice and offer extra sauce on the side along with pickles and sliced red onion.
Ribs are central to American barbecue traditions, with regional variations from Kansas City’s sticky sweet sauces to the tangy vinegar-based sauces of North Carolina and the dry-rub emphasis in Memphis. This oven-based approach borrows the flavor profile of smoked barbecue—smoked paprika and a brown sugar crust—while adapting to home kitchens without smokers. It’s a fusion of classic barbecue spirit and pragmatic home cooking.
In summer, swap smoked paprika for smoked chili powder and add a splash of citrus to the glaze for brightness. In fall and winter, deepen the spice profile with a pinch of ground cloves or allspice and finish with a maple-bourbon glaze for festive occasions. For holiday gatherings, serve alongside roasted root vegetables and a mustard-forward slaw to echo the warm spices.
Season ribs and refrigerate overnight to let flavors penetrate the meat. Bake the day before, cool, then store in the fridge. On the day you serve, reheat at 300°F wrapped in foil until warm, then brush with fresh glaze and broil to refresh the caramelized finish. Portion into individual servings for grab-and-go lunches—slice between bones and store in shallow containers for even reheating.
This method gives you dependable, deeply flavored ribs any time of year. It’s the kind of recipe that becomes a family standby because it’s consistent, flexible, and always satisfying. I hope you make it part of your rotation and share it with the people you love.
Remove the membrane for better seasoning penetration and more tender meat.
Pat ribs dry before applying the rub to help the spice mixture adhere.
Broil for no more than 2–3 minutes to caramelize the glaze without burning.
If glazing earlier, reserve some sauce to reapply after broiling for gloss.
Use heavy-duty foil and a rimmed baking sheet to catch juices and prevent spills.
This nourishing oven-baked baby back ribs with brown sugar dry rub and sticky bbq glaze recipe is sure to be a staple in your kitchen. Enjoy every moist, high protein slice — it is perfect for breakfast or as a wholesome snack any time.
Yes—after baking and glazing, the ribs can be refrigerated for up to 4 days. Reheat at 300°F wrapped in foil and then broil briefly to restore the glaze.
For tender results, the total oven time should be about 2 hours 30 minutes at 300°F before broiling. Spare ribs may require additional time.
This Oven-Baked Baby Back Ribs with Brown Sugar Dry Rub and Sticky BBQ Glaze recipe makes perfectly juicy, tender, and flavorful steak every time! Serve with potatoes and a side salad for an unforgettable dinner in under 30 minutes.
Preheat oven to 300°F. Whisk together brown sugar, granulated sugar, onion powder, kosher salt, smoked paprika, black pepper, ground mustard, cumin, cayenne, and nutmeg in a small bowl until evenly mixed.
Turn the rack bone-side up, slide a small knife under the membrane to lift a corner, then grip with a paper towel and peel the membrane away to improve seasoning absorption and tenderness.
Place a long sheet of heavy-duty foil on a rimmed baking sheet. Lay ribs meat-side down with bones up in the center of the foil to make seasoning the bones easier.
Spread one-third of the rub over the bones and rub in, flip the rack and coat the meat side with the remaining rub, pressing it into the surface so it adheres well.
Crimp foil seams tightly to create a sealed packet. Bake at 300°F for 2 hours and 30 minutes to break down connective tissue and tenderize the meat.
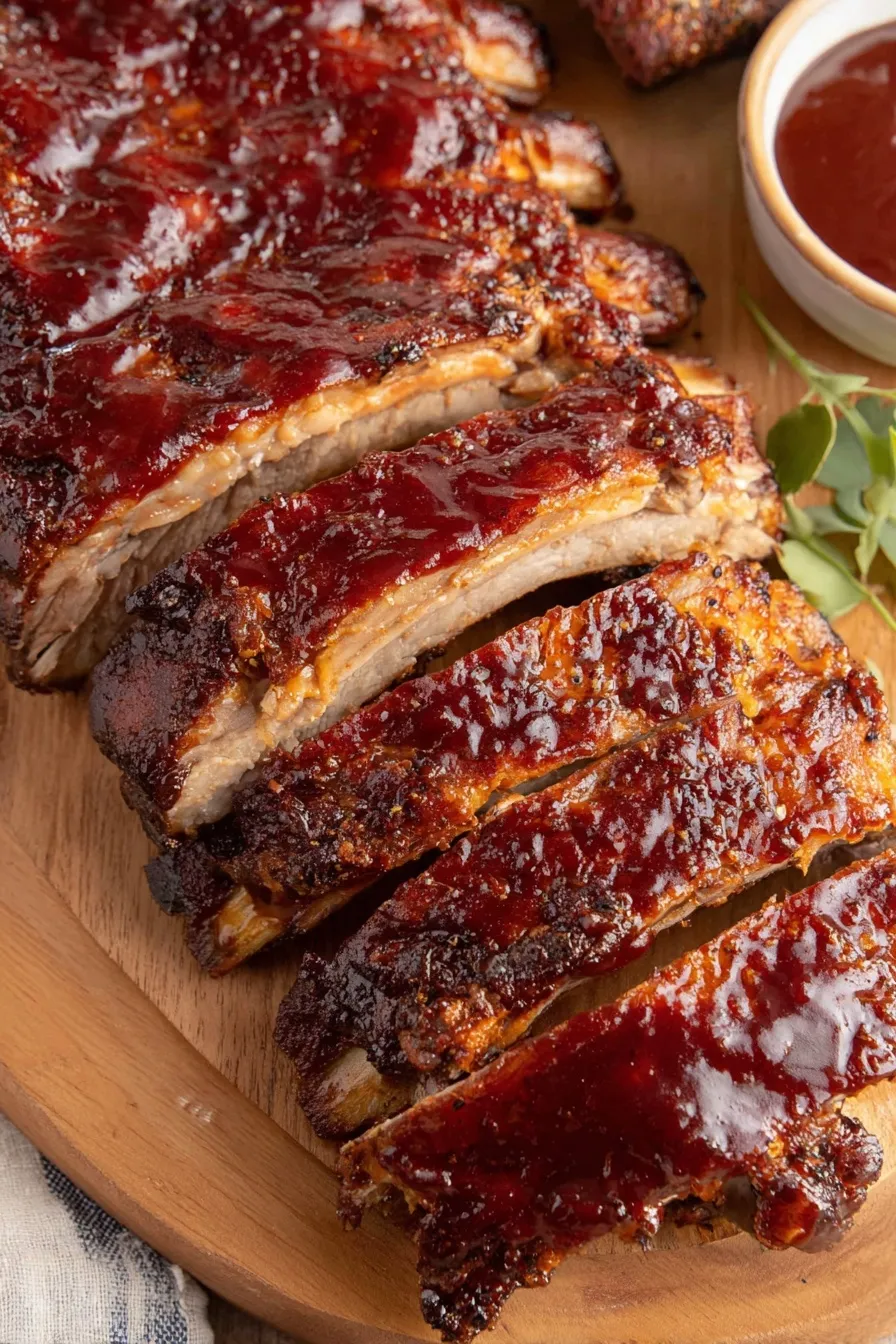
Increase oven to broil. Whisk 1/2 cup barbecue sauce with 3 tablespoons brown sugar, carefully open the foil, spoon glaze over ribs, and broil 2 to 3 minutes until caramelized and sticky, watching closely.
Remove from oven and rest uncovered 10 minutes. Slice between bones and serve with extra sauce if desired.
Last Step: Please leave a rating and comment letting us know how you liked this recipe! This helps our business to thrive and continue providing free, high-quality recipes for you.
Leave a comment & rating below or tag
@royalmorsel on social media!

Juicy beef, sweet-charred peppers, and a silky queso drizzle turn these sliders into the ultimate crowd-pleasing bite for game day or weeknight fun.

Melt-in-your-mouth braised short ribs nestled over creamy garlic mashed potatoes, all in a rich, herb-scented sauce that feels like a warm hug.

Golden, garlicky pull-apart loaf swaddled in buttery herbs and stretchy mozzarella that begs to be shared warm from the oven.
Leave a comment & rating below or tag @royalmorsel on social media!
Enjoyed this recipe? Share it with friends and family, and don't forget to leave a review!
This recipe looks amazing! Can't wait to try it.
Comments are stored locally in your browser. Server comments are displayed alongside your local comments.

Join to receive our email series which contains a round-up of some of our quick and easy family favorite recipes.
