
>>

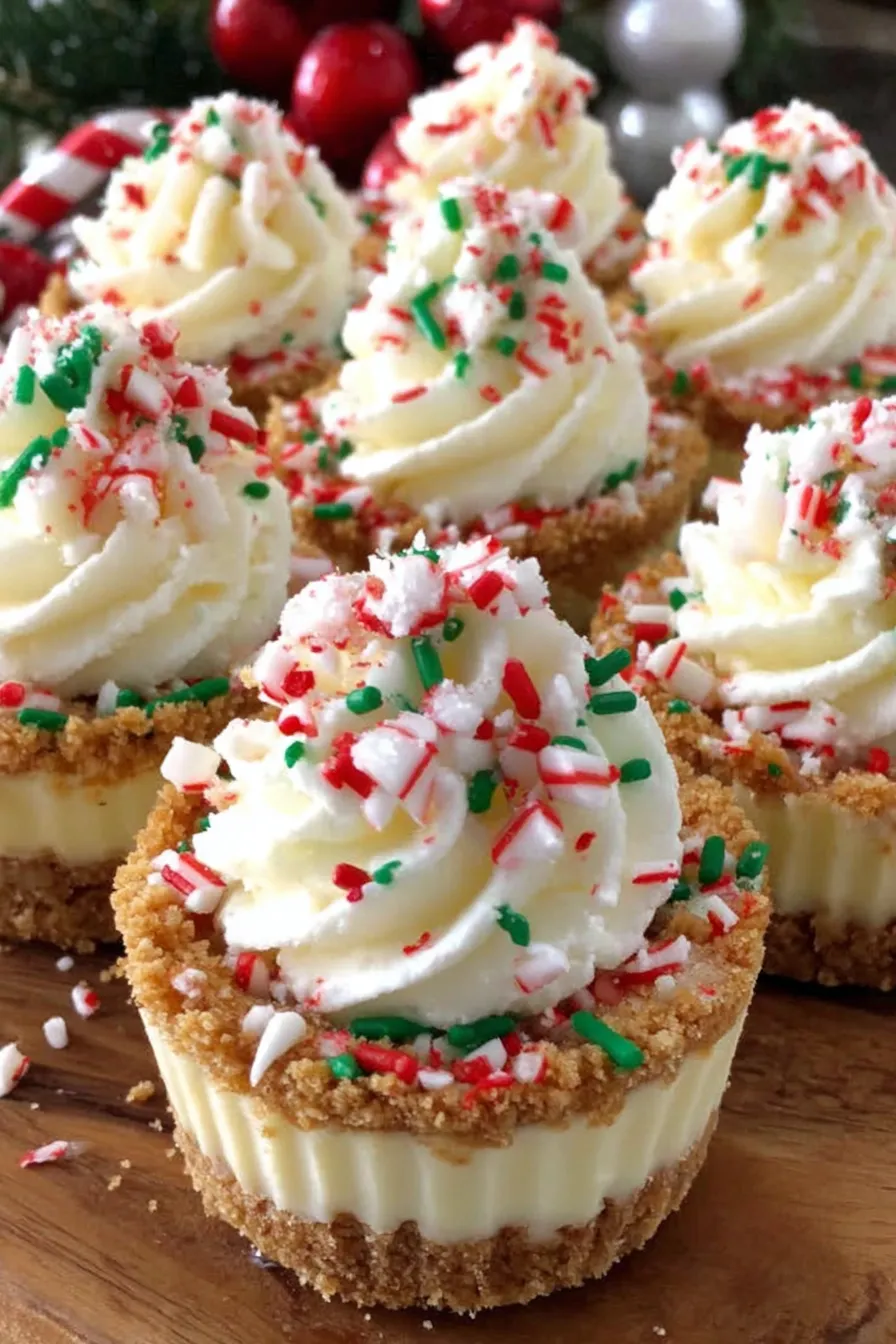
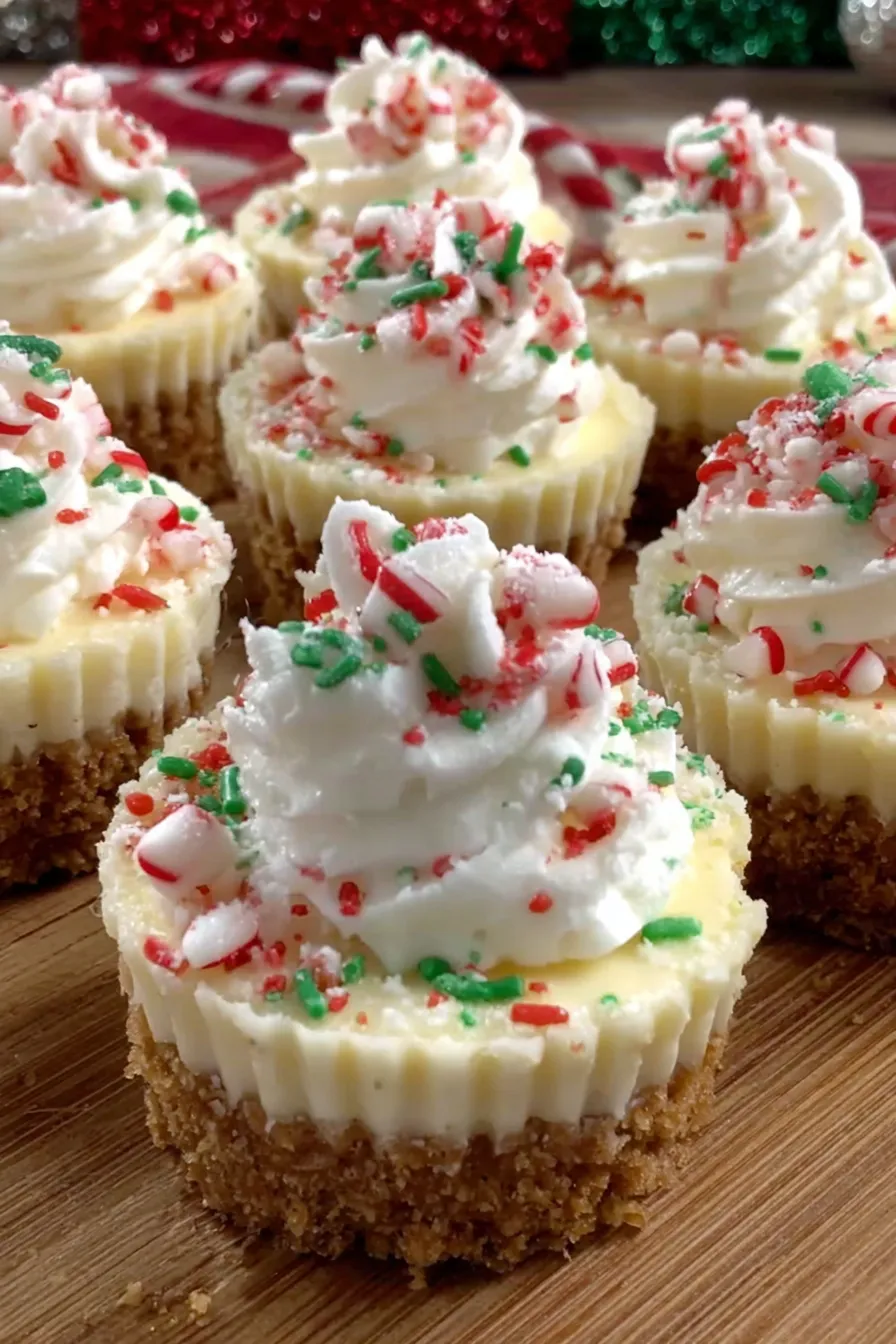
Festive, creamy no-bake mini cheesecakes topped with red and green sprinkles — a simple, make-ahead holiday treat everyone will love.

This batch of no-bake mini cheesecakes has become my go-to holiday sweet because they deliver all the creamy, tangy joy of a classic cheesecake without the oven drama. I first made them on a hectic December evening when oven space was at a premium and a last-minute party invitation arrived. The result was better than I expected: light, airy filling resting on a crisp graham crust, finished with festive sprinkles and a hint of crushed candy cane for crunch.
I love how approachable these treats are. They set in the refrigerator, so you can make them ahead and free up precious oven time for savory mains. The texture is velvety but light thanks to whipped cream folded into softened cream cheese, and the graham base gives a buttery, slightly sweet counterpoint. Friends and family have told me these are the easiest mini dessert to disappear at holiday gatherings — which is exactly the compliment a home cook wants to hear.
Personally, I've tested these with a handful of brands — I prefer a full-fat cream cheese like Philadelphia for stability and Cabot or a stick of unsalted butter for the crust. At one holiday cookie swap, I brought a dozen and they vanished first; that night I learned to double the batch. My kids love decorating the tops, which makes assembly a fun family activity.
My favorite thing about these mini cheesecakes is how customizable they are. At one Christmas brunch I swapped sprinkles for a quick cherry compote and watched the grown-ups debate which topping was best. The kids insisted on candy canes. Making a few different versions on the same tray is a simple way to please everyone without extra fuss.
Store the mini cheesecakes in a single layer in an airtight container in the refrigerator. If stacking is necessary, separate layers with parchment paper to protect the decorations. They remain best within 3 days; after that the crust can soften and the whipped cream may lose some airiness. For longer storage, freeze on a tray until solid, then transfer to a freezer-safe container or zip-top bag with layers separated by parchment; thaw in the refrigerator for 6-8 hours before serving. When reheating is desired, allow to come to cool room temperature for 10–15 minutes for softer texture without melting.
If graham crackers are unavailable, use digestive biscuits, vanilla wafers, or a light shortbread cookie crushed to similar volume (1 1/2 cups). For a gluten-free option, choose certified gluten-free graham-style crumbs. Swap the granulated sugar in the crust for brown sugar for a deeper caramel note (same measurement). For a lighter filling, use a combination of half heavy cream and half mascarpone in place of all cream cheese, but expect slightly different tang and mouthfeel. To make them vegan, replace cream cheese with a firm vegan cream cheese and use coconut cream whipped to stiff peaks — note the flavor and texture will shift.
Serve these chilled on a festive platter with a dusting of powdered sugar or a small spoonful of fruit compote (cranberry or cherry pairs beautifully). For a party, arrange on tiered stands and label the toppings (sprinkles, crushed candy cane, chocolate shavings). Garnish with a tiny fresh mint leaf for contrast or a small curl of dark chocolate for adults. These mini portions are perfect after a heavy holiday meal when guests appreciate a controlled sweet bite.
For a winter twist, fold a teaspoon of finely grated orange zest into the cream cheese mixture and top with candied orange peel. For a summer holiday, switch sprinkles to fresh berries and a lemon-scented whipped cream. During the peppermint season, stir a drop of peppermint extract into the whipped cream and garnish with crushed candy cane. Each small change shifts the profile while maintaining the easy, no-bake technique that makes this approach so useful year-round.
Make the crusts and filling the day before; assemble and chill overnight for fully set minis the next day. Use a piping bag fitted with a large round tip for uniform domes and professional presentation. Pack in single layers with parchment separators for transport to parties or potlucks. If you need to speed up chilling, place trays in the coldest part of the fridge, but avoid the freezer unless you plan to freeze for storage.
These mini cheesecakes are a small, joyful way to celebrate the season. They’re simple enough for a novice to master but elegant enough to feel special — a perfect holiday balance that keeps the focus on friends, family, and good food.
Allow cream cheese to come to room temperature to avoid lumps when mixing.
Chill the mixing bowl and beaters briefly before whipping cream to achieve stiffer peaks faster.
Press the crumb mixture firmly into the molds to create a solid barrier against moisture.
Pipe the filling using a piping bag for consistent, professional-looking minis.
Decorate just before serving to keep sprinkles and crushed candy canes crisp.
This nourishing no-bake christmas mini cheesecakes recipe is sure to be a staple in your kitchen. Enjoy every moist, high protein slice — it is perfect for breakfast or as a wholesome snack any time.
This No-Bake Christmas Mini Cheesecakes recipe makes perfectly juicy, tender, and flavorful steak every time! Serve with potatoes and a side salad for an unforgettable dinner in under 30 minutes.
Combine graham cracker crumbs, melted butter, and granulated sugar until the crumbs resemble wet sand. Press firmly into mini liners or a greased mini muffin tin and chill for 15 minutes.
Beat softened cream cheese until smooth, then add powdered sugar and mix until fully combined and silky.
Whip cold heavy cream with vanilla extract to stiff peaks in a chilled bowl, taking care not to overwhip.
Gently fold whipped cream into the cream cheese mixture in three additions. Spoon or pipe onto chilled crusts and smooth the tops.
Refrigerate for at least 3 hours or overnight. Decorate with sprinkles and optional crushed candy canes just before serving.
Last Step: Please leave a rating and comment letting us know how you liked this recipe! This helps our business to thrive and continue providing free, high-quality recipes for you.
Leave a comment & rating below or tag
@royalmorsel on social media!

Juicy beef, sweet-charred peppers, and a silky queso drizzle turn these sliders into the ultimate crowd-pleasing bite for game day or weeknight fun.

Melt-in-your-mouth braised short ribs nestled over creamy garlic mashed potatoes, all in a rich, herb-scented sauce that feels like a warm hug.

Golden, garlicky pull-apart loaf swaddled in buttery herbs and stretchy mozzarella that begs to be shared warm from the oven.
Leave a comment & rating below or tag @royalmorsel on social media!
Enjoyed this recipe? Share it with friends and family, and don't forget to leave a review!
This recipe looks amazing! Can't wait to try it.
Comments are stored locally in your browser. Server comments are displayed alongside your local comments.

Join to receive our email series which contains a round-up of some of our quick and easy family favorite recipes.
