
>>

Crisp little pastry shells filled with a buttery, brown sugar pecan filling — perfect for holiday parties, bite-sized desserts, or sweet snack attacks.

This batch of mini pecan pies has been my go-to holiday treat for years. I first developed this bite-sized version during a Thanksgiving when I wanted something nostalgic but easier to pass around than a full pie. The filling is the same caramel-like, nutty mix that makes classic pecan pie irresistible, but the small format shortens bake time, creates more crisp edges, and lets guests sample without committing to a large slice. Every holiday table I bring these to, the pan comes back empty — and the requests for the recipe start early the next year.
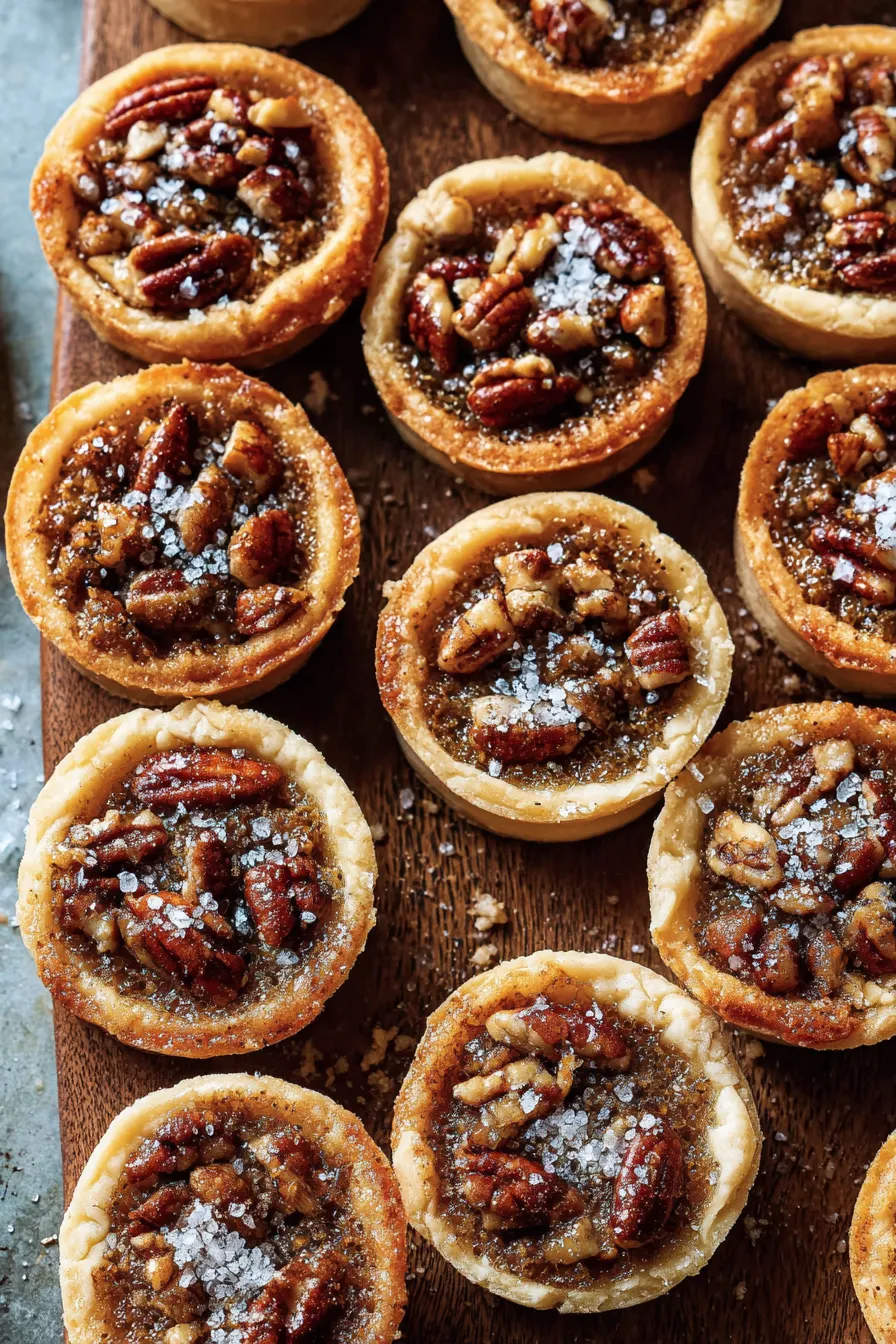
The contrast between tender, flaky crust and a glossy, slightly gooey pecan center is what makes these tiny pies memorable. They have a true buttery depth from real butter, warm spice from cinnamon and nutmeg, and the pleasing crunch of toasted pecans. Making them in a mini muffin pan transforms the experience: you get more crust-to-filling ratio, little golden edges, and a presentation that feels special. I like to make the dough the night before, so the shortest part of the process on baking day is assembly — a real timesaver when the oven is busy with other holiday dishes.
In my kitchen these little tarts became a tradition after I noticed my kids liked sampling the edges of a pecan pie first — so I made the whole thing that way. Family and friends often comment on how satisfying the texture is: the buttery crust, the soft-but-set center, and the toasted pecans create a trio of contrasts in each bite.
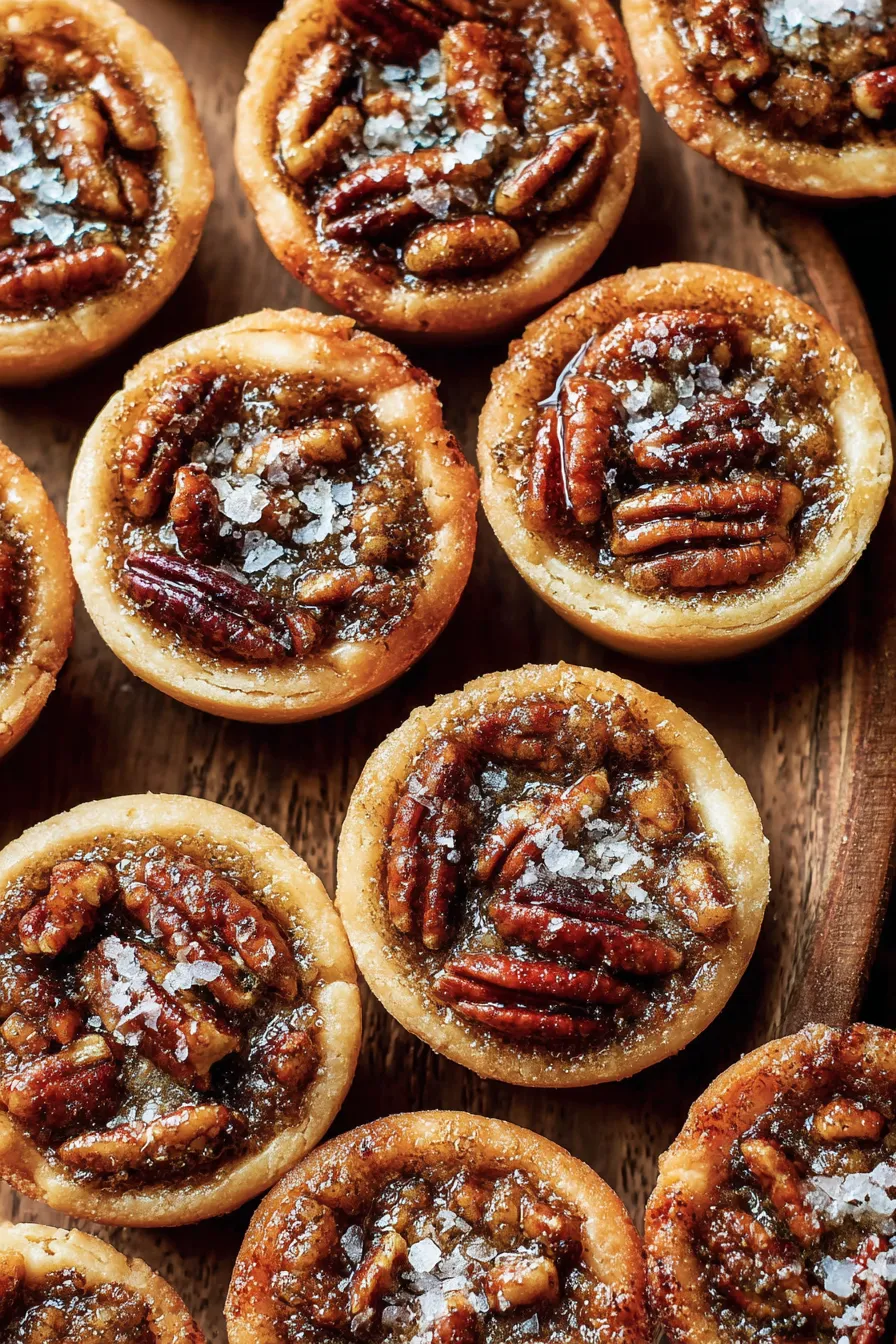
What I love most about these is how effortless they feel despite their elegant appearance. They’re great for sharing because people can try one without committing to a large slice. A tiny sprinkle of flaky sea salt before baking is a small step with a big payoff — it brightens the flavors and keeps the sweetness from becoming cloying.
Store completely cooled mini pies in an airtight container at room temperature for up to 3 days. If your kitchen is warm, refrigerate them; chilled pies keep for 5 days but the crust will lose a bit of its crispness. For longer storage, freeze unfrosted pies on a baking sheet until solid, then transfer to a freezer-safe container for up to 3 months. Reheat frozen pies in a 325°F oven for 8–10 minutes until warmed through, or bring to room temperature and pop under a broiler for a minute to recrisp the edges — watch closely to avoid burning.
If you need to adapt ingredients, here are reliable swaps: replace the pie crust with store-bought refrigerated pie dough or a pressed shortbread crust for a sturdier base (reduce pre-bake time slightly if the base is thicker). Use light brown sugar if dark brown is unavailable — expect a lighter molasses flavor. For a dairy-free version, substitute melted coconut oil for butter and choose a dairy-free crust; texture will be slightly different but still delicious. To make them gluten-free, use a certified gluten-free pie crust in the same quantity.
Serve these as part of a dessert platter with mini tarts, cookies, and small slices of cake for variety. Garnish with a tiny swirl of whipped cream, a dusting of cinnamon, or a few halved pecans on top for presentation. They pair wonderfully with hot coffee, a strong black tea, or a small glass of bourbon for adult gatherings. For holidays, arrange on a tiered tray with festive sprigs and edible gold dust for extra flair.
The pecan pie is a beloved staple in Southern United States cooking, often associated with holidays and family gatherings. Pecans themselves are native to North America and were used for centuries by Indigenous peoples. The classic pie evolved into many regional variations — from syrup-sweetened versions to those enriched with chocolate or bourbon. These mini adaptations preserve the essential flavors while offering a modern, shareable format that suits contemporary entertaining.
In autumn and winter, amplify warmth by adding a pinch of ground cloves or a tablespoon of maple syrup to the filling. For spring or summer gatherings, lighten things with a lemon-scented whipped cream on top or fold toasted coconut into the pecan mix for a tropical twist. For a festive holiday touch, brush warmed apricot jam over cooled pies and sprinkle with finely chopped candied orange peel.
Assemble the filling and pre-cut crust rounds ahead of time: keep the rounds chilled on a tray between sheets of parchment until ready to press into the pan. Pre-bake shells and keep them in a single layer in a container to avoid crushing; finish with the filling and final bake on the day of serving. Use a small cookie scoop to portion filling evenly and speed up assembly if you're making large batches for events.
These mini pies are a small indulgence that carry big nostalgic flavor — perfect for holidays or anytime you want a sweet, shareable treat. Make a double batch and stash extras in the freezer; they reheat beautifully and keep the party going.
Keep dough cold and work quickly to avoid tough or shrunken crusts; chill dough if it becomes warm while cutting rounds.
Pre-bake the shells for 7 minutes at 325°F to prevent soggy bottoms when filled with the wet pecan mixture.
Use a small cookie scoop or two teaspoons to portion filling evenly so each mini pie bakes uniformly.
Toast pecans lightly before chopping to intensify their flavor; cool before folding into the filling.
Sprinkle flaky sea salt on top before baking to balance sweetness and highlight nutty flavors.
This nourishing mini pecan pies (mini muffin pan) recipe is sure to be a staple in your kitchen. Enjoy every moist, high protein slice — it is perfect for breakfast or as a wholesome snack any time.
Yes. Assemble and store cooled mini pies in an airtight container at room temperature for up to 3 days. Refrigerate if your kitchen is warm.
Freeze unbaked or unfrosted mini pies on a tray until solid, then transfer to a freezer-safe container for up to 3 months. Reheat in a 325°F oven for 8–10 minutes.
This Mini Pecan Pies (Mini Muffin Pan) recipe makes perfectly juicy, tender, and flavorful steak every time! Serve with potatoes and a side salad for an unforgettable dinner in under 30 minutes.
Make pie dough and chill for at least 2 hours or overnight. Keep dough cold until rolling to ensure flakiness and minimize shrinkage.
Roll the cold dough to a 12-inch circle on a lightly floured surface. Cut rounds with a 2.75-inch cutter and re-roll scraps quickly to yield about 24 rounds.
Grease a 24-count mini muffin pan. Press each round into a cavity and refrigerate the filled pan for 5–10 minutes to let the dough firm up.
Preheat oven to 325°F (163°C). Blind bake shells for 7 minutes to set bottoms and reduce sogginess after filling.
Melt butter and let cool slightly. Whisk brown sugar, egg, vanilla, nutmeg, and cinnamon until smooth. Stir in melted butter, then fold in chopped pecans.
Spoon 1–2 teaspoons of filling into each warm shell, sprinkle with flaky sea salt, then bake at 350°F (177°C) for 16–18 minutes until golden and set.
Cool completely in the pan before removing to help the centers finish setting. Serve at room temperature or with whipped cream.
Last Step: Please leave a rating and comment letting us know how you liked this recipe! This helps our business to thrive and continue providing free, high-quality recipes for you.
Leave a comment & rating below or tag
@royalmorsel on social media!

Juicy beef, sweet-charred peppers, and a silky queso drizzle turn these sliders into the ultimate crowd-pleasing bite for game day or weeknight fun.

Melt-in-your-mouth braised short ribs nestled over creamy garlic mashed potatoes, all in a rich, herb-scented sauce that feels like a warm hug.

Golden, garlicky pull-apart loaf swaddled in buttery herbs and stretchy mozzarella that begs to be shared warm from the oven.
Leave a comment & rating below or tag @royalmorsel on social media!
Enjoyed this recipe? Share it with friends and family, and don't forget to leave a review!
This recipe looks amazing! Can't wait to try it.
Comments are stored locally in your browser. Server comments are displayed alongside your local comments.

Join to receive our email series which contains a round-up of some of our quick and easy family favorite recipes.
