
Keto Chicken Bacon Ranch Taquitos

Crispy mozzarella shells rolled around a savory mix of shredded chicken, crunchy bacon, and low-carb ranch — a quick, high-protein keto snack everyone will devour.
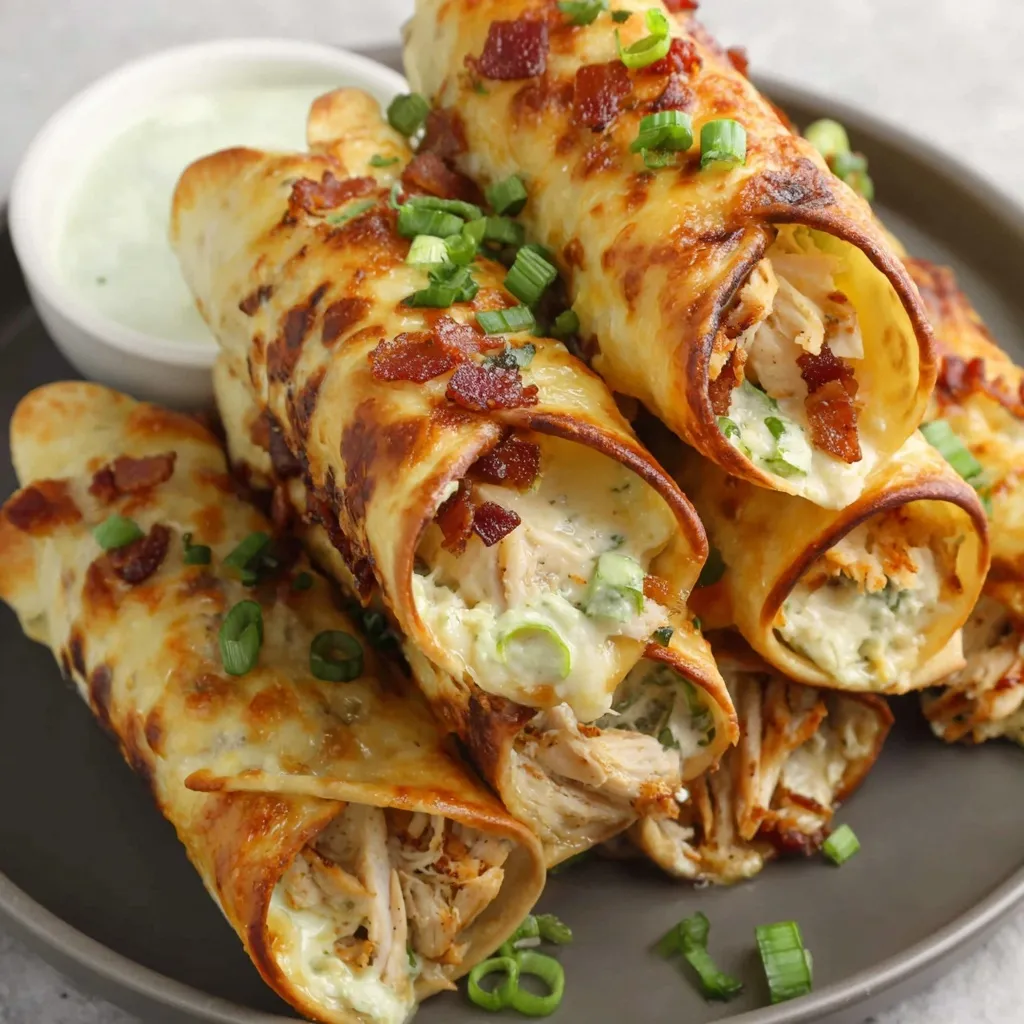
This recipe is my go-to when I want something crunchy, savory, and firmly within a low-carb lifestyle. I first created these taquitos on a busy weeknight when I had leftover grilled chicken, a handful of cheese slices, and a craving for something handheld and satisfying. They turned out even better than I imagined: the mozzarella crisps into a golden, crackly shell that contains a warm, creamy filling of shredded chicken, salty bacon, and bright green onion. They are the kind of snack that disappears fast at gatherings and makes weekday dinners feel a little celebratory.
These taquitos are special because of the contrast in texture — the crisp cheese exterior against the tender, well-seasoned chicken inside — and because they come together in under 30 minutes. I often make a double batch, tucking extras into the refrigerator for quick reheats, or serving them at parties where guests love a low-carb option that doesn't compromise on flavor. The recipe is forgiving, easy to scale, and perfect for anyone who follows a ketogenic plan or simply wants a protein-forward appetizer.
Why You'll Love This Recipe
- Ready in about 20 minutes from prep to plate, these are ideal for weeknights or last-minute snacks when you want something impressive without fuss.
- Uses pantry and fridge staples: pre-cooked chicken, sliced mozzarella, and leftover bacon make this a low-waste option.
- High in protein and low in carbohydrates, they fit ketogenic goals while still delivering rich, satisfying flavors.
- Make-ahead friendly: you can prepare the filling and assemble just before baking, or bake completely then reheat for a party.
- Crowd-pleasing and gluten-free by default when using compliant ranch dressing — great for gatherings with mixed dietary needs.
My family always asks for seconds. The first time I served these, my brother declared them better than store-bought bar snacks and asked for the recipe immediately. Over time I refined the timing and learned that letting the cheese crisp until the edges turn golden is the key to getting shells that roll instead of shatter.
Ingredients
- Cheese Shells: 6 slices mozzarella cheese — use pre-sliced low-moisture mozzarella for the best crisp. Brands like Sargento or store-brand pre-sliced low-moisture mozzarella work well because they brown reliably and release less water than fresh mozzarella.
- Cooked shredded chicken: 1 1/2 cups — rotisserie chicken or leftover grilled chicken shredded by hand creates the most tender filling. Aim for evenly shredded pieces so the filling rolls smoothly.
- Cooked bacon: 1/4 cup crumbled (about 2 to 3 slices) — thick-cut bacon holds a little more texture; cook until crisp and crumble finely so it distributes evenly through the filling.
- Low-carb ranch dressing: 1 tablespoon — choose a ranch labeled low-carb or a keto-friendly brand to keep carbs minimal; if using homemade, use full-fat mayo and sour cream base for richness.
- Green onion: 1 teaspoon chopped — just a little for brightness; scallions add a fresh pop that cuts through the richness.
Instructions
Prepare the filling: In a medium bowl combine 1 1/2 cups cooked shredded chicken, 1/4 cup cooked crumbled bacon, 1 tablespoon low-carb ranch dressing, and 1 teaspoon chopped green onion. Mix until everything is evenly coated; the dressing binds the filling so it will stay together when rolled. Taste and adjust seasoning with a pinch of salt if your bacon is very mild. Preheat the oven: Heat the oven to 350°F. Line a baking sheet with a silicone baking mat or parchment paper to keep the cheese from sticking and to make cleanup easy. Position a rack in the center of the oven for even browning. Bake the cheese slices: Place the mozzarella slices spaced apart on the lined baking sheet so they do not touch. Bake for 5 to 7 minutes until the edges are golden and the cheese is bubbly. Look for a light caramel color at the edges — that indicates the cheese has released enough moisture to crisp without burning. Cool the shells: Remove the baking sheet from the oven and let the cheese cool for about 1 minute. The shells should still be warm and pliable but not so hot that they fall apart when handled. If a shell cools too long and becomes brittle, return it to the oven for 15 to 30 seconds to soften. Roll the taquitos: Place a tablespoon-sized portion of the chicken mixture on the edge of each cheese slice and roll tightly. Set the seam side down on the baking sheet or on a serving plate to help them hold their shape. Serve warm or place back in the oven for 2 minutes to re-crisp the seam if needed.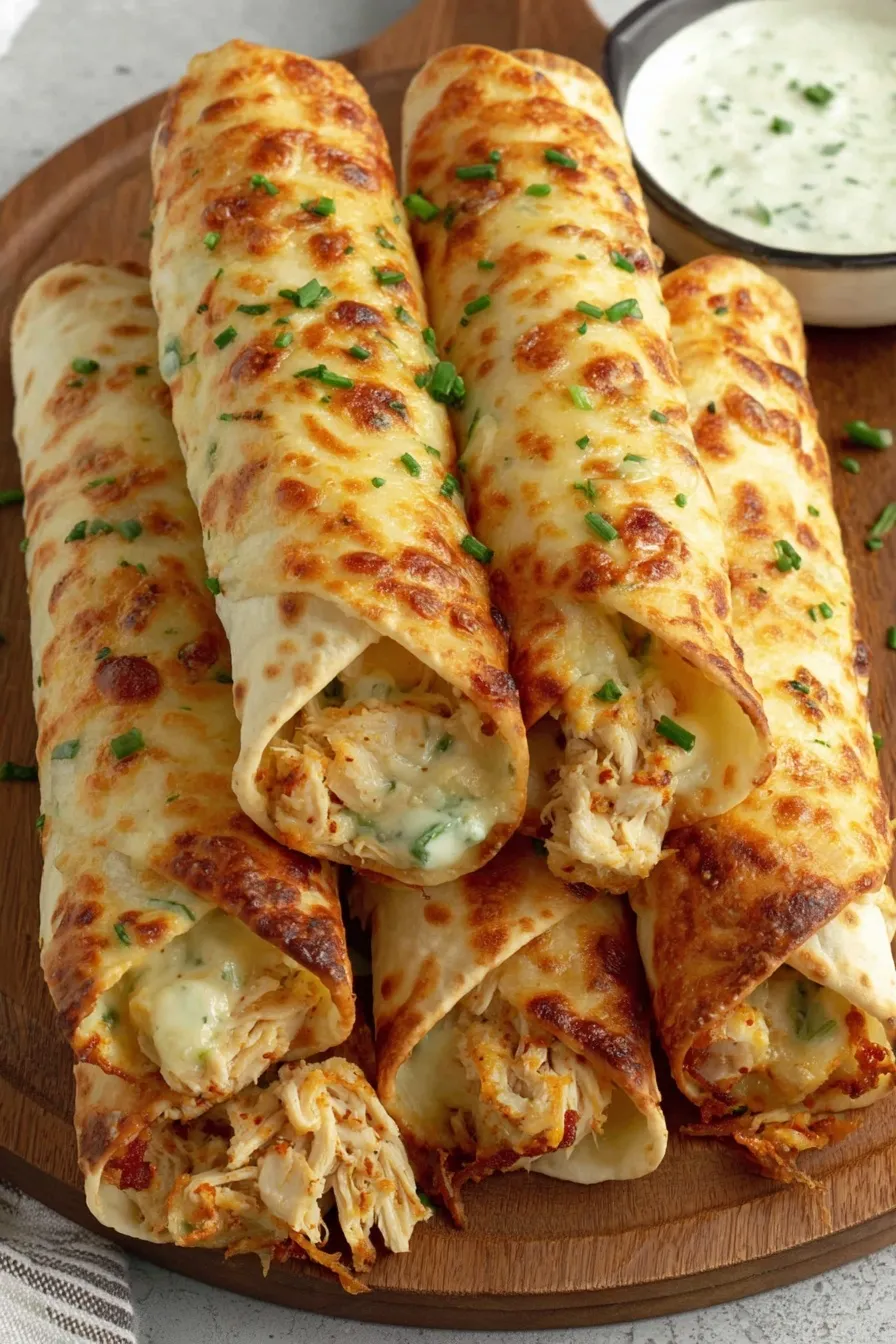
You Must Know
- These freeze well for up to 3 months when stored in an airtight container; reheat in a 350°F oven for 8 to 10 minutes to restore crispiness.
- Rich in protein and low in carbs, a single taquito contains roughly 143 calories, about 1.5 g net carbs, 8.7 g fat and 17.3 g protein.
- Store leftovers refrigerated for up to 4 days; avoid long room-temperature storage because the filling contains cooked poultry.
- For best results, use low-moisture pre-sliced mozzarella to prevent soggy shells and ensure a crisp finish.
My favorite part of these is how portable they are. When I bring them to gatherings, people appreciate the familiar flavors of chicken, bacon, and ranch compressed into a neat, crunchy package. Over the years I learned that rolling immediately after the short cooling period gives the best balance between pliability and crispness — a little patience at that step prevents breakage and produces the perfect taquito every time.

Storage Tips
Allow taquitos to cool to room temperature before storing to avoid extra moisture buildup. Place them in a single layer in an airtight container lined with paper towel to absorb residual moisture; separate layers with parchment if stacking. Refrigerate for up to 4 days. For freezing, flash-freeze on a tray for 1 hour then transfer to a freezer bag; this prevents sticking and preserves shape. To reheat, bake at 350°F for 8 to 12 minutes from refrigerated, or 10 to 15 minutes from frozen, until heated through and crisp.
Ingredient Substitutions
If you prefer a different cheese, try provolone slices for a slightly sharper flavor, though thin pre-sliced provolone may brown faster so watch closely. Swap chicken for cooked turkey or roast pork for variety. Use turkey bacon for a leaner profile, and choose a dairy-free ranch alternative if you need to avoid dairy — note that the shell will no longer be cheese-based if you omit mozzarella, so consider baking thin almond-flour tortillas as an alternative low-carb shell.
Serving Suggestions
Serve these warm with extra low-carb ranch or a small dollop of sour cream mixed with chopped chives. They pair well with a crisp green salad dressed in citrus vinaigrette to cut through the richness, or with pickled jalapeños for a spicy contrast. For parties, arrange on a platter with toothpicks and a trio of dipping sauces: ranch, sugar-free BBQ, and avocado crema for variety.
Cultural Background
Taquitos have roots in Mexican cuisine as small rolled tacos, typically fried and filled with meat. This version is a modern, low-carb reinterpretation that replaces the traditional tortilla with a baked cheese crisp, drawing on contemporary ketogenic techniques that turn cheese into a sturdy shell. It’s a fusion that celebrates classic flavors — chicken, bacon, and ranch — while adapting textures and ingredients for today’s dietary preferences.
Seasonal Adaptations
In summer, swap some of the chicken for charred corn kernels and a few chopped cherry tomatoes for a lighter, brighter filling (note that corn increases carbs). In autumn and winter, add warming spices like smoked paprika or a pinch of chipotle to the filling for depth. Holiday gatherings welcome a cranberry-ranch drizzle or a sprinkle of fresh thyme for a festive touch.
Meal Prep Tips
Prepare the shredded chicken and crumble the bacon ahead of time and store each in separate containers. Mix the filling the morning of service, then bake cheese shells just before guests arrive so shells remain crisp. If you need fully make-ahead options, assemble and bake, then cool completely and refrigerate; re-crisp in the oven for 5 to 8 minutes before serving to restore texture.
These taquitos are a little celebration of flavor and convenience — an easy way to enjoy classic tastes while staying low-carb. I hope they become a favorite in your household as they are in mine.
Pro Tips
Use low-moisture pre-sliced mozzarella for crisp shells that roll without cracking.
If a shell becomes brittle, place it back in the oven for 15 to 30 seconds to soften before rolling.
Flash-freeze assembled taquitos on a tray before bagging to prevent sticking and preserve shape.
Reseal any stored leftovers in an airtight container with paper towel to absorb moisture and maintain crispness.
This nourishing keto chicken bacon ranch taquitos recipe is sure to be a staple in your kitchen. Enjoy every moist, high protein slice — it is perfect for breakfast or as a wholesome snack any time.
Tags
Keto Chicken Bacon Ranch Taquitos
This Keto Chicken Bacon Ranch Taquitos recipe makes perfectly juicy, tender, and flavorful steak every time! Serve with potatoes and a side salad for an unforgettable dinner in under 30 minutes.
Ingredients
Cheese Shells
Filling
Instructions
Prepare the filling
In a bowl combine 1 1/2 cups cooked shredded chicken, 1/4 cup cooked crumbled bacon, 1 tablespoon low-carb ranch dressing, and 1 teaspoon chopped green onion. Mix until evenly coated and set aside.
Preheat the oven
Preheat oven to 350°F and line a baking sheet with a silicone baking mat or parchment paper for nonstick baking.
Bake the cheese slices
Place mozzarella slices on the prepared baking sheet spaced apart. Bake for 5 to 7 minutes until edges are browned and cheese is bubbly. Watch closely to prevent burning.
Cool and roll
Remove sheet from oven and let cheese cool for about 1 minute until pliable. Place a portion of the chicken mixture on the edge of each cheese slice and roll tightly, placing seam side down to hold shape.
Re-crisp if needed
If desired, place rolled taquitos back in the oven for 1 to 2 minutes to re-crisp the seam and ensure warmth throughout before serving.
Last Step: Please leave a rating and comment letting us know how you liked this recipe! This helps our business to thrive and continue providing free, high-quality recipes for you.
Nutrition
Did You Make This?
Leave a comment & rating below or tag
@royalmorsel on social media!
Categories:
You might also like...

Cheeseburger Queso Sliders
Juicy beef, sweet-charred peppers, and a silky queso drizzle turn these sliders into the ultimate crowd-pleasing bite for game day or weeknight fun.

Short Ribs with Garlic Mash
Melt-in-your-mouth braised short ribs nestled over creamy garlic mashed potatoes, all in a rich, herb-scented sauce that feels like a warm hug.

Cheesy Garlic Pull-Apart Bread
Golden, garlicky pull-apart loaf swaddled in buttery herbs and stretchy mozzarella that begs to be shared warm from the oven.
Did You Make This?
Leave a comment & rating below or tag @royalmorsel on social media!
Rate This Recipe
Share This Recipe
Enjoyed this recipe? Share it with friends and family, and don't forget to leave a review!
Comments (1)
This recipe looks amazing! Can't wait to try it.
Comments are stored locally in your browser. Server comments are displayed alongside your local comments.

Hi, I'm Emma!
What's Popular

30-Minute Meals!
Join to receive our email series which contains a round-up of some of our quick and easy family favorite recipes.