
>>

A colorful, no-bake layered icebox cake that combines creamy vanilla filling, buttery shortbread, and rainbow sprinkles for a celebration-ready dessert.
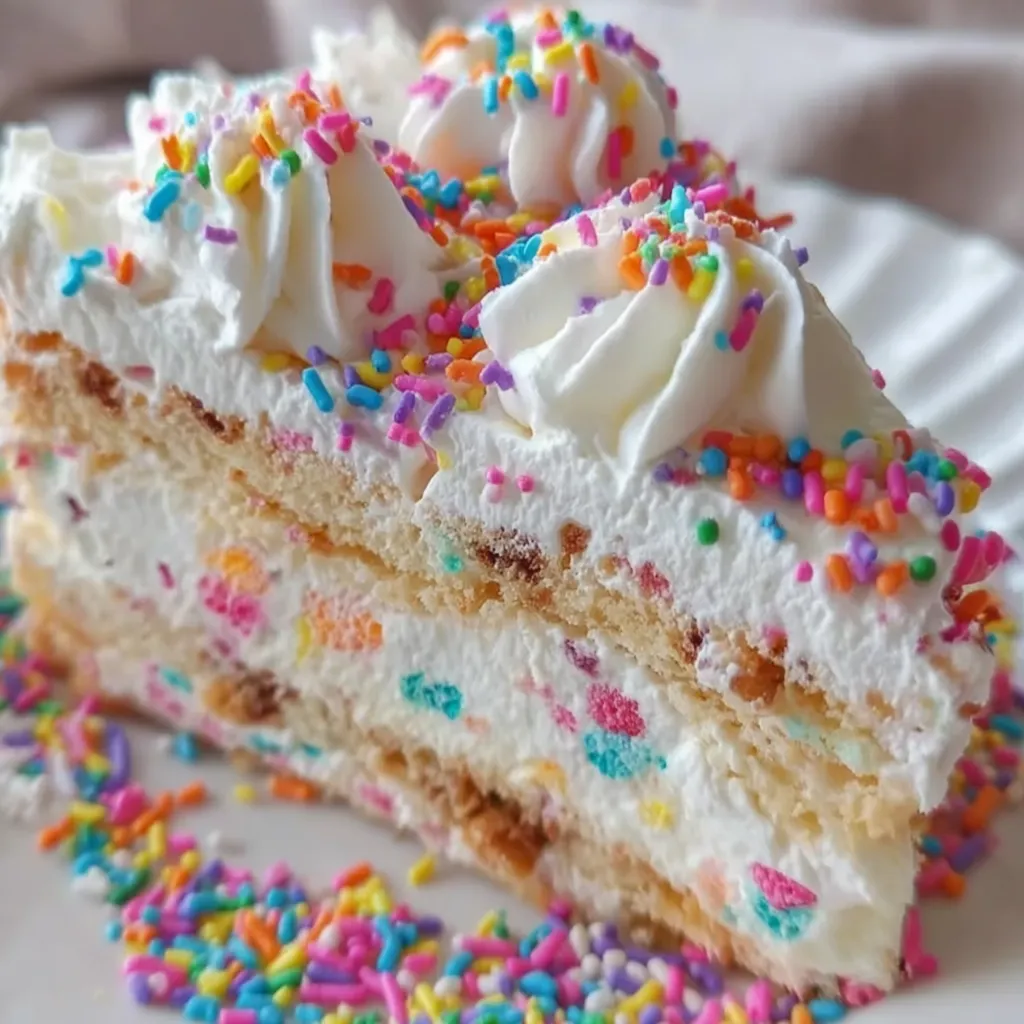
This Funfetti icebox cake has been my go-to for birthdays, potlucks, and last-minute celebrations ever since I first improvised it for my niece's fifth birthday. I wanted something bright and festive that required no oven time and could be assembled in minutes, but still deliver on texture and flavor. The combination of tangy, softened cream cheese, silky instant vanilla pudding, and clouds of whipped topping creates a filling that contrasts beautifully with crisp shortbread cookies. Every slice reveals cheerful rainbow speckles and a tender cookie layer that softens to a delicate cake-like texture after chilling.
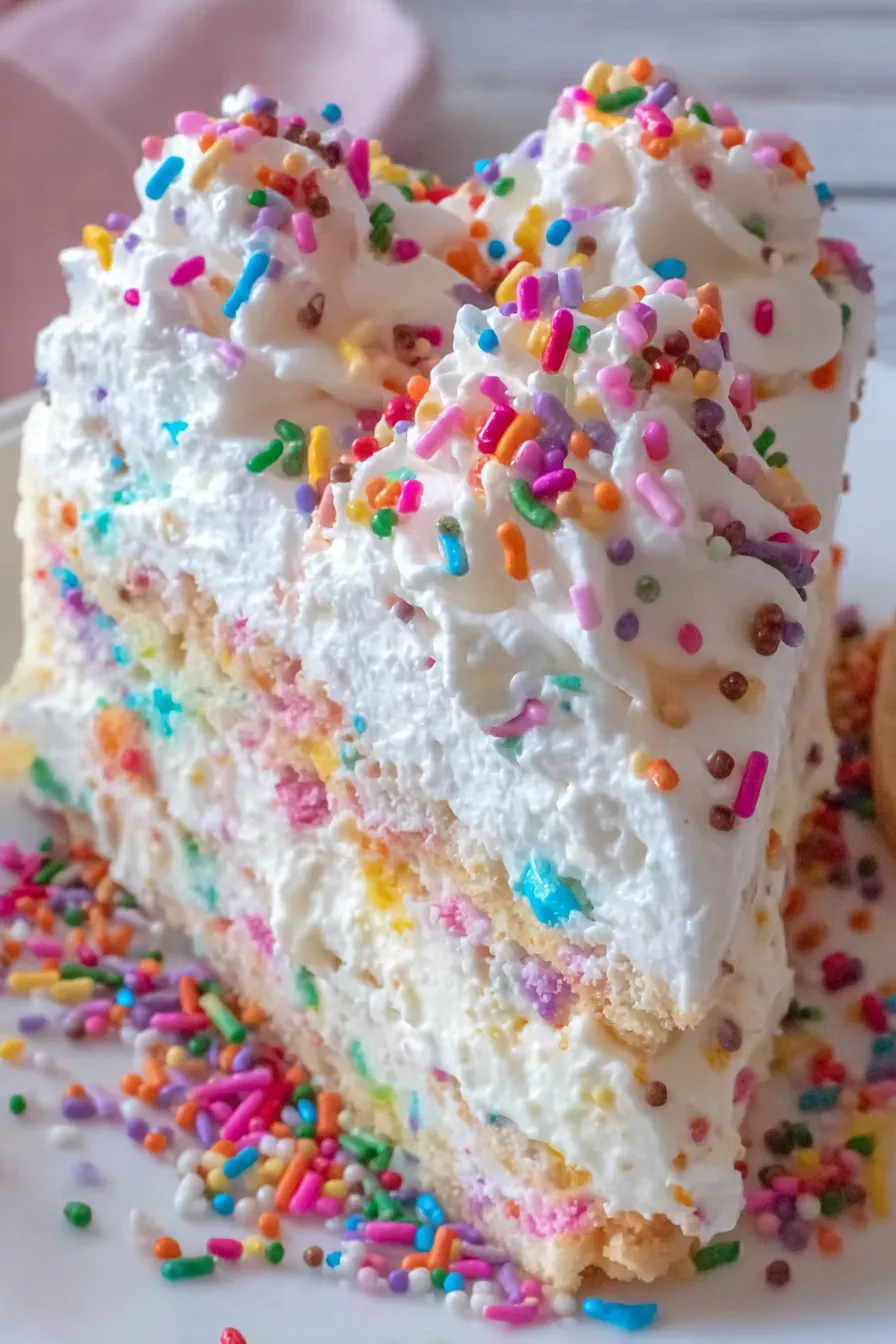
I discovered this version when I decided to swap graham crackers for buttery shortbread and add a generous amount of sprinkles. The result felt nostalgic and new at the same time: familiar bakery vanilla notes with a fun, confetti crunch. We served it after a backyard barbecue and neighbors asked for the recipe before dessert was finished. What makes it special is the ease—no baking, flexible assembly, and excellent make-ahead potential—paired with the joyful appearance that makes guests smile before they taste it.
In my home, this dessert has become the default for celebrations where I want something pretty without fuss. I love watching the kids’ faces when I cut into it—those rainbow edges are a small, delicious moment of wonder.
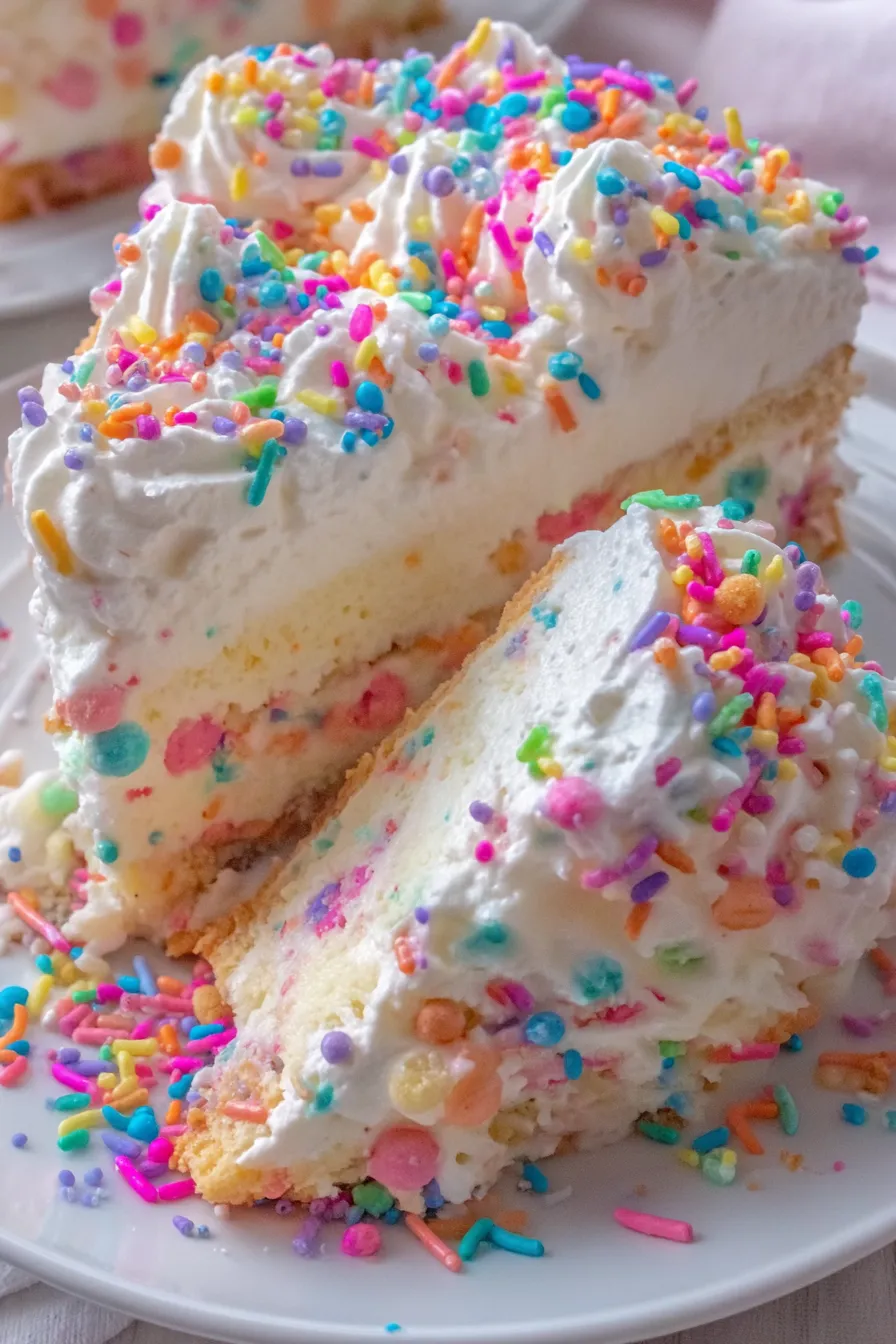
One of my favorite things about this dessert is how flexible it is. I’ve scaled it down for a small family weekend treat and doubled it for a neighborhood block party. Guests often comment on the contrast between the silky filling and the softened-but-still-buttery shortbread—simple elements that combine to feel special.
Store leftover slices in an airtight container in the refrigerator for up to 4 days; place parchment between layers if stacking to prevent sticking. For longer storage, wrap the whole cake tightly in plastic wrap and then foil, and freeze for up to 3 months. Thaw overnight in the refrigerator before serving. To re-crisp slightly before serving after refrigeration, let slices sit at room temperature for 10 minutes—this helps the filling relax and improves mouthfeel.
If you need to swap ingredients, use full-fat Greek yogurt (strained) in place of some cream cheese for tang but expect a softer set—add a tablespoon of unflavored gelatin dissolved in 2 tablespoons warm water if you need firmer structure. For gluten-free, choose certified gluten-free shortbread or use gluten-free graham-style cookies. To reduce processed ingredients, make instant pudding from scratch with cornstarch and vanilla, though this will change texture slightly.
Serve slices with a dollop of freshly whipped cream and a dusting of extra sprinkles for celebrations. Pair with fresh berries or a bright citrus compote to cut richness. For a children's party, present mini slices on colorful plates; for an adult crowd, add a drizzle of salted caramel for sophisticated contrast.
Layered no-bake desserts have roots in many cultures where biscuits or cookies are softened with creams to create an accessible, celebratory sweet. In American home baking, icebox-style cakes became popular in the 20th century with the rise of chilled desserts. This modern Funfetti twist borrows that legacy—combining instant convenience with colorful, party-friendly elements that reflect a contemporary, playful baking aesthetic.
Adapt the palette and mix-ins for seasons: replace rainbow sprinkles with red and green for holidays, pastel sprinkles for spring, or crushed peppermint and cocoa nibs for winter. Swap vanilla pudding for lemon or strawberry instant pudding for a seasonal fruit note. The no-bake format makes it ideal for hot-weather entertaining.
I brought this to a neighborhood potluck once and neighbors returned for seconds and thirds; a second-grader declared it "the best idea ever." Another time, I turned the leftover filling into parfaits—layered with crushed cookies and extra sprinkles—for a brunch twist. Those moments confirmed what I had hoped: the dessert feels both nostalgic and celebratory, versatile enough for intimate family nights or large gatherings.
For make-ahead planning, assemble the cake in the morning for an evening event and keep it chilled. If transporting, freeze briefly to firm up and place in an insulated carrier; thaw slightly before serving. You can also portion the filling into small mason jars layered with cookie pieces for grab-and-go treats—store upright in the refrigerator for up to 3 days.
Finish with a flourish: pipe a ring of whipped cream around the top edge and add a final shower of sprinkles to amp up the presentation. This dessert rewards simple, careful technique—softening ingredients to the right degree and gentle folding are the keys to a picture-perfect, delicious result. Invite friends, cut a slice, and enjoy how something so easy can brighten any table.
Soften the cream cheese to room temperature for at least 30 minutes to ensure a lump-free filling.
Fold the whipped topping gently to preserve airiness and avoid a dense final texture.
Reserve a small amount of sprinkles for garnish to prevent color bleeding throughout the filling.
Warm the knife under hot water and wipe dry between cuts to get clean slices.
This nourishing funfetti icebox cake delight recipe is sure to be a staple in your kitchen. Enjoy every moist, high protein slice — it is perfect for breakfast or as a wholesome snack any time.
Yes—refrigerate for up to 4 days. For longer storage, freeze for up to 3 months, wrapped tightly.
Yes, allow frozen cake to sit at room temperature 10–15 minutes before slicing for cleaner cuts.
This Funfetti Icebox Cake Delight recipe makes perfectly juicy, tender, and flavorful steak every time! Serve with potatoes and a side salad for an unforgettable dinner in under 30 minutes.
Place 8 ounces of room-temperature cream cheese in a large bowl and beat with a hand mixer for about 2 minutes until light and smooth.
Add two 3.4-ounce boxes (6.8 ounces) of instant vanilla pudding mix and 2 teaspoons vanilla extract to the cream cheese and mix until uniform.
Gradually pour in 2 cups milk while mixing on low, beating until mostly smooth and slightly thickened.
Gently fold 8 ounces whipped topping into the pudding mixture with a rubber spatula until airy and even.
Fold in about 9–10 ounces rainbow sprinkles, reserving some for garnish; fold gently to avoid color bleeding.
Line an 8-inch springform pan with parchment. Spread 1/2 cup filling on bottom, layer cookies, top with one third of remaining filling, and repeat, finishing with filling on top. Sprinkle reserved sprinkles.
Freeze for 4 hours or refrigerate overnight. If frozen, let sit 10 minutes at room temperature before slicing, then remove springform sides and garnish as desired.
Last Step: Please leave a rating and comment letting us know how you liked this recipe! This helps our business to thrive and continue providing free, high-quality recipes for you.
Leave a comment & rating below or tag
@royalmorsel on social media!

Juicy beef, sweet-charred peppers, and a silky queso drizzle turn these sliders into the ultimate crowd-pleasing bite for game day or weeknight fun.

Melt-in-your-mouth braised short ribs nestled over creamy garlic mashed potatoes, all in a rich, herb-scented sauce that feels like a warm hug.

Golden, garlicky pull-apart loaf swaddled in buttery herbs and stretchy mozzarella that begs to be shared warm from the oven.
Leave a comment & rating below or tag @royalmorsel on social media!
Enjoyed this recipe? Share it with friends and family, and don't forget to leave a review!
This recipe looks amazing! Can't wait to try it.
Comments are stored locally in your browser. Server comments are displayed alongside your local comments.

Join to receive our email series which contains a round-up of some of our quick and easy family favorite recipes.
