
>>

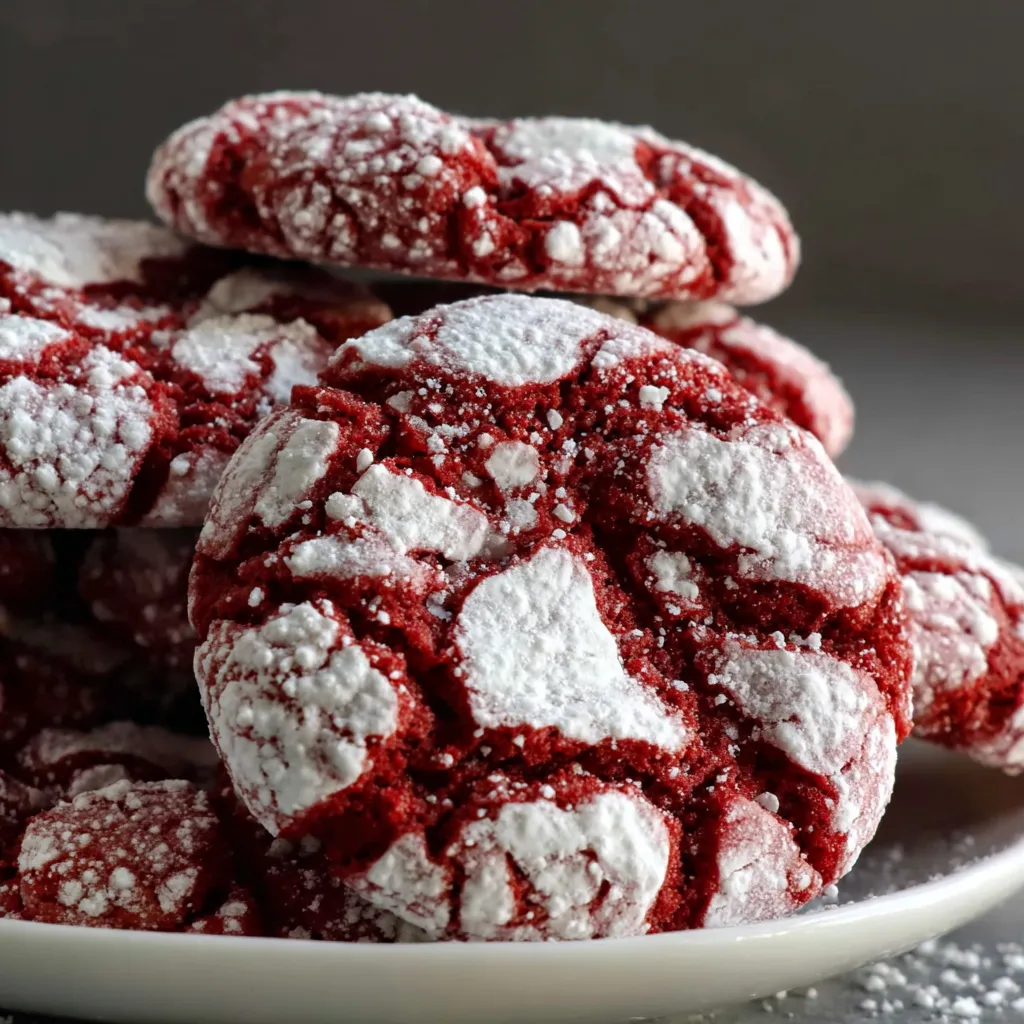
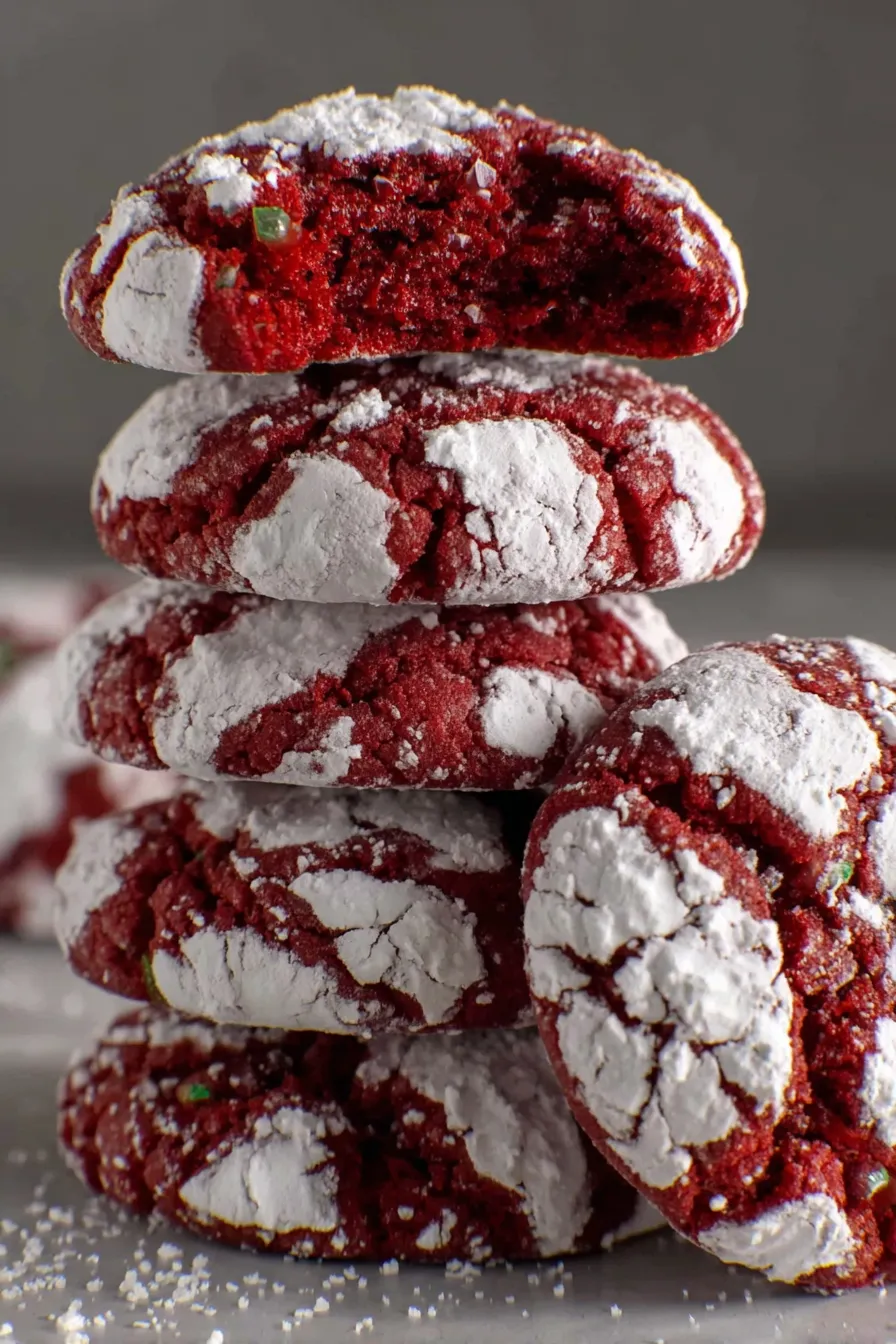
Soft, fudgy red velvet cookies rolled in sugar and powdered sugar for the classic crinkle top—simple to make and perfect for holidays and weeknight baking.
This recipe for red velvet crinkle cookies has been my go-to when I want a showstopping dessert that requires minimal fuss. I first created this version on an evening when I needed a last-minute treat for a neighbor visiting with a newborn; I used what I had in the pantry and within an hour had a batch of cookies that looked like they had come from a bakery. The texture is tender and slightly fudgy in the center with a crisp, crackled exterior that contrasts perfectly with the soft interior. The red color comes from a few drops of gel food coloring that distribute evenly, giving each bite that iconic red velvet look.
What makes these the easiest iteration is a short ingredient list and a forgiving method that tolerates small timing variations. You don't need to chill the dough for hours, and you can roll and bake straight away. I love how the powdered sugar exterior contrasts the red surface so when they crack the white lines pop—children always point at them first. Serve warm with a glass of cold milk or pack them in small tins for gifting; they travel well and arrive looking charming and homemade.
My family reacted the first time with surprise—my usually picky niece declared them the best cookie ever and asked to help roll the dough for the next batch. I discovered a helpful trick early on: rolling twice, first in granulated sugar then powdered sugar, creates the deepest contrast and the neatest cracks. It feels like a small flourish that lifts a simple cookie into something special.

My favorite part is the reveal when the cookies come out of the oven—those bright white veins through the red tops always make people smile. A neighbor once described them as 'festive rose moons,' which is about as flattering as a cookie can be. Over the years I've learned small adjustments—like the extra tablespoon of milk for humidity or a touch more powdered sugar if your kitchen is warm—that consistently produce a tender interior and crackled exterior.
Store cooled cookies in an airtight container at room temperature for up to 3 days; place a piece of parchment between layers to prevent sticking. For longer storage, freeze in a single layer on a tray until firm, then transfer to a freezer-safe bag for up to 3 months. To reheat, thaw at room temperature and warm in a 300 degrees F oven for 3 to 5 minutes to restore that fresh-baked texture. Avoid refrigeration for short-term storage as it can dry cookies unless tightly sealed.
If you prefer a dairy-free version, substitute vegan butter and use plant-based milk; the recipe will remain very similar though texture may shift slightly. For a deeper chocolate note, swap natural cocoa for Dutch-processed and reduce the red gel by one drop; color will be slightly darker. Replace vegetable oil with melted coconut oil for a subtle tropical aroma, remembering that coconut oil firms when cool. To make these gluten-free, use a 1-to-1 gluten-free flour blend designed for cookies, but expect a slightly different crumb.
These cookies are a natural fit for holiday platters, cookie exchanges, or boxed gifts. Serve warm with whipped cream cheese frosting on the side for dipping, or arrange two together with a smear of mascarpone for a sandwich-style treat. Pair with strong coffee or hot chocolate to balance sweetness. For seasonal flair, garnish with a light dusting of extra powdered sugar or a few festive sprinkles after baking.
Red velvet has roots in American baking traditions where cocoa and buttermilk once reacted to create a muted reddish-brown crumb; modern red velvet emphasizes striking color and mild chocolate flavor. The crinkle top echoes classic cookie styles that gained popularity through home bakers mid-20th century, and today this combination—red velvet plus crinkle—feels both nostalgic and contemporary, making it a beloved choice for celebrations and casual baking alike.
For winter celebrations, add 1/4 teaspoon ground cinnamon to the dry mix for a warm note, and swap a portion of powdered sugar for finely ground crushed candy cane for a peppermint finish. In summer, fold in 2 tablespoons finely chopped white chocolate or a teaspoon of orange zest for brightness. For Valentine-themed platters, sandwich two cookies with a thin layer of raspberry jam or cream cheese frosting and chill briefly so they hold shape.
Portion dough into scoops and flash-freeze on a tray, then transfer to bags—bake frozen scoops directly, adding about 2 minutes to the baking time. This makes same-day fresh-baked cookies available whenever you need them. Label bags with date and bake time; frozen dough balls will keep up to one month with minimal flavor loss. For gatherings, bake one or two test cookies first to confirm oven timing before committing a full sheet.
These cookies are simple enough for a beginner and flexible enough for experimentation. The joy of watching the white lines bloom across a bright red surface never gets old—bake a batch and make the recipe your own.
Use gel or paste food coloring so you get vivid red color with only a few drops and no change to dough consistency.
Measure flour by spooning into the cup and leveling to avoid dense cookies; too much flour yields dry results.
Roll dough portions first in granulated sugar then powdered sugar for the best contrast and crinkle appearance.
Bake on middle rack and check at 8 minutes; centers should still be slightly soft to remain fudgy after cooling.
This nourishing easiest red velvet crinkle cookies recipe is sure to be a staple in your kitchen. Enjoy every moist, high protein slice — it is perfect for breakfast or as a wholesome snack any time.
This Easiest Red Velvet Crinkle Cookies recipe makes perfectly juicy, tender, and flavorful steak every time! Serve with potatoes and a side salad for an unforgettable dinner in under 30 minutes.
Line a baking sheet with parchment paper, position racks in the center of the oven, and preheat to 350 degrees F (175 degrees C). Set out two shallow bowls with granulated sugar and powdered sugar for rolling the dough.
In a large bowl, beat together the softened salted butter and vegetable oil until smooth. Add light brown sugar and granulated sugar and beat until the mixture is fluffy and pale, scraping the bowl as needed.
Beat in the eggs one at a time, then stir in vanilla extract and red gel food coloring until the dough is evenly colored and glossy.
In a separate bowl, whisk together all-purpose flour, cocoa powder, baking powder, and baking soda to ensure even distribution of leavening.
Fold the dry ingredients into the wet mixture, add milk, and mix until a soft, slightly sticky dough forms that holds shape when scooped.
Scoop dough with a tablespoon or small scoop. Roll each portion first in granulated sugar then in powdered sugar, pressing lightly so the powdered sugar adheres without flattening the ball.
Place cookie balls on the prepared sheet about 2 inches apart. Bake at 350 degrees F for 8 to 10 minutes until edges are set and centers remain soft. Remove from oven and allow to rest on the sheet for 5 minutes.
Transfer cookies to a wire rack to cool completely. Store in an airtight container at room temperature for up to 3 days or freeze for longer storage.
Last Step: Please leave a rating and comment letting us know how you liked this recipe! This helps our business to thrive and continue providing free, high-quality recipes for you.
Leave a comment & rating below or tag
@royalmorsel on social media!

Juicy beef, sweet-charred peppers, and a silky queso drizzle turn these sliders into the ultimate crowd-pleasing bite for game day or weeknight fun.

Melt-in-your-mouth braised short ribs nestled over creamy garlic mashed potatoes, all in a rich, herb-scented sauce that feels like a warm hug.

Golden, garlicky pull-apart loaf swaddled in buttery herbs and stretchy mozzarella that begs to be shared warm from the oven.
Leave a comment & rating below or tag @royalmorsel on social media!
Enjoyed this recipe? Share it with friends and family, and don't forget to leave a review!
This recipe looks amazing! Can't wait to try it.
Comments are stored locally in your browser. Server comments are displayed alongside your local comments.

Join to receive our email series which contains a round-up of some of our quick and easy family favorite recipes.
