
>>

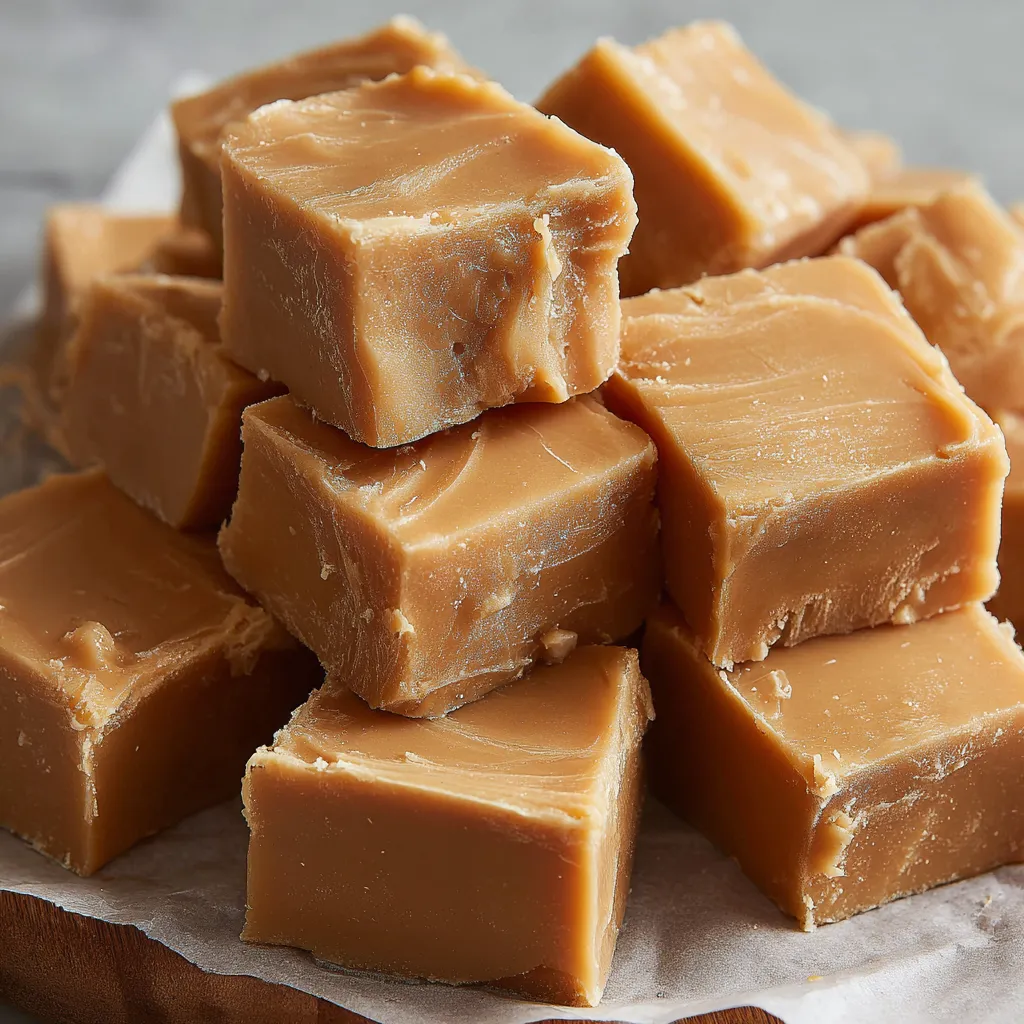
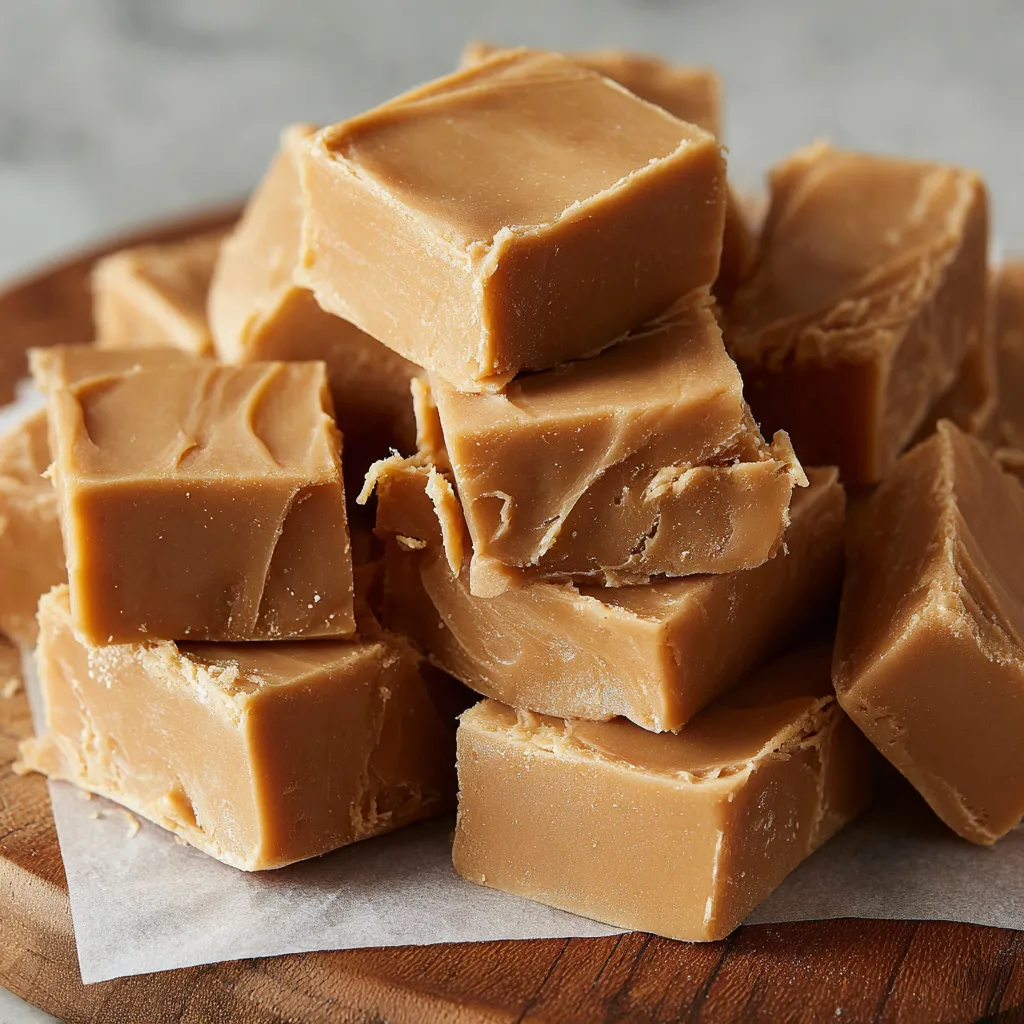
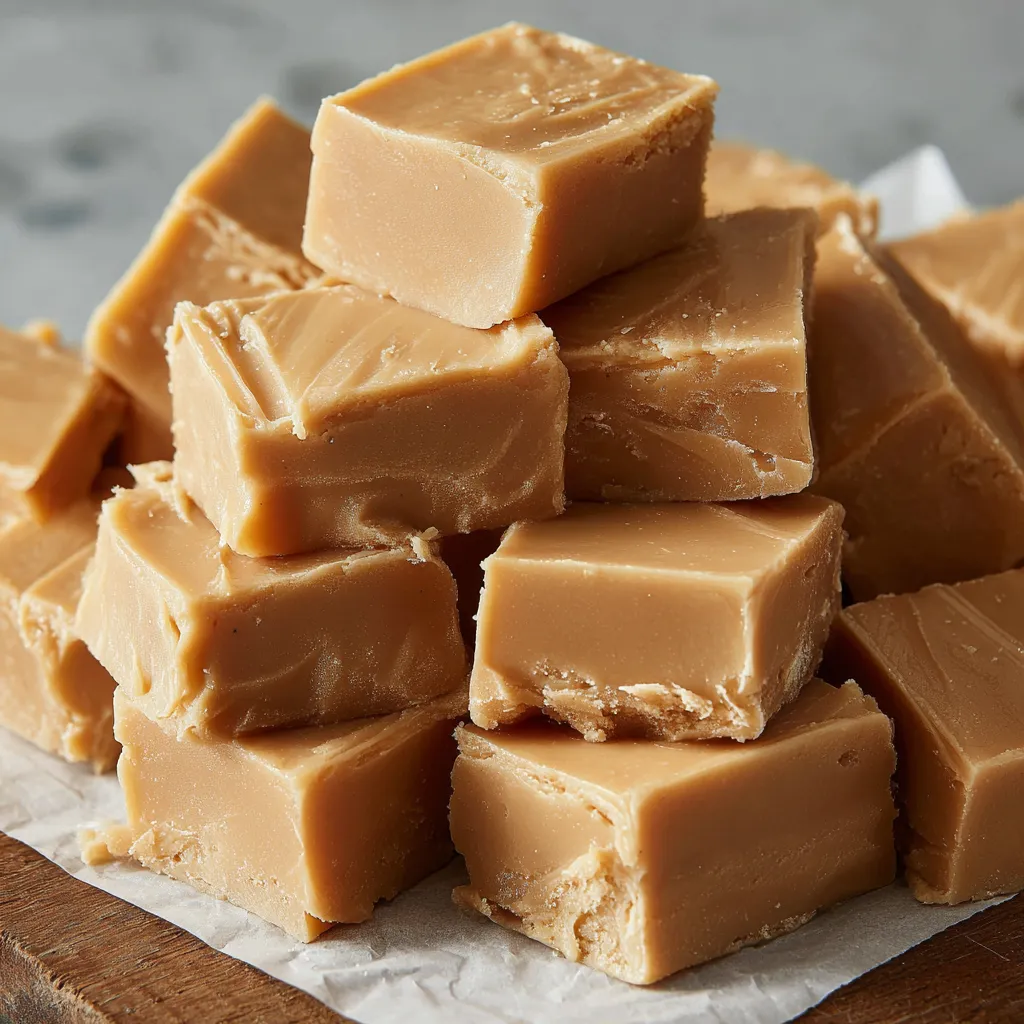
Silky, melt-in-your-mouth peanut butter fudge made on the stovetop with five pantry staples. No thermometer, no fuss, perfect every time.
When I first made this, I tucked a pan into the fridge during a busy cookie-baking day. It ended up outshining everything else on the dessert table. My family now requests a tin of these squares for road trips and school bake sales, and they never come home with leftovers.
My favorite part of this fudge is the way the aroma takes over the kitchen as you stir in the vanilla. It reminds me of visiting old-fashioned candy counters as a kid, eyes level with the glass case. Now, when I box these squares for friends or teachers, I tuck in a handwritten label and watch their faces light up at the first bite. It is the simplest kind of sweet magic.
Store the fudge in an airtight container lined with parchment. At room temperature, it holds for about 2 days if your kitchen is cool; in warmer climates, keep it refrigerated for up to 1 week to maintain the clean edges and silky texture. For longer storage, wrap the slab (or individual squares) tightly in parchment, then place in a freezer bag or airtight container and freeze for up to 3 months. Thaw overnight in the refrigerator, then let sit at room temperature for 10 minutes before serving. Avoid condensation by keeping the container closed while it comes to temperature.
Use salted butter if that is what you have, reducing added salt to 1/8 teaspoon. If you prefer a slightly less sweet fudge, start with 3 cups powdered sugar and add the remaining 1/2 cup to taste; texture will be a little softer. Crunchy peanut butter works if you enjoy bits of peanut throughout, though slices will have rustic edges. A teaspoon of instant espresso powder intensifies peanut flavor without tasting like coffee. For a chocolate-peanut twist, press 1/2 cup mini chocolate chips over the top immediately after smoothing; they will lightly adhere without melting into the base.
Arrange the squares in mini paper cups for tidy dessert platters, or stack them in a small tin with parchment layers between. A sprinkle of flaky sea salt just before chilling adds contrast and makes the peanut flavor pop. Pair with strong coffee, black tea, or a glass of cold milk. For dessert boards, serve alongside crisp apple slices, pretzels, and dark chocolate bark for a sweet-salty spread. These squares also travel well for bake sales and potlucks, so do not hesitate to double the batch.
Fudge has roots in late 19th-century American confectionery, appearing in college towns and seaside candy shops where it was cooked in copper kettles and cooled on marble slabs. Peanut butter versions rose in popularity as commercial peanut butter became a pantry staple in the early 20th century. This modern home-style method skips precise sugar stages and relies on the stabilized oils in creamy peanut butter for a foolproof set. It captures the spirit of classic fudge without the need for a thermometer or specialized equipment, making it a beloved shortcut for busy home cooks.
For winter holidays, dust the top with powdered sugar snow or press in crushed peanut brittle. In spring, swirl 2 tablespoons warmed strawberry jam over the surface before chilling for a PB and J nod. Summer calls for tiny squares served cold with fresh berries for a sweet-and-salty contrast. In autumn, stir in 1/2 teaspoon cinnamon or pumpkin pie spice to play up warm flavors. For gifting, wrap individual pieces in parchment twists or stack in clear cellophane bags with a ribbon.
Make a double batch and press into two lined 8x8-inch pans, then chill and cut. Portion into airtight containers in layers with parchment, labeling the date and quantity. For grab-and-go treats, freeze squares on a baking sheet until firm, then transfer to a freezer bag so they do not stick together. To refresh the surface before serving, let sit at room temperature for a few minutes and buff any condensation with a clean paper towel. This approach keeps your dessert stash ready for lunchboxes, last-minute guests, or gifting all season long.
Whether you are filling a cookie tray or tucking a little something sweet into a lunchbox, these peanut butter fudge squares deliver joy with every bite. Keep the ingredients on hand and make it your signature treat whenever a craving hits.
Sift powdered sugar for an ultra-smooth texture.
Press with a lightly greased measuring cup for a perfectly level top.
Wipe the knife between cuts for crisp edges.
Add flaky sea salt to balance sweetness and highlight peanut flavor.
This nourishing easiest peanut butter fudge recipe is sure to be a staple in your kitchen. Enjoy every moist, high protein slice — it is perfect for breakfast or as a wholesome snack any time.
Avoid natural peanut butter because separated oils can cause greasy or crumbly fudge. Use a no-stir brand like Jif or Skippy for stable, smooth results.
Yes. Wrap well and freeze up to 3 months. Thaw overnight in the fridge, then let sit 10 minutes before slicing for clean edges.
If the mixture looks oily, it may be too hot or overmixed. Let it cool 3 to 5 minutes, then fold in another tablespoon or two of powdered sugar until it comes together.
This Easiest Peanut Butter Fudge recipe makes perfectly juicy, tender, and flavorful steak every time! Serve with potatoes and a side salad for an unforgettable dinner in under 30 minutes.
In a medium saucepan over medium heat, melt butter and peanut butter, stirring, until smooth and glossy, 3 to 5 minutes. Do not boil.
Remove from heat and stir in vanilla and salt until aromatic and fully combined.
Stir in powdered sugar 1 cup at a time until thick, matte, and pulling from the pan’s sides. Mix until no lumps remain.
Transfer to a parchment-lined 8x8-inch pan. Press evenly with a greased spatula or oiled cup to smooth the top.
Refrigerate for 1 hour, or until firm to the touch and easy to slice cleanly.
Lift out using parchment. Cut into 36 squares, wiping the knife between cuts. Serve chilled or at cool room temperature.
Last Step: Please leave a rating and comment letting us know how you liked this recipe! This helps our business to thrive and continue providing free, high-quality recipes for you.
Leave a comment & rating below or tag
@royalmorsel on social media!

Juicy beef, sweet-charred peppers, and a silky queso drizzle turn these sliders into the ultimate crowd-pleasing bite for game day or weeknight fun.

Melt-in-your-mouth braised short ribs nestled over creamy garlic mashed potatoes, all in a rich, herb-scented sauce that feels like a warm hug.

Golden, garlicky pull-apart loaf swaddled in buttery herbs and stretchy mozzarella that begs to be shared warm from the oven.
Leave a comment & rating below or tag @royalmorsel on social media!
Enjoyed this recipe? Share it with friends and family, and don't forget to leave a review!
This recipe looks amazing! Can't wait to try it.
Comments are stored locally in your browser. Server comments are displayed alongside your local comments.

Join to receive our email series which contains a round-up of some of our quick and easy family favorite recipes.
