
>>

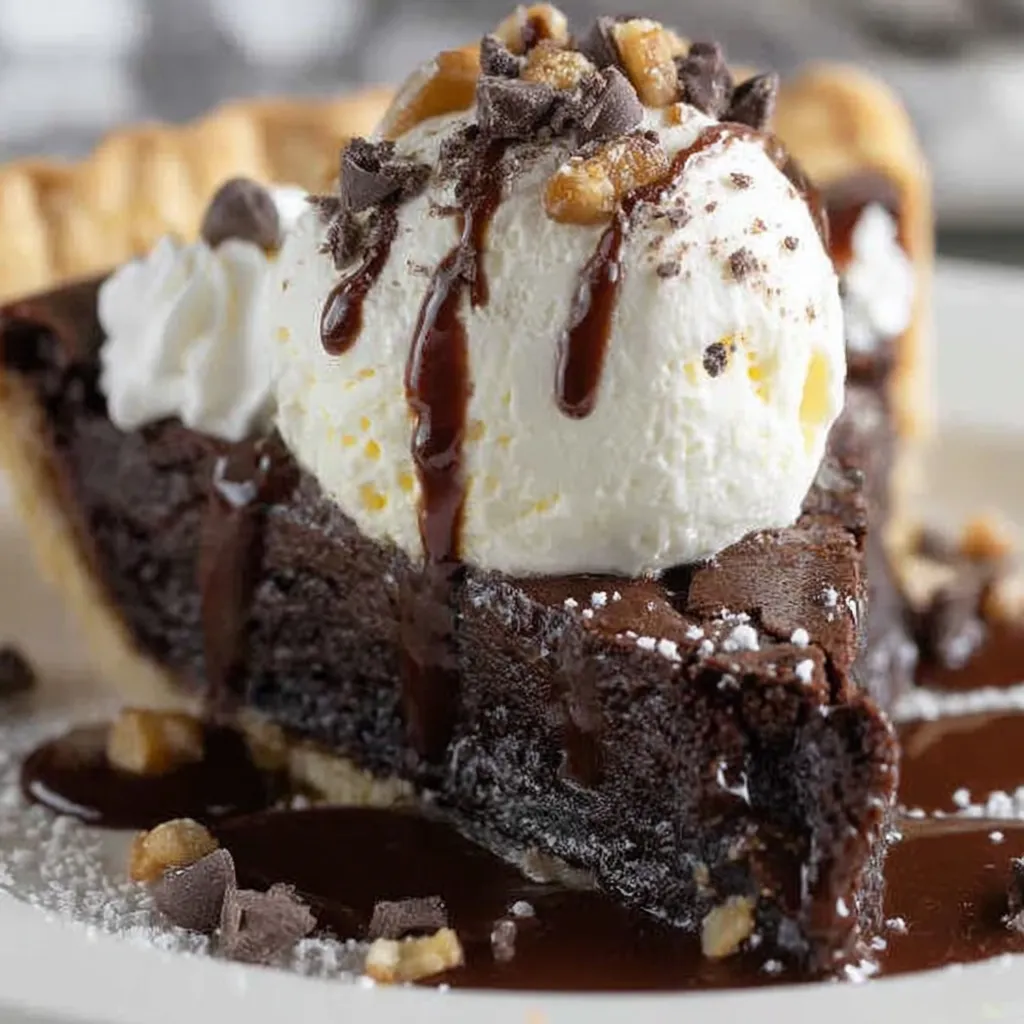
A fudgy, crackly-topped brownie baked in a 9-inch pie crust — simple to make, perfect warm with ice cream, and a crowd-pleasing twist on two classic desserts.
I first served this to my family on a busy holiday weekend and watched everyone go quiet while they tasted it — that quiet is my favorite compliment. Over time I refined the timing to balance fudginess and structure, and I now know exactly when to pull it for the texture I want. It’s also survived potlucks, picnics, and a few experimental add-ins (sea salt on top is a revelation), so it’s earned its place in my dessert rotation.
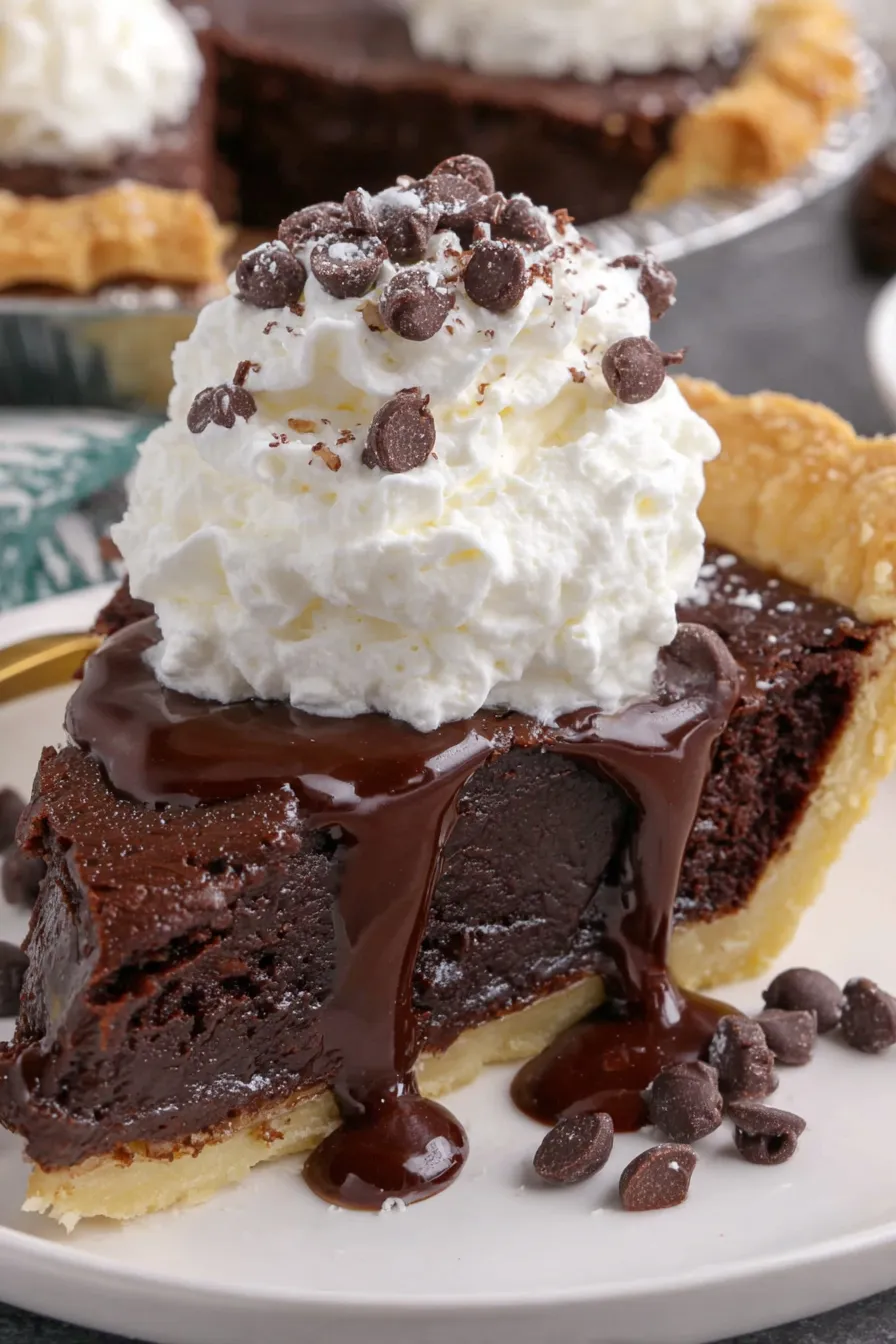
My favorite part is watching the top crack into a glossy mosaic when you slice into it. Family members have declared this their favorite hybrid dessert at birthdays and holiday dinners. One memorable evening, a friend who insists she doesn’t like chocolate asked for the recipe — that’s how I knew this one was special. It’s reliably impressive yet forgiving for busy cooks.
Store leftover pie in the refrigerator in an airtight container or tightly covered with plastic wrap; slices will stay good for up to five days. For longer storage, freeze individual slices on a baking sheet until firm, then wrap each slice in plastic and place in a freezer bag for up to three months. To reheat frozen slices, thaw in the refrigerator overnight and warm in a 300°F oven for 10–12 minutes to restore a just-baked texture. Room-temperature storage is fine for a few hours on the counter, but avoid leaving it out longer to prevent spoilage from eggs and butter.
If you prefer a sweeter pie, swap semisweet chocolate chips for milk chocolate chips; for a deeper chocolate flavor, use dark chocolate or bittersweet chips. You can substitute coconut oil for butter for a dairy-free approach, but the shiny crackly top may be less pronounced. To make the crust gluten-free, use a gluten-free pie shell and replace all-purpose flour with a 1:1 gluten-free baking mix. Omit walnuts for a nut-free version or replace them with toasted pecans for a different flavor profile. Note that altering sugar ratios or using liquid sweeteners will change texture and top finish.
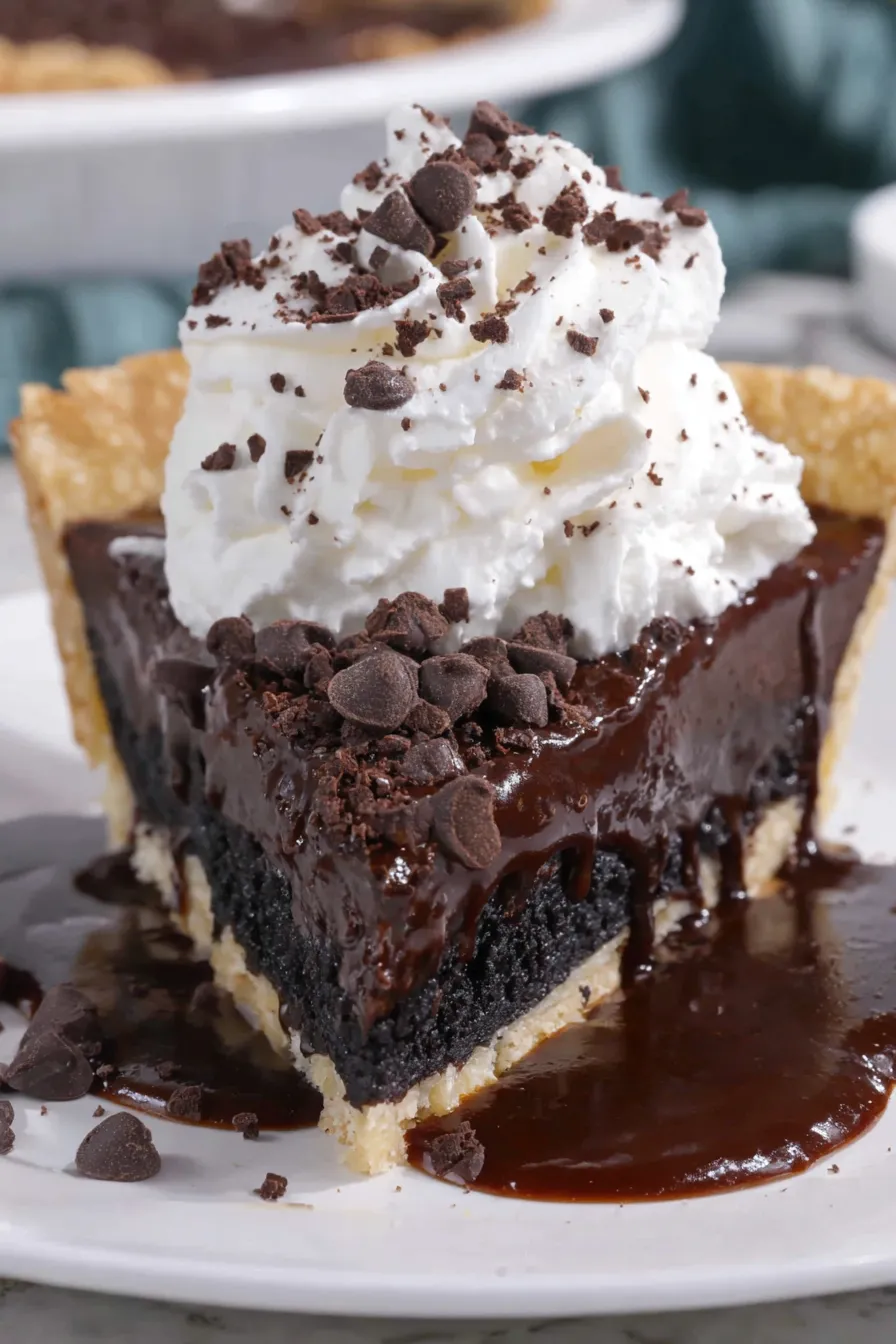
Serve slices warm with a scoop of vanilla bean ice cream and a drizzle of chocolate sauce for a classic pairing. For a grown-up twist, add a spoonful of salted caramel or a sprinkle of flaky sea salt to contrast the sweetness. Garnish with lightly whipped cream and a few toasted walnut pieces for texture. This dessert pairs beautifully with robust coffee or a creamy port for evening gatherings. For casual weeknight treats, cut into smaller wedges and serve with chilled milk.
The idea behind this dish marries two American classics: the handheld brownie and the communal pie. It evolved from practical, home-kitchen ingenuity — using a pre-made pie shell to present a brownie in a celebratory format. Variations on chocolate tarts and pies have roots in regional baking traditions where bakers used what they had on hand; this recipe carries that pragmatic spirit while delivering familiar chocolate comfort. Across the U.S., bakers adapt the concept with local nuts or chocolate varieties to reflect regional tastes.
In winter, fold in a teaspoon of instant espresso or a pinch of cinnamon for warmth and depth. For summer, serve chilled with a bright raspberry coulis to add acidity and cut the richness. Around the holidays, add candied orange peel or substitute pecans and bourbon for a festive flavor. For a spring brunch twist, top slices with macerated strawberries and fresh mint. These small seasonal touches transform the core recipe without changing the reliable technique.
To make ahead for plan-ahead entertaining, bake the pie a day in advance and store it refrigerated; this gives you cleaner slices when cutting for platters. If you’re prepping for a large event, bake multiple pies and freeze them uncut — wrap tightly and reheat on a low oven setting after thawing. Use shallow containers for transport and pack a small cooler if you’re bringing it to an outdoor gathering. For portion control, cut wedges into halves for tasting-sized servings at parties.
Whether you’re baking for a special occasion or a quiet night in, this chocolate pie bridges comfort and elegance with minimal effort. Take your time with the steps and taste as you go — the technique is simple, and the payoff is reliably decadent. Enjoy sharing it with friends and family, and don’t be surprised when it becomes a requested repeat.
Let the melted butter and sugar rest for 5 minutes before whisking to help create the glossy, crackly top.
For a fudgier center, remove the pie from the oven earlier (closer to 20 minutes after foil removal); for a firmer slice, bake longer.
Use room-temperature eggs to ensure even incorporation and a smooth batter.
If using walnuts, toast them lightly in a dry skillet for 3-4 minutes to enhance their flavor before folding them into the batter.
This nourishing decadent brownie pie recipe is sure to be a staple in your kitchen. Enjoy every moist, high protein slice — it is perfect for breakfast or as a wholesome snack any time.
This Decadent Brownie Pie recipe makes perfectly juicy, tender, and flavorful steak every time! Serve with potatoes and a side salad for an unforgettable dinner in under 30 minutes.
Preheat the oven to 350°F and position a rack in the lower third to help the crust bake through without burning the top.
Combine 3/4 cup granulated sugar with 8 tablespoons melted warm butter in a large bowl, stir briefly, then let sit for 5 minutes. Whisk vigorously for 30 seconds to begin dissolving sugar.
Whisk in 1 large egg, 1 large egg yolk, 1 tablespoon water, and 1 1/2 teaspoons vanilla extract until the mixture is glossy and combined.
Sprinkle 1/2 cup cocoa powder, 1/2 cup powdered sugar, 1/2 cup all-purpose flour, and 1/4 teaspoon salt over the wet mixture. Stir with a spatula until smooth, then fold in 1/2 cup chocolate chips and 1/4 cup walnuts if using.
Pour the batter into the frozen 9-inch unbaked pie crust and smooth to an even layer. Lightly tent with foil sprayed with nonstick spray, avoiding contact with the batter.
Bake covered on the lower rack for 25 minutes. Remove foil and bake uncovered for an additional 20 to 30 minutes depending on desired fudginess. Cool on a wire rack before serving; serve warm, room temperature, or chilled.
Last Step: Please leave a rating and comment letting us know how you liked this recipe! This helps our business to thrive and continue providing free, high-quality recipes for you.
Leave a comment & rating below or tag
@royalmorsel on social media!

Juicy beef, sweet-charred peppers, and a silky queso drizzle turn these sliders into the ultimate crowd-pleasing bite for game day or weeknight fun.

Melt-in-your-mouth braised short ribs nestled over creamy garlic mashed potatoes, all in a rich, herb-scented sauce that feels like a warm hug.

Golden, garlicky pull-apart loaf swaddled in buttery herbs and stretchy mozzarella that begs to be shared warm from the oven.
Leave a comment & rating below or tag @royalmorsel on social media!
Enjoyed this recipe? Share it with friends and family, and don't forget to leave a review!
This recipe looks amazing! Can't wait to try it.
Comments are stored locally in your browser. Server comments are displayed alongside your local comments.

Join to receive our email series which contains a round-up of some of our quick and easy family favorite recipes.
