
>>

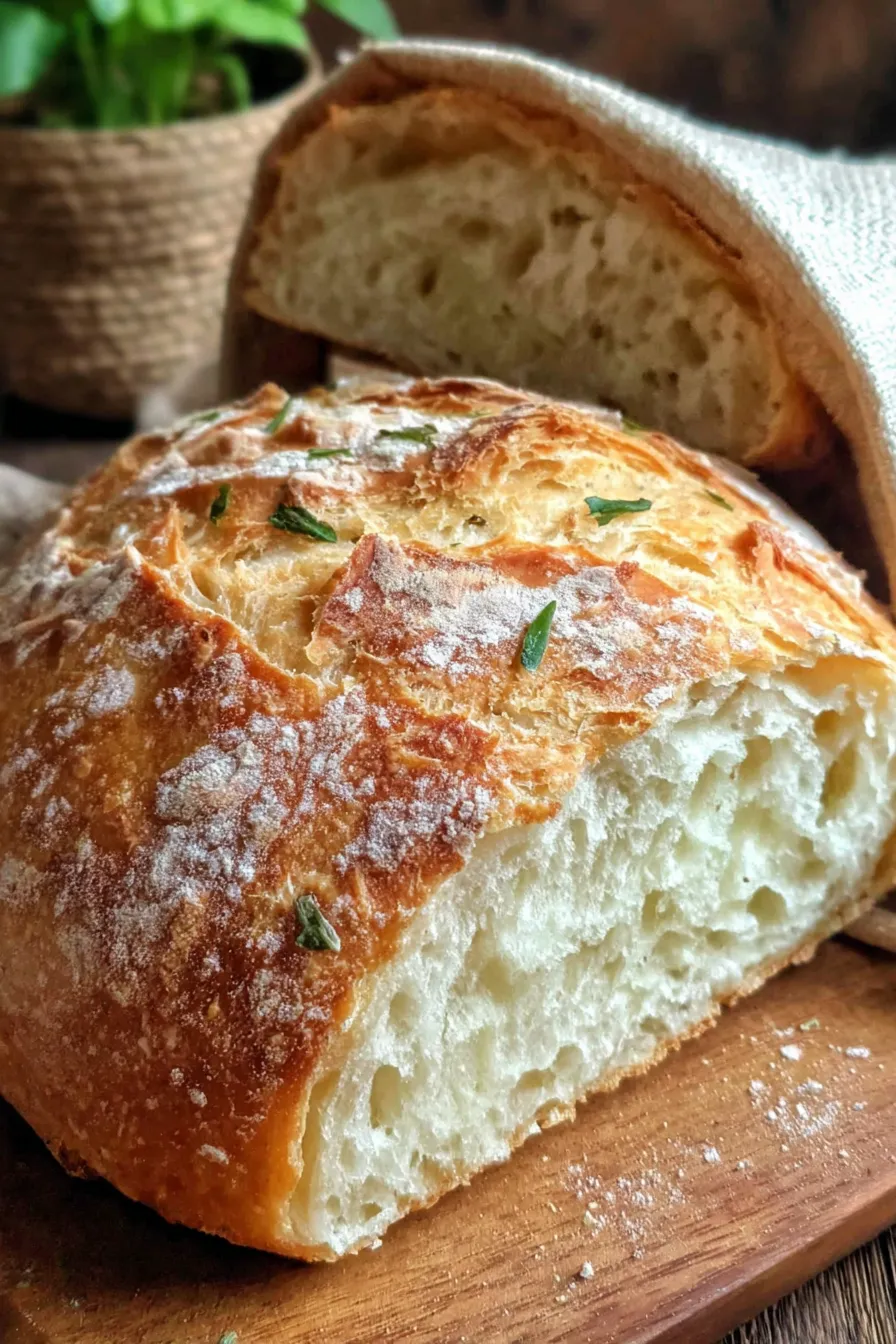
A simple, no-fuss crusty Italian loaf with a blistered golden crust and tender crumb — made in a hot Dutch oven for bakery-style results at home.

This crusty Italian loaf has been my go-to when I want bakery-quality bread without an intimidating technique. I discovered this approach during a late autumn weekend when friends were stopping by unexpectedly; with just flour, yeast, salt, and warm water I was able to pull a loaf from the oven that filled the house with a buttery, toasty aroma even though there is no butter in the dough. The crust pings when sliced and the interior keeps a fresh, open crumb that's perfect for dipping into olive oil or using for sandwiches.
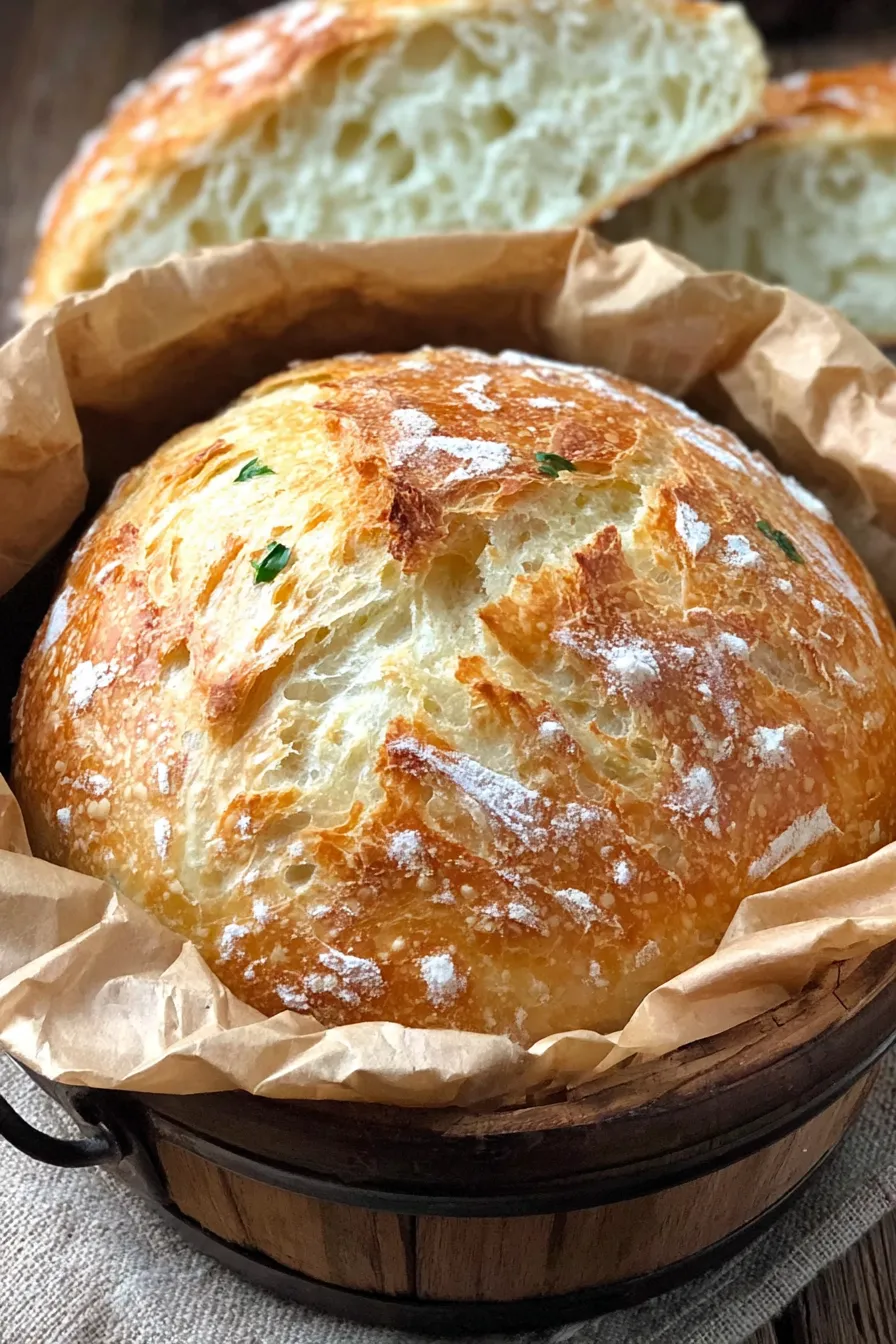
I love this method because it rewards patience with a beautifully blistered crust and a chewy interior. The simplicity is deceptive: a sticky, shaggy dough that you barely touch creates the best texture. I first learned this technique after experimenting with a no-knead style that uses gentle handling, long rises, and the intense heat of a preheated Dutch oven to create steam and promote oven spring. The results have become a staple at our weekly dinners and holiday gatherings — people often ask for the recipe before dessert is even served.
Personal note: every time I bake this loaf for guests, someone asks for an extra piece. My sister once tore off an entire corner while it was still warm and declared it the best crust she'd had in years. The secret is the hot Dutch oven and resisting the urge to overwork the dough; gentle handling preserves the delicate air pockets inside.
My favorite part is the crackle and the aroma as I lift the lid — it always feels like a little celebration. Once, when the power flickered, I kept the pot closed and the bread finished baking with retained heat; the result was still tender crumb but a slightly softer crust, which my kids loved for sandwiches.
Store the loaf at room temperature wrapped in a clean kitchen towel or paper bag for up to two days to maintain the crust. For longer storage, slice and freeze in an airtight bag for up to three months. To refresh a day-old loaf, mist lightly with water and re-toast in a 375°F oven for 5–8 minutes; this brings back the crisp exterior and warms the crumb without drying it out.
You can swap up to half the all-purpose flour with bread flour for a chewier texture and better rise thanks to higher protein, or use 100% whole wheat for a denser, nuttier loaf — increase hydration by 2 to 4 tablespoons if using whole wheat. If you only have active dry yeast, dissolve 2 teaspoons in the warm water first and let bloom for 5–10 minutes before mixing. For a gluten-free option, this method needs a specialized flour blend and binding agents; the Dutch oven steam technique helps, but results will differ significantly.
Serve slices with high-quality extra-virgin olive oil and balsamic for dipping, or use thick slices for panini with melted provolone and roasted vegetables. It pairs beautifully with tomato soup, a green salad, or as a base for bruschetta topped with ripe tomatoes, garlic, and basil. Garnish with flaky sea salt and a drizzle of herb oil for an elegant appetizer.
Rustic, crusty loaves like this are rooted in traditional Italian country baking — simple ingredients turned into something soulful. In many Italian regions, bread was baked daily in communal ovens; the high-heat method we use with a Dutch oven mimics the radiant heat of those wood-fired ovens. This style is celebrated for its straightforward flavor and is a foundation of Mediterranean meals.
For autumn and winter, add a tablespoon of roasted garlic purée or fold in chopped rosemary for warmth. In spring, finish with a scatter of toasted sesame seeds or sunflower seeds on top for a lighter, nuttier profile. Holiday variations include adding olives and sun-dried tomatoes for a festive loaf or slashing the top in a decorative pattern before baking.
Prepare dough in the morning and leave it in the refrigerator for 12–24 hours for a slow ferment that builds flavor; bring it to room temperature before shaping and proceed with the final proof. When planning sandwiches for the week, slice and individually wrap portions, then toast briefly before serving for a fresh-baked texture.
End note: Baking this loaf is as much about patience as technique. With a hot pot, a little practice, and a willingness to embrace a sticky dough, you’ll be rewarded with a loaf that tastes like it came from a bakery — and you’ll enjoy the simple ritual of baking bread for the people you love.
Measure flour by spooning it into the cup and leveling with a knife to avoid compacted measurements.
Preheat the Dutch oven for at least 30 minutes to ensure proper oven spring and crust formation.
Resist the urge to add more flour during shaping — a slightly sticky dough produces a better crumb.
Use a kitchen thermometer to confirm the internal temperature reaches around 200°F for a fully baked loaf.
This nourishing crusty italian bread recipe is sure to be a staple in your kitchen. Enjoy every moist, high protein slice — it is perfect for breakfast or as a wholesome snack any time.
Yes — you can retard the dough in the refrigerator for up to 24 hours after the first rise. Bring it back to room temperature before shaping and continue with the final proof.
If the crust is not as dark as you’d like, finish the loaf under the broiler for 30–60 seconds while watching carefully to avoid burning.
This Crusty Italian Bread recipe makes perfectly juicy, tender, and flavorful steak every time! Serve with potatoes and a side salad for an unforgettable dinner in under 30 minutes.
Combine the flour, yeast, and salt in a large bowl. Add warm water and stir until a sticky, shaggy dough forms. Avoid over-mixing.
Cover the bowl and let the dough rise for 1 to 2 hours in a warm spot until doubled and bubbly.
Turn the dough onto a floured surface, fold edges to center a few times to form a round, and place on parchment paper.
Cover and proof for 30 minutes while preheating a Dutch oven to 450°F.
Transfer the dough on parchment into the hot pot, cover and bake 30 minutes, then uncover and bake 10–15 minutes until golden and crisp.
Remove from pot to a wire rack and cool at least 45 minutes before slicing.
Last Step: Please leave a rating and comment letting us know how you liked this recipe! This helps our business to thrive and continue providing free, high-quality recipes for you.
Leave a comment & rating below or tag
@royalmorsel on social media!

Juicy beef, sweet-charred peppers, and a silky queso drizzle turn these sliders into the ultimate crowd-pleasing bite for game day or weeknight fun.

Melt-in-your-mouth braised short ribs nestled over creamy garlic mashed potatoes, all in a rich, herb-scented sauce that feels like a warm hug.

Golden, garlicky pull-apart loaf swaddled in buttery herbs and stretchy mozzarella that begs to be shared warm from the oven.
Leave a comment & rating below or tag @royalmorsel on social media!
Enjoyed this recipe? Share it with friends and family, and don't forget to leave a review!
This recipe looks amazing! Can't wait to try it.
Comments are stored locally in your browser. Server comments are displayed alongside your local comments.

Join to receive our email series which contains a round-up of some of our quick and easy family favorite recipes.
