>>

No-bake coconut chocolate balls: sweet shredded coconut blended with condensed milk, rolled, chilled, then enrobed in melted chocolate for a simple, crowd-pleasing treat.

I’ve watched picky eaters and coconut skeptics fall in love with these. One holiday I brought them to a potluck and returned with an empty tin and several recipe requests. That’s when I started keeping the basic ingredients on hand year-round.
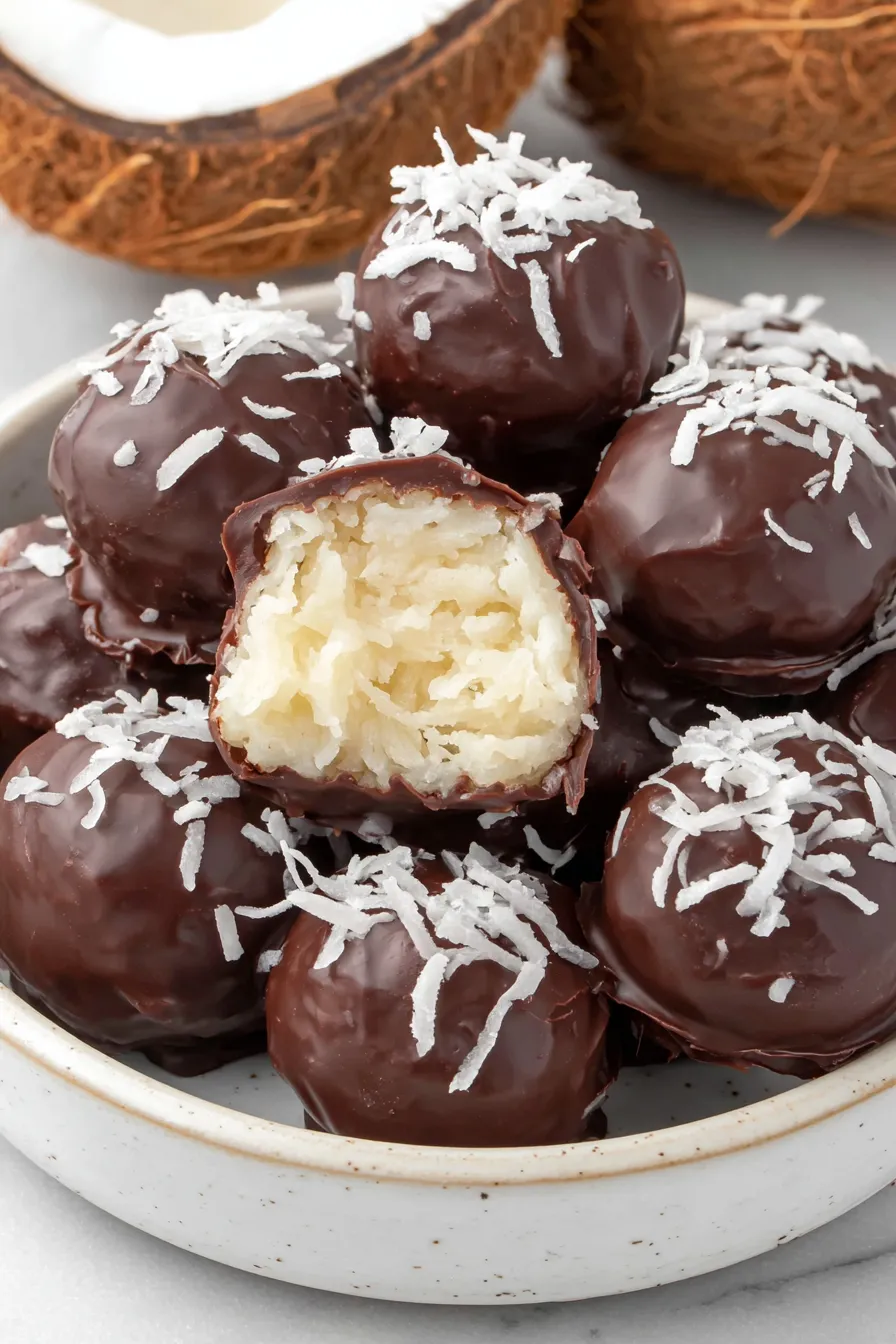
My favorite aspect is how versatile the flavor base is: a touch of orange zest or a splash of rum transforms these into something more adult and complex. Family members often request the simple dark chocolate version for its perfect bittersweet contrast, while kids prefer milk chocolate or a playful sprinkles finish.
Keep finished pieces in an airtight container layered with parchment paper to prevent sticking. Refrigerate for up to two weeks; for long-term storage, freeze for up to three months. To thaw, transfer from the freezer to the refrigerator overnight or leave on the counter for 15–30 minutes before serving. If condensation forms after thawing, blot gently with a paper towel and serve once dry. Use rigid containers to avoid squashing the chocolate shells.
If you prefer a less sweet center, swap half the sweetened condensed milk for unsweetened condensed milk alternatives or reduce powdered sugar slightly—note texture will be looser and may require extra chilling. For a dairy-free option, use sweetened condensed coconut milk and dairy-free chocolate melts, though the flavor and setting may differ. Replace vanilla with almond extract for a different aroma (use half the amount). Toast the shredded coconut lightly in a dry skillet for 3–4 minutes for a nuttier flavor and crisper texture.
Present these on a decorative tray lined with doilies or parchment. Garnish with a sprinkle of toasted coconut, flaky sea salt, or a fine dusting of cocoa powder. Pair with coffee, espresso, or dessert wine for adult gatherings. They’re also lovely alongside cookie assortments for parties or boxed up in small tins as homemade gifts—add festive ribbon and a handwritten note for a personal touch.
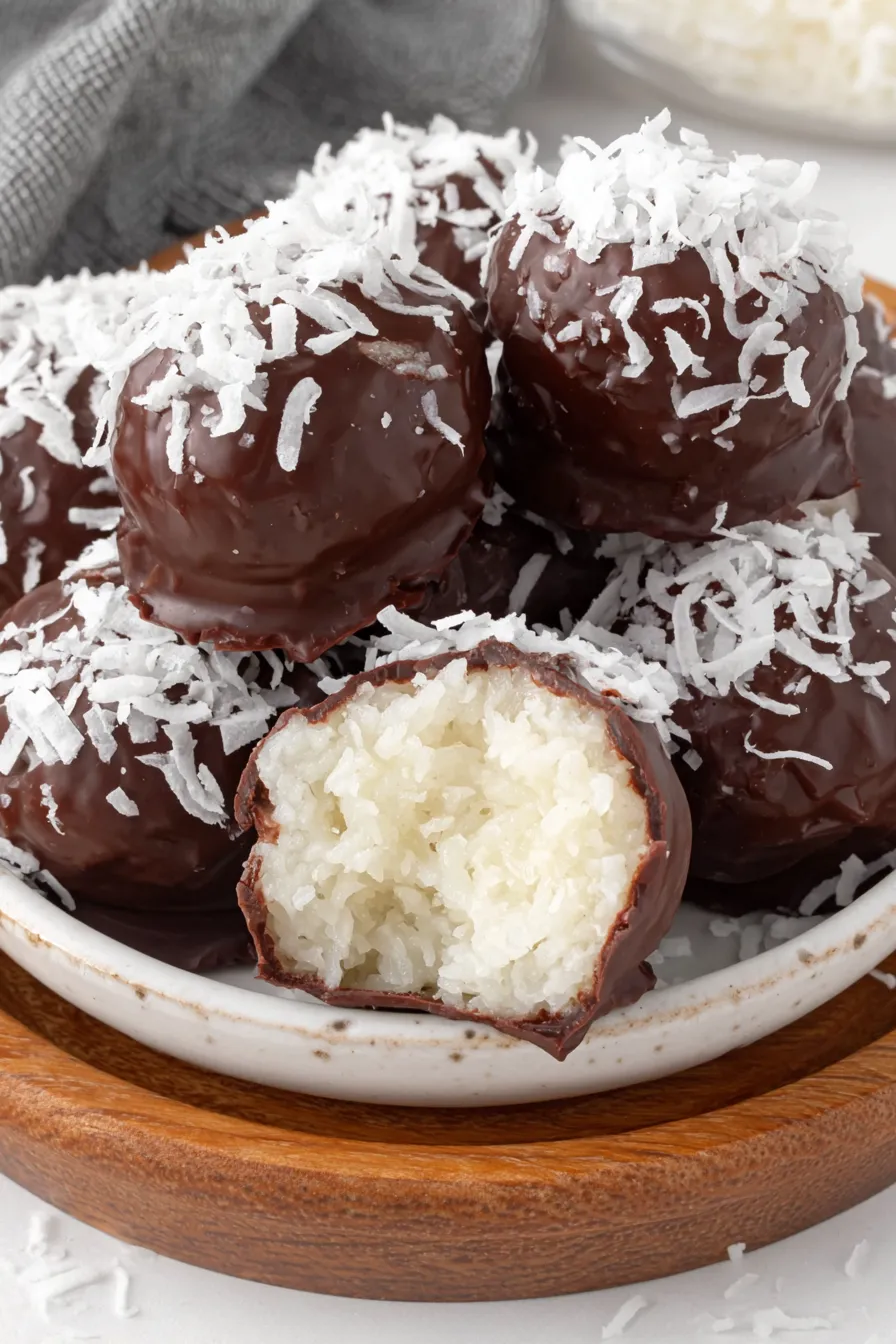
Balls made from shredded coconut and sweetened condensed milk are found in many baking traditions as a simple confection—variations exist worldwide, from South American brigadeiros (which use condensed milk and cocoa) to European coconut truffles. The convenience of canned sweetened condensed milk popularized no-bake sweets in the 20th century, and combining it with coconut became a fast, portable treat for celebrations and tea-time. These bite-sized sweets reflect resourceful home baking where simple ingredients are transformed into festive offerings.
For winter holidays, add 1 teaspoon of orange zest and use dark chocolate for a cozy, seasonal note. Springtime versions can include a light rosewater or cardamom touch. For summer, roll the centers in toasted coconut and drizzle with white chocolate for a bright presentation. To make them Valentine’s-appropriate, dip in dark chocolate and finish with a heart-shaped sprinkle or a dusting of freeze-dried strawberry powder.
Make the coconut centers ahead and freeze them in a single layer. When you need finished treats, melt chocolate and dip as many as you want—this keeps dipped pieces fresher and crisp. For gifting, dip and cool the full batch, then pack in airtight tins with parchment. Label with a date and storage recommendation. Use a cookie scoop for consistent sizing to ensure even freezing, coating, and presentation.
These coconut chocolate balls feel like a little celebration in every bite. The ease of preparation, few ingredients, and flexibility make them a recipe I return to again and again—give them a try and make them your own with a personal twist.
Chill the coconut mixture for at least 10 minutes before scooping to make shaping easier and neater.
Freeze the centers until firm before dipping so the warm chocolate sets quickly and creates a crisp shell.
Use a cookie scoop for uniform balls to ensure even freezing and professional presentation.
Toast shredded coconut briefly for more depth of flavor and a pleasing aroma.
Work in small batches when dipping so the centers remain cold and the chocolate sets cleanly.
This nourishing coconut chocolate balls recipe is sure to be a staple in your kitchen. Enjoy every moist, high protein slice — it is perfect for breakfast or as a wholesome snack any time.
Yes. Store in an airtight container in the refrigerator for up to two weeks, or freeze for up to three months. Thaw in the fridge before serving.
If the chocolate thickens, warm it gently in 10–15 second microwave bursts and stir, or add 1 teaspoon of neutral oil to loosen the texture.
This Coconut Chocolate Balls recipe makes perfectly juicy, tender, and flavorful steak every time! Serve with potatoes and a side salad for an unforgettable dinner in under 30 minutes.
In a medium mixing bowl, add shredded coconut, sweetened condensed milk, powdered sugar, and vanilla. Use a hand mixer on low to medium speed until evenly combined and the mixture holds when pressed.
Place the bowl in the freezer for 10 minutes to firm the mixture slightly—this makes scooping easier and reduces stickiness.
Use a cookie scoop to portion the mixture onto a parchment-lined baking sheet. Smooth any rough edges and freeze for 60 minutes until firm.
Melt about 3 cups of chocolate melts in a microwave-safe bowl in 30-second increments, stirring between each, until mostly melted; then stir until smooth. Alternatively, melt over a double boiler.
Remove 1–2 centers from the freezer at a time. Dip each ball using a fork, tap off excess chocolate, and set on parchment to cool. Decorate while chocolate is warm if desired.
Once set, store in an airtight container in the refrigerator for up to two weeks or freeze for up to three months. Thaw in the refrigerator before serving.
Last Step: Please leave a rating and comment letting us know how you liked this recipe! This helps our business to thrive and continue providing free, high-quality recipes for you.
Leave a comment & rating below or tag
@royalmorsel on social media!

Juicy beef, sweet-charred peppers, and a silky queso drizzle turn these sliders into the ultimate crowd-pleasing bite for game day or weeknight fun.
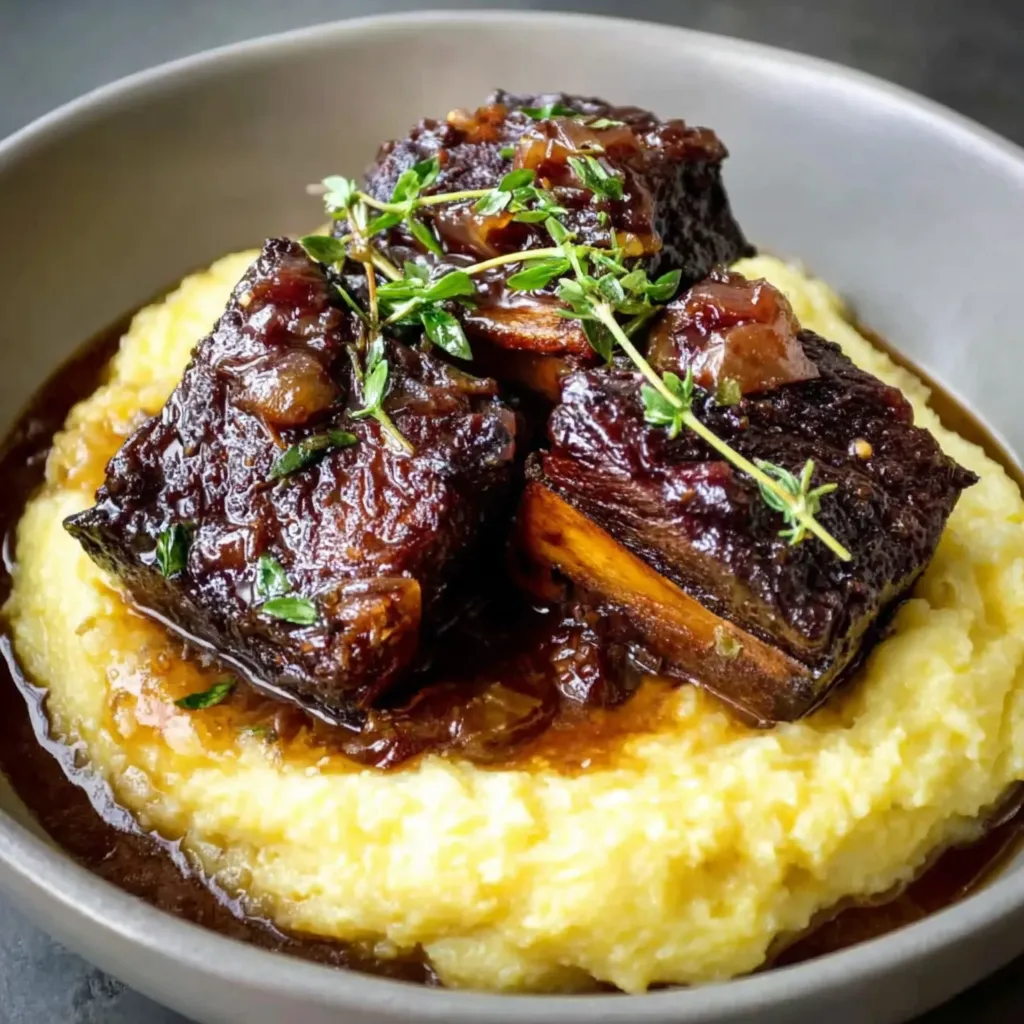
Melt-in-your-mouth braised short ribs nestled over creamy garlic mashed potatoes, all in a rich, herb-scented sauce that feels like a warm hug.
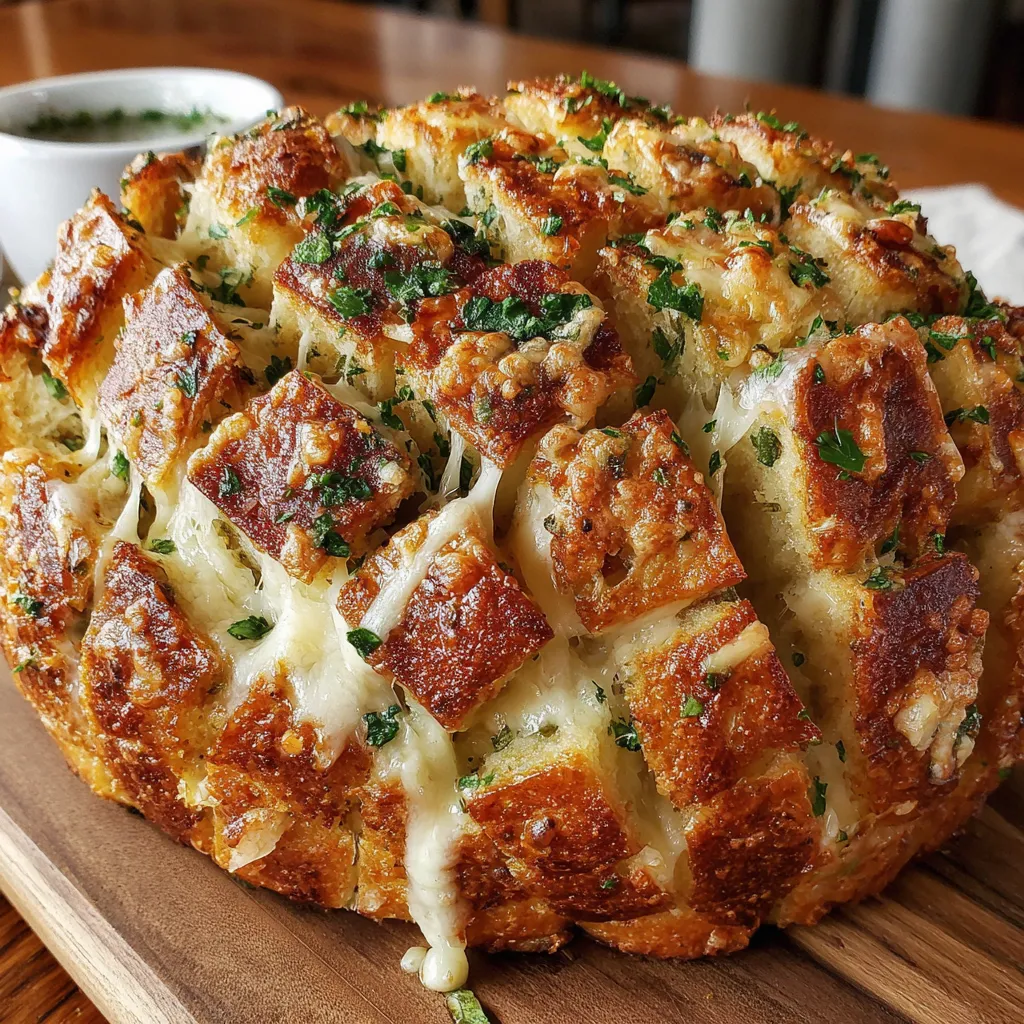
Golden, garlicky pull-apart loaf swaddled in buttery herbs and stretchy mozzarella that begs to be shared warm from the oven.
Leave a comment & rating below or tag @royalmorsel on social media!
Enjoyed this recipe? Share it with friends and family, and don't forget to leave a review!
This recipe looks amazing! Can't wait to try it.
Comments are stored locally in your browser. Server comments are displayed alongside your local comments.

Join to receive our email series which contains a round-up of some of our quick and easy family favorite recipes.