
Christmas Truffles

Easy no-bake white chocolate peanut butter truffles finished with festive sprinkles—perfect for gifting and holiday gatherings.
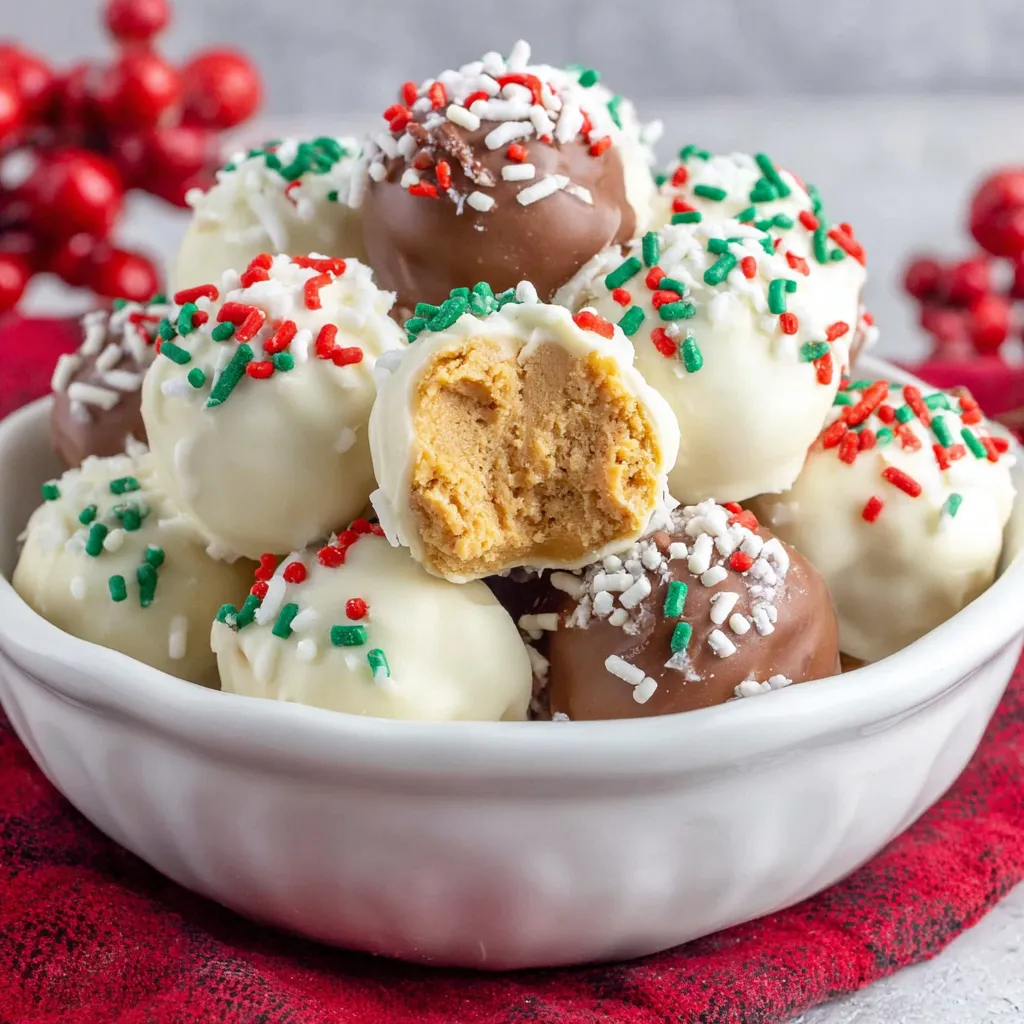
This little jar of sweetness has been my holiday secret for years. I discovered this combination one December night when I wanted a quick treat to bring to a cookie swap but did not have time for baking. The result was a bite-sized confection that tastes like a cross between a peanut buttery fudge and a delicate white chocolate bonbon. The interior is creamy with a tender snap from the white coating, and the sprinkles give it that cheerful Christmas crunch that kids love. Ever since, these truffles have been requested at every family gathering, teacher present, and holiday table I attend.
I make these when I need something quick, transportable, and universally loved. They are no-bake, require only five ingredients, and can be dressed up with any topping you love. They slice the stressful holiday prep time in half while delivering a decadent finish that looks like you spent hours in the kitchen. The balance of powdered sugar, peanut butter, and butter gives a smooth, melt-in-your-mouth center while the white melting chocolate seals everything with a glossy finish.
Why You'll Love This Recipe
- Ready in under 30 minutes when you include chilling time, making it perfect for last-minute gifts and parties.
- Uses pantry staples: powdered sugar, peanut butter, butter, and white melting chocolate—no specialty ingredients required.
- No oven needed so you can make them in an apartment or while other dishes are baking, saving energy and oven space.
- Customizable toppings—sprinkles, crushed candy canes, cocoa nibs, or chopped nuts—so you can adapt them for dietary needs or aesthetics.
- Great for gifting: they keep well in small tins or cellophane bags and transport without melting if chilled first.
- Child-friendly assembly: kids can help scoop and decorate, turning an afternoon into a festive activity.
Personally, the first time I served these at a potluck, every single truffle disappeared before the main course. My aunt declared them the “official taste of Christmas,” and my neighbor asked for a batch to send to college students. They have a habit of becoming the most requested confection of the season, and I always end up making a double batch to keep some at home.
Ingredients
- Powdered sugar (1 cup): Use sifted confectioners' sugar to avoid grainy texture. I prefer Domino or C&H brands; sifting ensures a silky interior that blends smoothly with peanut butter.
- Peanut butter (1/2 cup): Creamy or chunky both work. Creamy gives a smoother truffle while chunky adds texture and crunch. Choose a natural peanut butter for more pronounced peanut flavor, but if you want a sweeter center, use a standard commercial brand.
- Butter (3 tablespoons), room temperature: Adds richness and helps the center set with a smooth mouthfeel. Use unsalted butter so you can control the overall salt level.
- White melting chocolate (16 ounces): Use coating wafers or good-quality compound melts for easy melting and a glossy finish; Ghirardelli white chocolate melts or Wilton candy melts are reliable options.
- Christmas sprinkles and other toppings: Choose festive nonpareils, crushed candy canes, finely chopped roasted nuts, or edible glitter for visual appeal and texture contrast.
Instructions
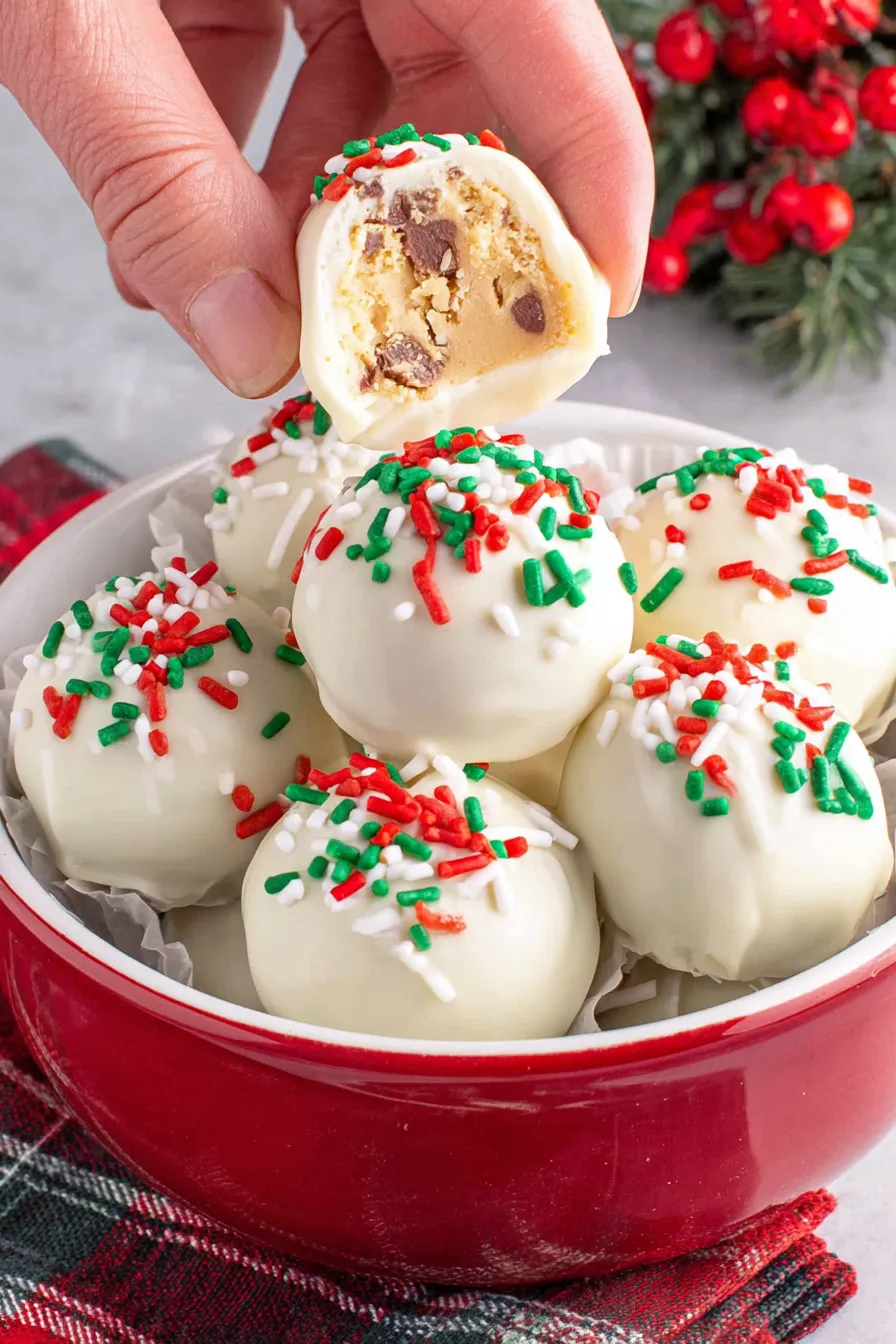
Combine the base:In a medium mixing bowl, add 1 cup powdered sugar, 1/2 cup peanut butter, and 3 tablespoons room temperature butter. Use a large spatula or wooden spoon to fold the ingredients together until a uniform dough forms. You may need to press against the sides of the bowl to fully incorporate the powdered sugar. The mixture should be pliable but not sticky. If it feels too dry, add 1/4 teaspoon milk; if too wet, add a tablespoon of powdered sugar.Portion the dough:Using a small portion scoop or a heaping teaspoon, portion dough into even balls. A 1-tablespoon scoop yields about 24 bite-sized truffles. Roll each portion between your palms to create smooth, compact balls. Work quickly so the heat from your hands does not soften the centers. Place them on a parchment-lined sheet pan in a single layer.Chill to firm up:Refrigerate the sheet pan for 15 to 30 minutes, until the centers are firm to the touch. Chilling makes dipping neater and prevents the centers from dissolving into the coating. The ideal interior temperature is cool but not frozen; if you over-chill, allow the balls to sit 5 minutes at room temperature before dipping.Melt the chocolate:Chop or measure 16 ounces of white melting chocolate and place in a microwave-safe bowl. Heat at 30-second intervals on medium power, stirring between each interval. Continue until the chocolate is fully melted and smooth. Alternatively, use a double boiler set over simmering water, stirring until glossy. If the chocolate thickens, stir in 1 teaspoon vegetable oil or coconut oil to thin to a dipping consistency.Dip and decorate:Using a fork or dipping tool, immerse each chilled ball into the melted white chocolate, allow excess to drip back, and place on parchment paper. While the coating is still wet, sprinkle with Christmas sprinkles, crushed candy cane, or chopped nuts. If you notice the chocolate cooling and thickening, reheat briefly in 10-second bursts and stir.Set and store:Let the truffles set at room temperature until the coating hardens, about 30 minutes, or speed up the process in the refrigerator for 10 to 15 minutes. Store in an airtight container layered between parchment sheets in the refrigerator for up to 2 weeks or freeze for longer storage.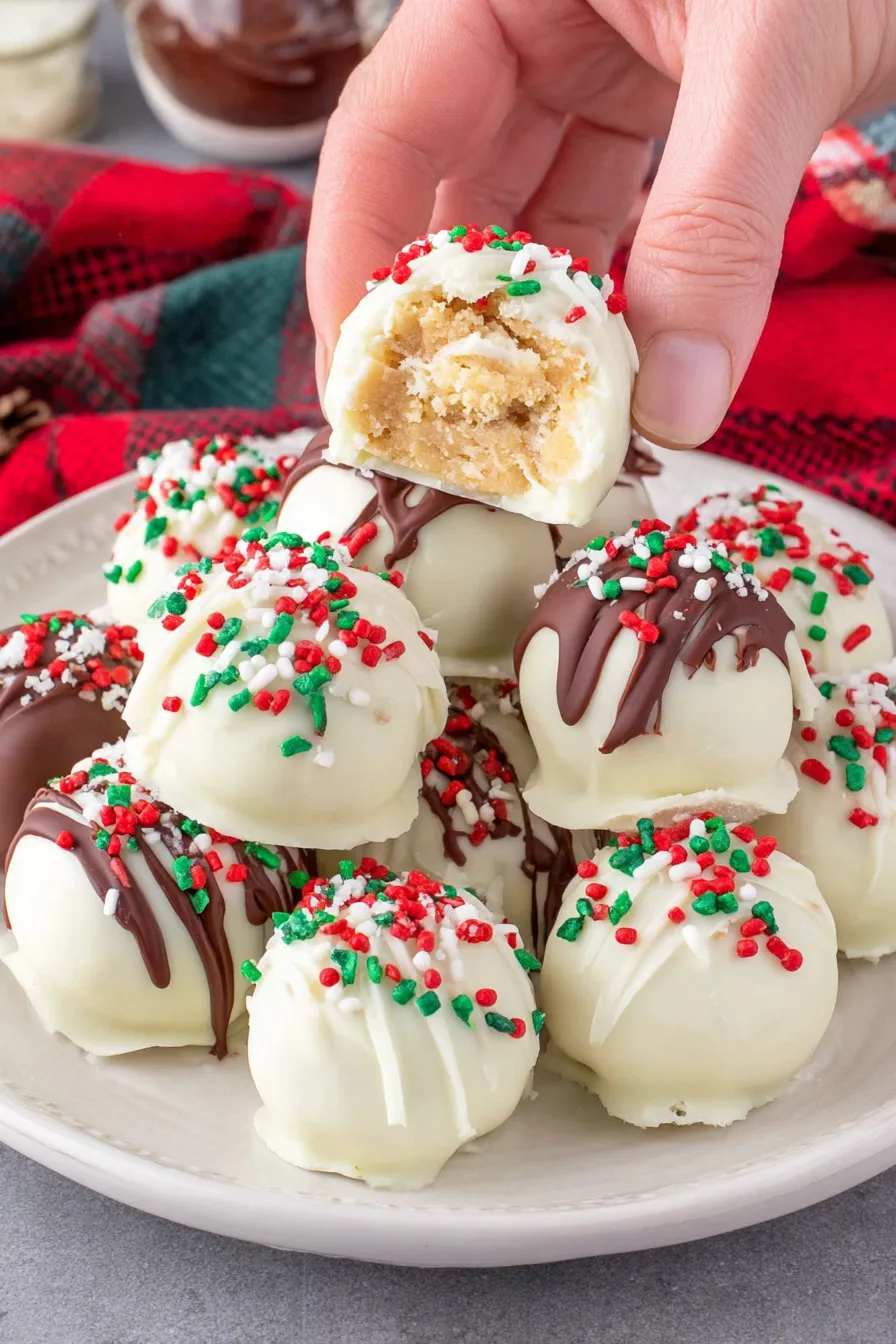
You Must Know
- High in added sugar and fat; store in the refrigerator to maintain texture and slow softening of the white coating.
- Freeze well for up to three months. Thaw gently in the refrigerator to avoid condensation on the coating.
- Contains peanuts and dairy. If you use chocolate with soy lecithin, be aware of that allergen as well.
- These hold up well in cool environments but can soften at warm room temperatures; ship them chilled for long-distance gifting.
My favorite part is watching people bite into them and pause for a second before smiling. That pause is the moment when textures harmonize and the holiday nostalgia hits. One year I packed a small box for a neighbor going through a tough time; her text of gratitude and a photo of the empty tin made me realize how much joy a homemade sweet can deliver. These truffles are simple but they carry warmth, and they are one of the easiest ways to show you care.
Storage Tips
Store finished truffles in an airtight container layered with parchment paper to prevent sticking. Keep the container in the refrigerator for up to two weeks; for longer storage, freeze in a single layer on a sheet pan until solid, then transfer to a freezer-safe container for up to three months. When you are ready to serve, thaw in the refrigerator overnight to maintain a smooth, non-sweating surface. Avoid leaving them at room temperature for prolonged periods, especially in warm kitchens, as the white coating will soften and lose its gloss.
Ingredient Substitutions
If someone in your group is allergic to peanuts, substitute almond butter or sunbutter for a different flavor profile and similar texture. Keep in mind that sunbutter is slightly looser; reduce by a half teaspoon of any liquid added. For a dairy-free option, use vegan white melting wafers and plant-based butter. If you prefer a darker finish, swap the white melts for milk or dark compound chocolate; this will alter the sweet profile and give a richer finish that pairs well with flaky sea salt.
Serving Suggestions
Serve on a festive platter with a mix of colors and textures. Arrange with candy canes, dried citrus slices, and edible rosemary sprigs for a winter look. These truffles pair beautifully with strong coffee or black tea to cut through the sweetness, and they complement a dessert spread with cookies and small cakes. For gifting, nestle them in parchment in a small tin or cellophane bag tied with a ribbon and a handwritten note.
Cultural Background
These simple confections are a modern, American twist on classic filled truffles. They draw inspiration from European pralines and American no-bake candies like buckeye confections. Over time, home cooks adapted these treats for holidays by using festive toppings and colored sprinkles. The approach of creating a soft center and coating it in chocolate is universal in confectionery, but the quick powdered sugar and nut butter base is a contemporary, pantry-friendly innovation that became popular alongside the rise of candy melts and easy coatings in home baking.
Seasonal Adaptations
For winter, add a pinch of ground cinnamon or orange zest to the base for a warm holiday aroma. Swap sprinkles for crushed candy canes for a peppermint version. In summer, use brightly colored sprinkles or dip half in dark chocolate for contrast. For Valentine’s Day, add a teaspoon of cocoa powder to the base and coat in melted chocolate with pink sprinkles. Small seasonal swaps can completely change the flavor profile and presentation while keeping the process the same.
Meal Prep Tips
Make the base up to two days in advance and keep it refrigerated until ready to portion. Portion into balls and freeze on a sheet pan for easy dipping—once frozen, transfer to a bag and keep until needed. This makes assembly day fast and reduces hands-on time. When you are ready to serve, dip directly from the freezer; the cold centers set immediately and reduce the risk of the coating cracking. Use a rotating wire rack to speed up setting if you have many truffles to coat.
These little bites are an invitation to get creative and to share. Whether you make a small batch for neighbors or a dozen tins as gifts, the simplicity of the method means you can personalize each batch without stress. Enjoy the ritual of decorating and sharing them; it is one of my favorite ways to kick off the holiday season.
Pro Tips
Sift the powdered sugar before combining to ensure a silky center and avoid graininess.
Chill the centers until firm before dipping to prevent the coating from cracking or melting into the center.
If the melted chocolate becomes too thick, stir in 1 teaspoon of neutral oil to restore a smooth dipping consistency.
Work in small batches when dipping to keep the melted chocolate at the right temperature and consistency.
This nourishing christmas truffles recipe is sure to be a staple in your kitchen. Enjoy every moist, high protein slice — it is perfect for breakfast or as a wholesome snack any time.
Tags
Christmas Truffles
This Christmas Truffles recipe makes perfectly juicy, tender, and flavorful steak every time! Serve with potatoes and a side salad for an unforgettable dinner in under 30 minutes.
Ingredients
Truffle Base
Coating & Toppings
Instructions
Combine the base
Place 1 cup powdered sugar, 1/2 cup peanut butter, and 3 tablespoons room temperature butter in a medium bowl. Stir with a spatula until a uniform, pliable dough forms. Adjust texture with 1/4 teaspoon milk if too dry or 1 tablespoon powdered sugar if too wet.
Portion the dough
Use a small portion scoop or a heaping teaspoon to form even balls. Roll between palms to smooth and place on a parchment-lined sheet pan in a single layer.
Chill to firm
Refrigerate the sheet pan for 15 to 30 minutes until the centers are firm to the touch but not frozen. Chilling yields cleaner dipping and neater finished pieces.
Melt the coating
Melt 16 ounces white melting chocolate in 30-second intervals in the microwave, stirring between each interval, or use a double boiler. If the chocolate becomes too thick, add 1 teaspoon neutral oil and stir until smooth.
Dip and decorate
Dip chilled centers into the melted chocolate, letting excess drip back. Place on parchment and immediately add sprinkles or toppings while the coating is still wet. If chocolate cools, reheat briefly and stir.
Set and store
Allow coating to harden at room temperature for 30 minutes or refrigerate for 10 to 15 minutes. Store in an airtight container refrigerated for up to two weeks or freeze for up to three months.
Last Step: Please leave a rating and comment letting us know how you liked this recipe! This helps our business to thrive and continue providing free, high-quality recipes for you.
Nutrition
Did You Make This?
Leave a comment & rating below or tag
@royalmorsel on social media!
Categories:
You might also like...

Cheeseburger Queso Sliders
Juicy beef, sweet-charred peppers, and a silky queso drizzle turn these sliders into the ultimate crowd-pleasing bite for game day or weeknight fun.

Short Ribs with Garlic Mash
Melt-in-your-mouth braised short ribs nestled over creamy garlic mashed potatoes, all in a rich, herb-scented sauce that feels like a warm hug.

Cheesy Garlic Pull-Apart Bread
Golden, garlicky pull-apart loaf swaddled in buttery herbs and stretchy mozzarella that begs to be shared warm from the oven.
Did You Make This?
Leave a comment & rating below or tag @royalmorsel on social media!
Rate This Recipe
Share This Recipe
Enjoyed this recipe? Share it with friends and family, and don't forget to leave a review!
Comments (1)
This recipe looks amazing! Can't wait to try it.
Comments are stored locally in your browser. Server comments are displayed alongside your local comments.

Hi, I'm Emma!
What's Popular

30-Minute Meals!
Join to receive our email series which contains a round-up of some of our quick and easy family favorite recipes.