
>>

No-bake, ultra-rich cookie dough bars layered with a creamy peanut butter chocolate topping — a simple, crowd-pleasing dessert that chills to perfection.
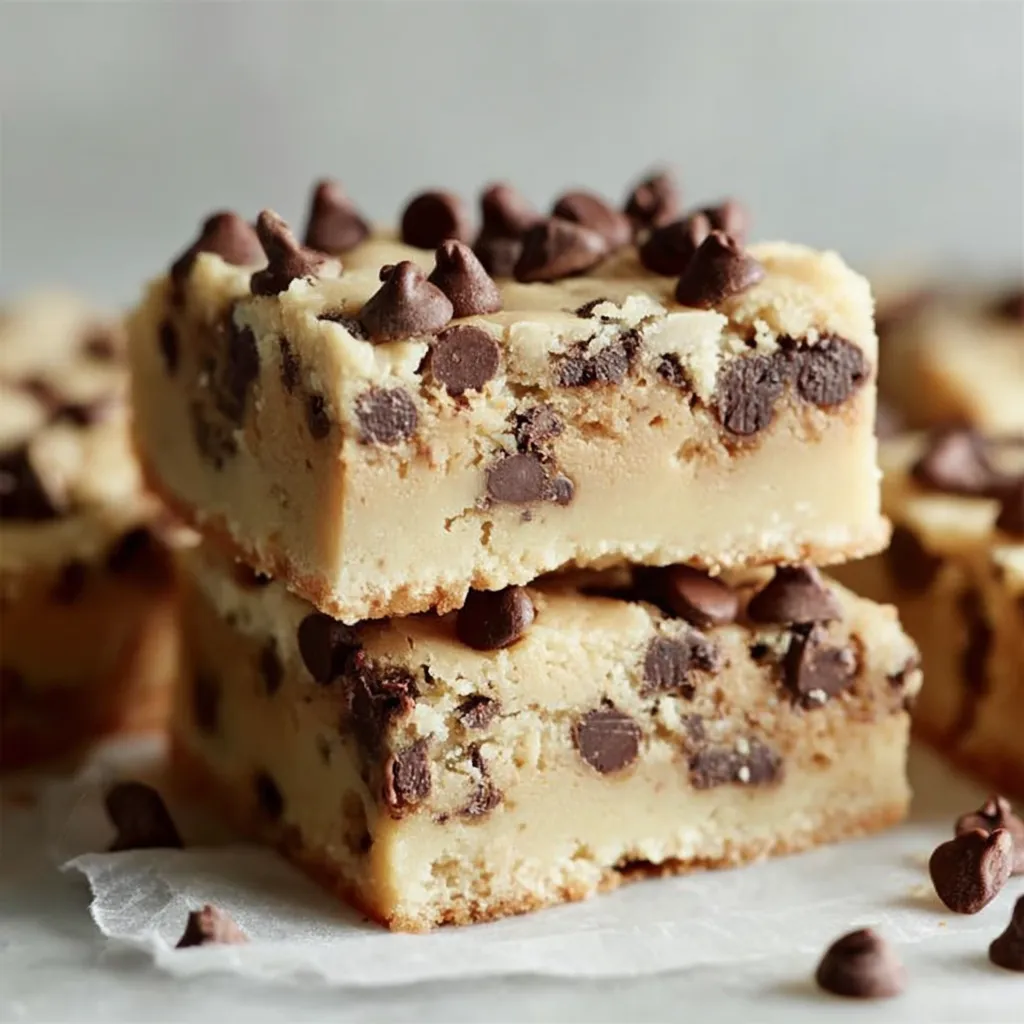
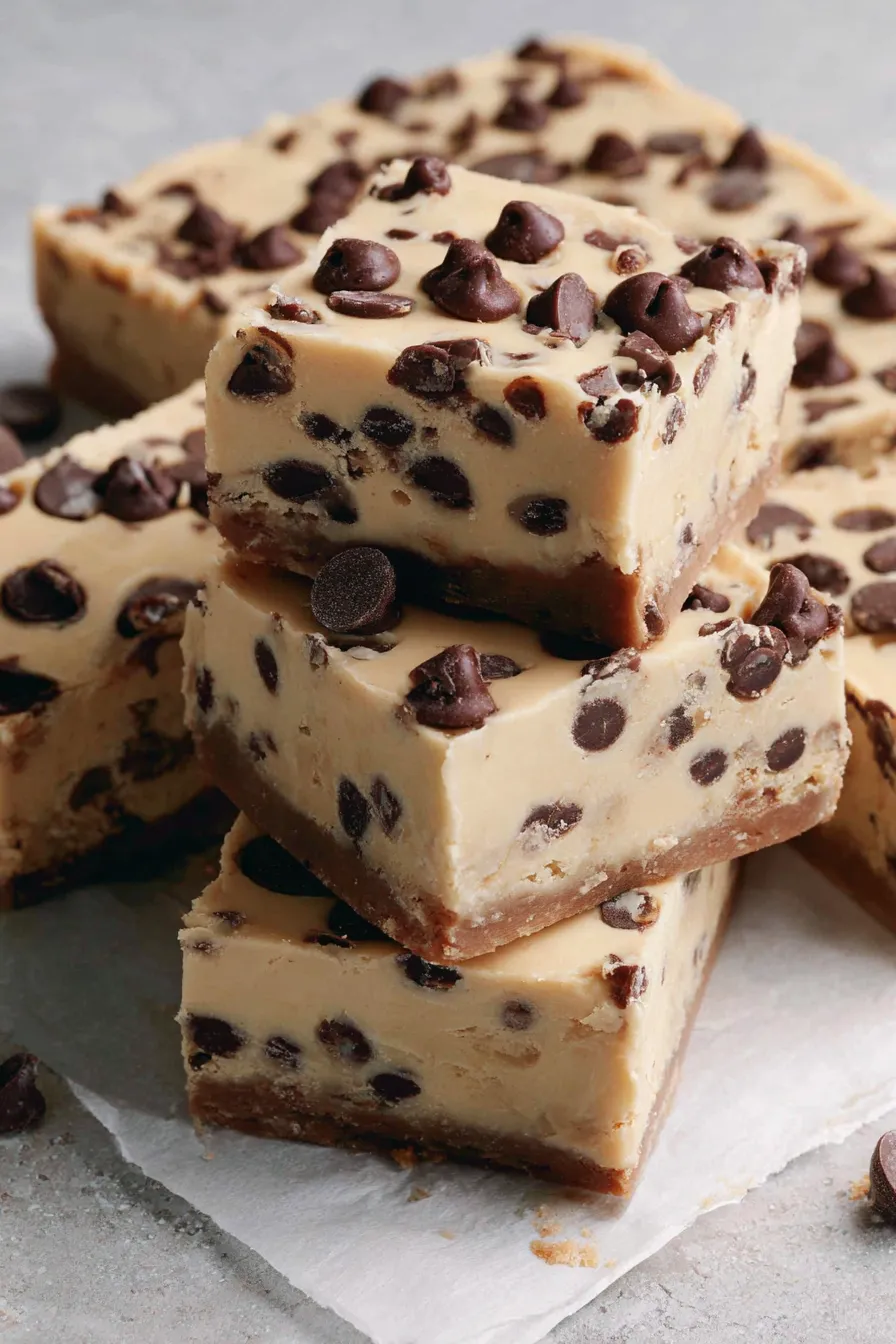
This recipe is my go-to when I want a decadent, shareable treat without turning on the oven. I first made these during a summer family gathering when the heat made baking an unwelcome idea; the result was so indulgent and addictively chewy that everyone asked for the recipe. The dough is buttery and sweet, dense like an honest cookie dough, studded with mini chocolate chips so every bite has bursts of chocolate. The chilled texture gives a satisfyingly firm bite while staying creamy in the center.
I learned to balance the sweetness by using light brown sugar for a hint of molasses and by folding in mini chips that distribute more evenly than large chunks. The sweetened condensed milk binds the dough and gives a lush chew that mimics baked cookie interiors. The peanut butter-chocolate topping adds a glossy, peanutty finish that slices cleanly after extra refrigeration — perfect for gifting or packing into lunchboxes for a special treat.
Over the years I've brought these bars to potlucks, birthday parties, and as a surprise school treat. Family members often request the peanut butter on top — it tames the sweetness slightly and adds depth. The method is forgiving, so even if your dough is a little sticky you can press and chill it successfully.
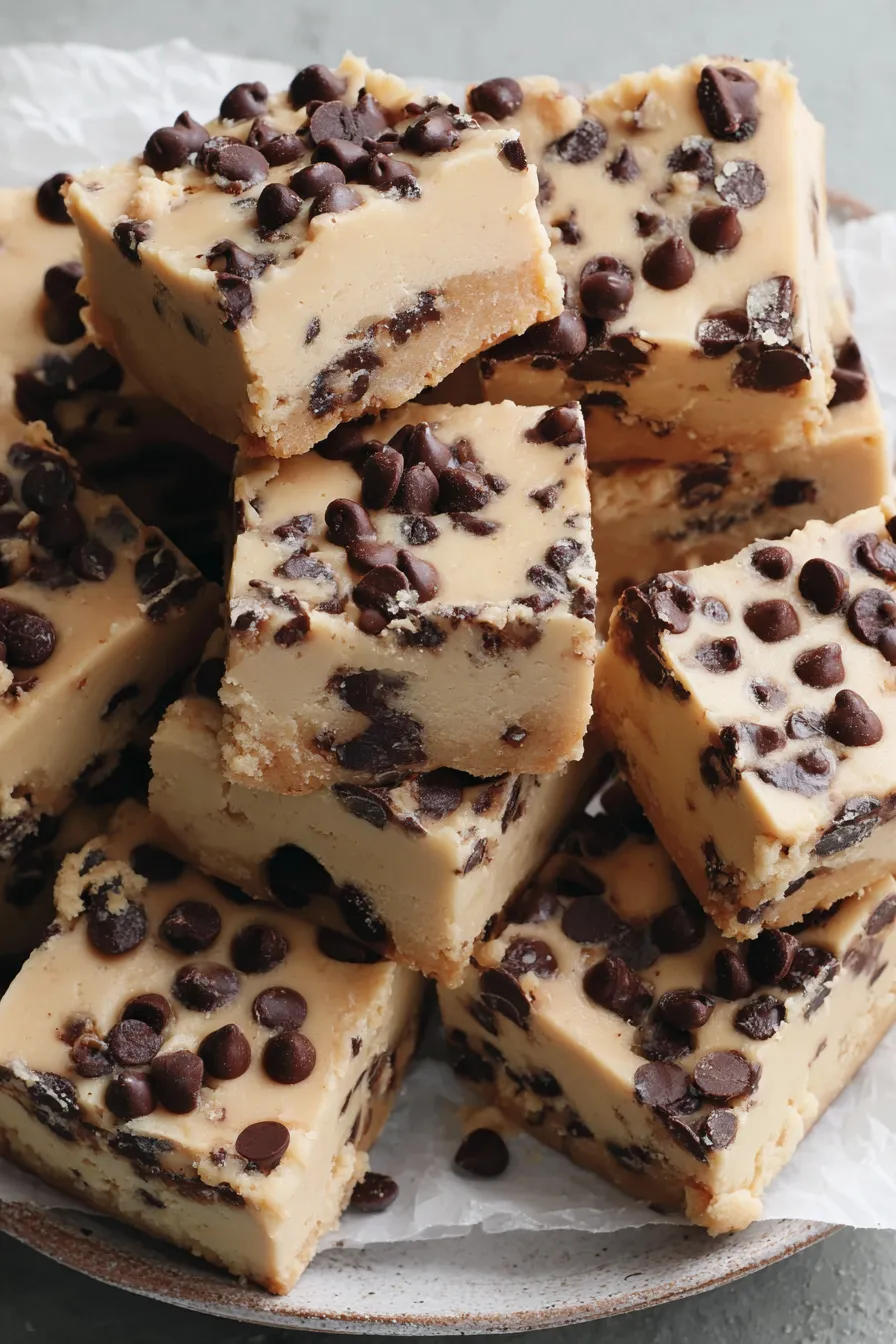
My favorite part is how cleanly these slice after an overnight chill — the layers hold together but still give that soft, cookie-dough chew. I often make a double batch and freeze half; friends appreciate the individually wrapped homemade treats for holidays and school fundraisers.
Store finished bars in an airtight container with parchment between layers to prevent sticking. Refrigerated, they keep well for up to five days; if you need longer storage, wrap tightly in plastic wrap and aluminum foil and freeze for up to three months. To thaw, move bars from the freezer to the refrigerator overnight, then let them sit at room temperature for 10–15 minutes before serving so the topping becomes slightly softer and the texture is easier to bite through. If the topping cracks when slicing, warm the knife under hot water and dry it before each cut for smoother edges.
To make these dairy-free, swap the butter for a plant-based stick-style spread and use dairy-free chocolate chips; replace the sweetened condensed milk with a coconut condensed milk (same can size) to maintain binding. For a gluten-free version, use a 1-to-1 gluten-free flour blend that measures like all-purpose flour and treat it the same way; the texture will be slightly different but still delicious. If you need nut-free, omit the peanut butter topping and replace with melted dairy chocolate mixed with a tablespoon of neutral oil for spreadability.
These bars are rich, so serve small squares alongside fresh berries or a tart citrus salad to cut through the sweetness. For gatherings, place them on a platter dusted with a little cocoa powder or flaky sea salt on top of the peanut butter layer for contrast. They also pair beautifully with cold milk or a strong espresso for adults. For a festive touch, sprinkle chopped toasted peanuts or a few larger chocolate chunks on top before chilling the topping.
Decades of American baking have elevated cookie dough into a standalone indulgence — from edible cookie dough served at ice cream shops to no-bake bars that mimic baked cookies. These bars are an example of how pantry staples were transformed into shareable treats during mid-century homemaking when canned condensed milk became popular. The combination of chocolate and peanut butter also nods to classic American pairings and regional favorites from peanut-heavy Southern recipes to candy-bar inspired desserts.
In colder months, swap the milk chocolate for dark chocolate and stir in a pinch of espresso powder to deepen the flavor. For spring and summer, add toasted coconut to the base or top with crushed freeze-dried raspberries for a bright contrast. Around the holidays, fold in 1/2 cup chopped toasted pecans and finish with a drizzle of white chocolate for a festive finish.
These are excellent for make-ahead dessert planning. Prepare the slab up to two days before you need it and keep chilled; cut into portions on the event day for freshest appearance. For grab-and-go snacks, cut, wrap each bar in parchment, and place in freezer-safe bags. Labels with date and contents help when you store several types of treats. Reheat briefly at room temperature — about 10 minutes — before serving for the best texture.
These bars are easy to personalize and forgiving if you adjust mix-ins. Whether you slice them for a potluck or wrap them as gifts, they're reliably delicious and always draw compliments. Give them a try and make the topping your signature touch — a little tweak can make them uniquely yours.
Chill the slab for at least 3 hours for clean slicing; overnight chilling yields the best texture.
Warm a knife under hot water and dry it before each cut to get smooth edges on the bars.
Heat-treat flour by spreading it on a baking sheet and baking at 160°C (325°F) for 5-7 minutes if serving raw dough to children or immune-compromised guests.
Use mini chocolate chips for better distribution; large chips create uneven bites.
This nourishing chocolate chip cookie dough bars recipe is sure to be a staple in your kitchen. Enjoy every moist, high protein slice — it is perfect for breakfast or as a wholesome snack any time.
This Chocolate Chip Cookie Dough Bars recipe makes perfectly juicy, tender, and flavorful steak every time! Serve with potatoes and a side salad for an unforgettable dinner in under 30 minutes.
Line an 8x8-inch pan with parchment paper or aluminum foil leaving an overhang for easy removal. Lightly grease the liner for clean release.
Beat softened butter and light brown sugar for about 3 minutes until fluffy. Add vanilla and mix until combined.
On low speed, add the flour and sweetened condensed milk in alternating additions until just combined to avoid overworking the dough.
Fold in mini chocolate chips with a spatula so chips remain intact and evenly distributed. Reserve a few for garnish if desired.
Press the sticky dough into the prepared pan. Cover with plastic wrap and refrigerate for at least 3 hours or overnight until firm.
Microwave peanut butter and milk chocolate chips in 30-second intervals, stirring between each, until smooth. Pour over chilled base and spread evenly. Chill at least 1 hour until set.
Lift the slab from the pan using the parchment overhang and slice into bars. Warm the knife under hot water and dry between cuts for clean slices.
Last Step: Please leave a rating and comment letting us know how you liked this recipe! This helps our business to thrive and continue providing free, high-quality recipes for you.
Leave a comment & rating below or tag
@royalmorsel on social media!

Juicy beef, sweet-charred peppers, and a silky queso drizzle turn these sliders into the ultimate crowd-pleasing bite for game day or weeknight fun.

Melt-in-your-mouth braised short ribs nestled over creamy garlic mashed potatoes, all in a rich, herb-scented sauce that feels like a warm hug.

Golden, garlicky pull-apart loaf swaddled in buttery herbs and stretchy mozzarella that begs to be shared warm from the oven.
Leave a comment & rating below or tag @royalmorsel on social media!
Enjoyed this recipe? Share it with friends and family, and don't forget to leave a review!
This recipe looks amazing! Can't wait to try it.
Comments are stored locally in your browser. Server comments are displayed alongside your local comments.

Join to receive our email series which contains a round-up of some of our quick and easy family favorite recipes.
