
>>

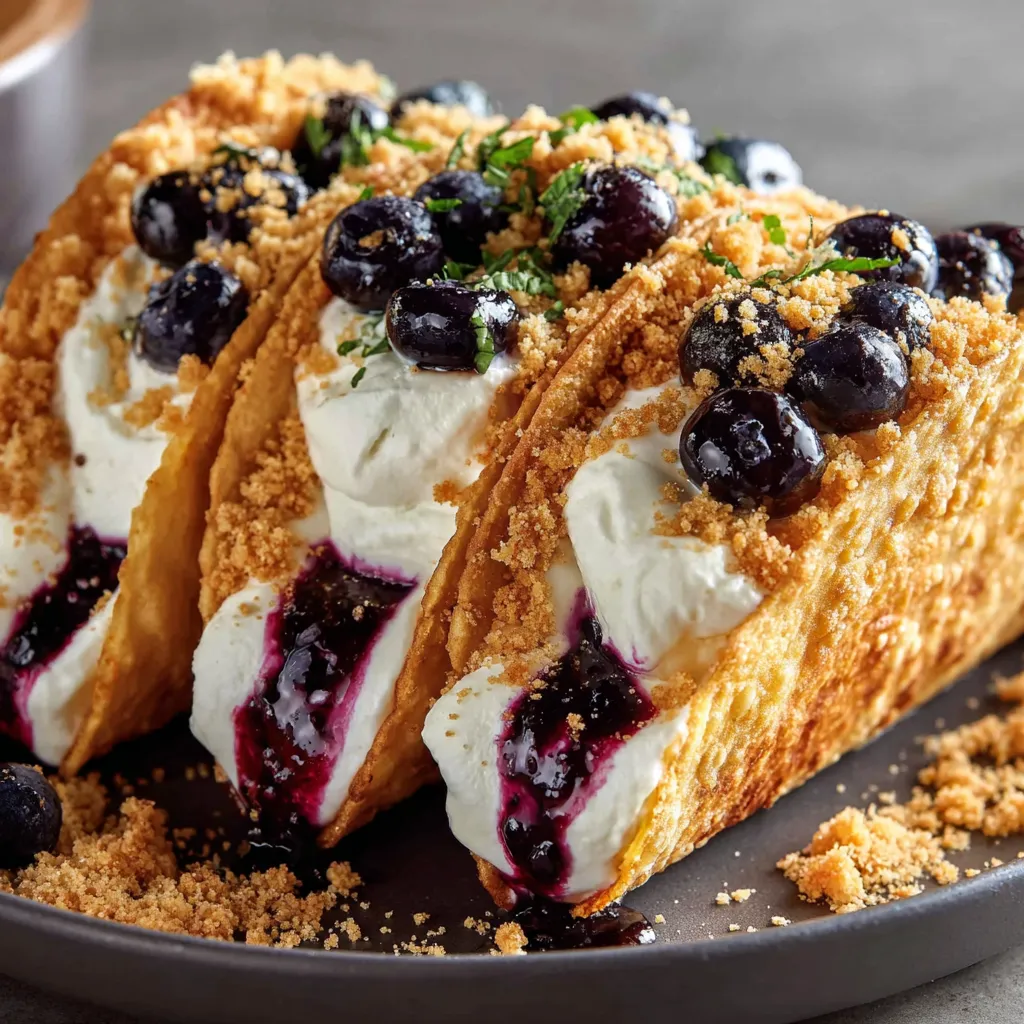
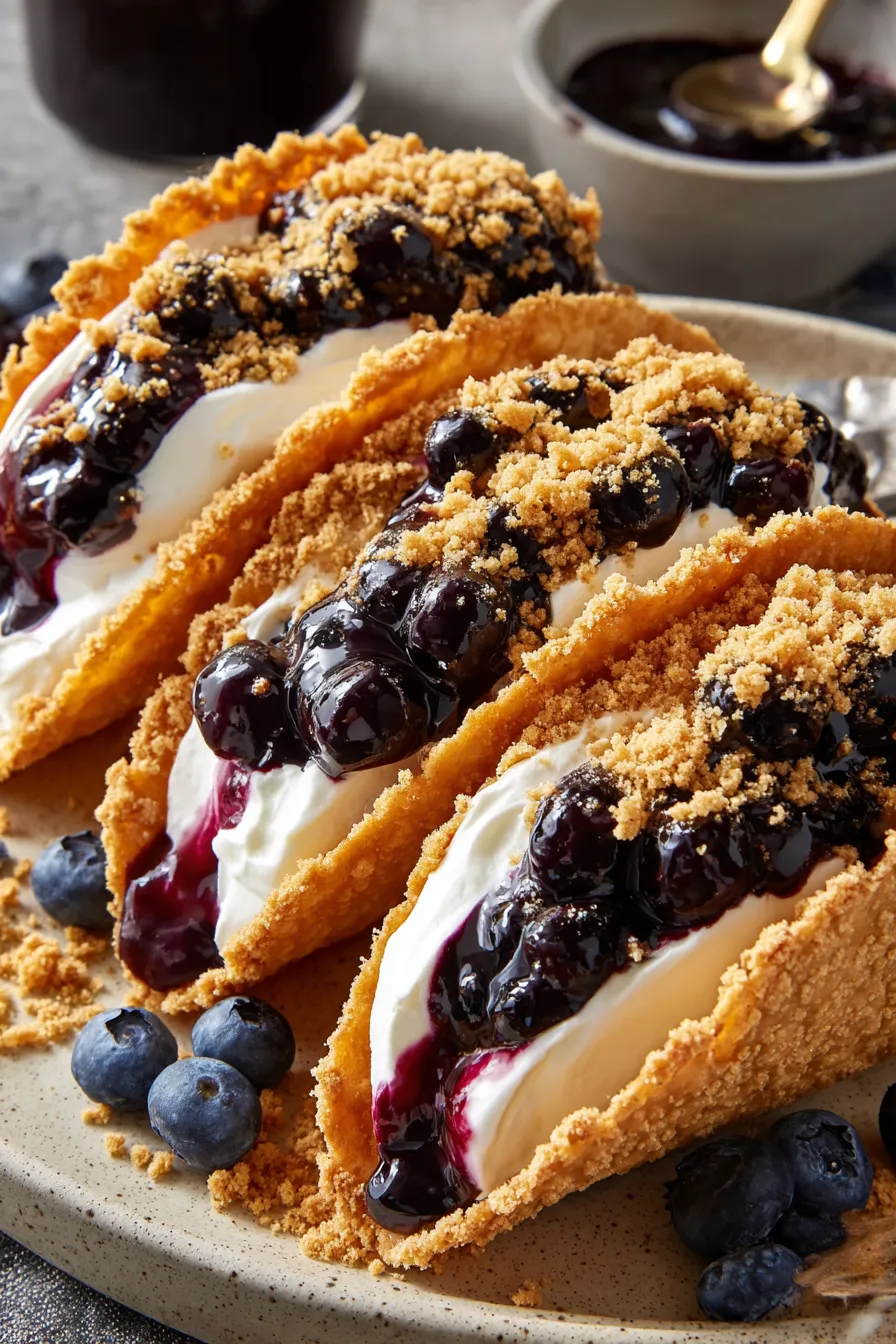
Crisp graham-coated tortilla shells filled with a silky cream cheese and whipped cream filling, topped with bright blueberry pie filling—an easy, playful dessert perfect for parties and afternoon treats.
This playful dessert started as a late-afternoon experiment when I wanted something handheld that tasted like cheesecake but felt like a fun party bite. I first made these Blueberry Cheesecake Taco Shells on a rainy Saturday while hosting a small book club; everyone loved the contrast between the crisp, graham-coated shell and the pillowy, tangy filling. The idea came from wanting a component that held up to a creamy filling without getting soggy, and shaping tortillas over a muffin tin solved that perfectly.
What makes this version special is the graham cracker coating that browns into a buttery, crunchy crust, and the filling that balances cream cheese richness with the lightness of whipped cream and a bright note of lemon zest. The blueberry pie topping adds a jammy burst of sweetness and texture. These little handheld treats are easy enough for a weeknight dessert yet impressive enough for celebrations—kids and adults both reach for seconds. I remember one friend who said they were the best portable cheesecake they'd ever eaten; that comment made me smile and confirmed this should stay in my entertaining rotation.
In my experience, these are always the dish that disappears first. My family loved the way the graham-coating browned and created little pockets of crunchy sweetness; even picky eaters who usually avoid anything with cream cheese asked for more. The recipe taught me that bending tortillas into shapes and giving them a sweet crust is a simple technique that elevates humble ingredients into something memorable.
What I love most is how reliably these come together: a little assembly and a short chill time deliver a dessert that looks composed and tastes like effort went into it, even when you started from pantry staples. Friends always comment on the contrast of textures and how the blueberry topping makes each bite pop.
Store baked shells in an airtight container at room temperature on a paper towel-lined layer to absorb any residual moisture. If you plan to store assembled shells, keep the blueberry topping separate and add it just before serving; assembled shells will stay acceptable in the fridge for 24-48 hours but may soften after that. To freeze shells, cool completely, stack with parchment between layers, and place in a sealed bag for up to 3 months. Reheat briefly in a 325°F oven for 5 minutes to refresh crunch before filling.
For a gluten-free version, use certified gluten-free tortillas and gluten-free graham crumbs or crushed gluten-free cookies. To reduce dairy, substitute 8 ounces Mascarpone blended with a non-dairy whipped topping, and use coconut cream whipped in place of heavy cream—note the flavor will shift and texture will be lighter. For less sweet options, use plain crushed digestive biscuits and reduce powdered sugar to 2 tablespoons, balancing with a touch more lemon zest.
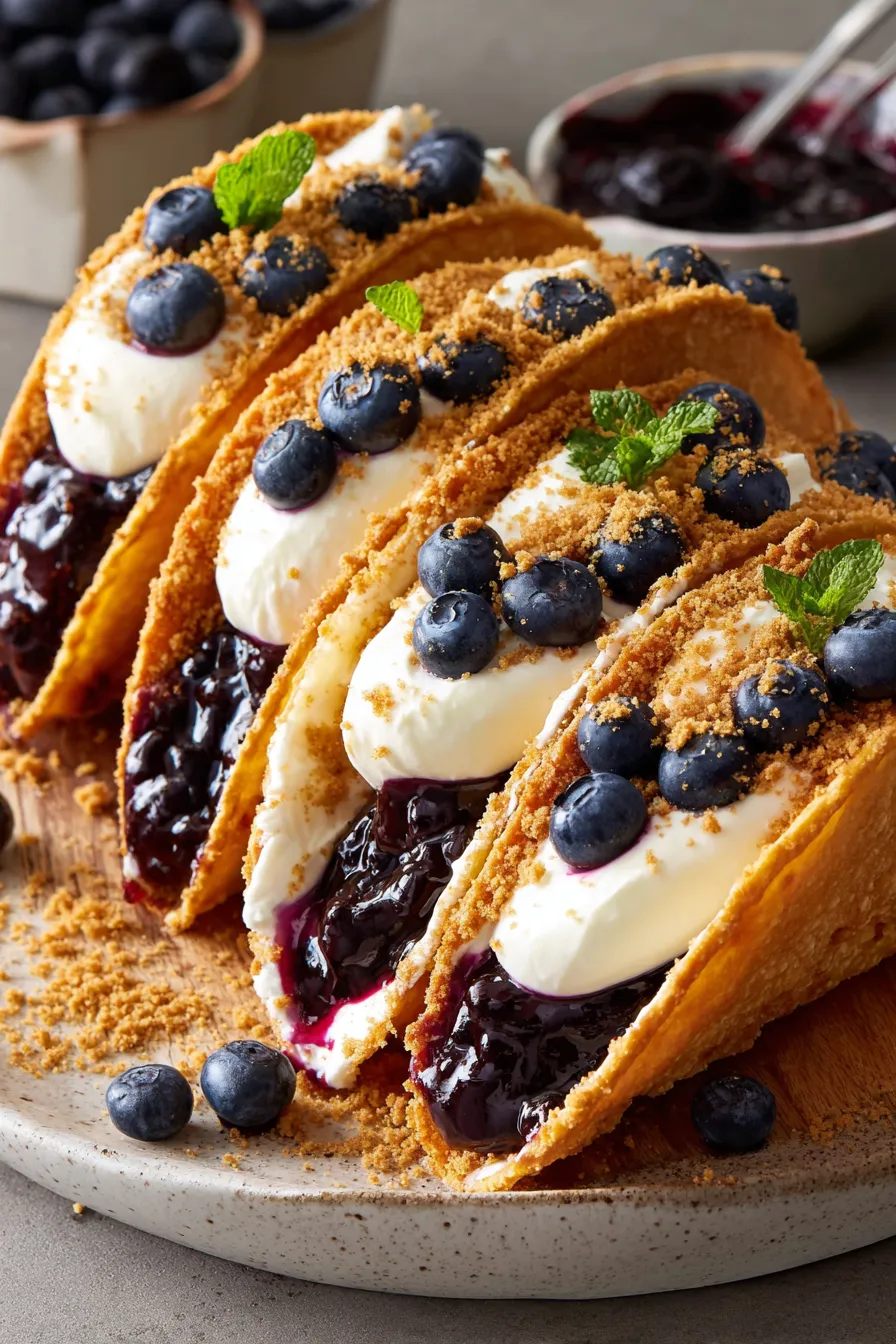
Serve these on a dessert platter garnished with fresh mint leaves and a dusting of extra graham crumbs. Pair with espresso, a floral tea, or a sparkling wine for celebrations. For a brunch spread, present alongside lemon curd tarts and fresh fruit. To make a dessert bar, offer different fillings—strawberry, peach, or chocolate ganache—and let guests fill shells to their preference.
These handheld treats are an American-inspired mash-up: the graham crust echoes the classic New York-style cheesecake crust, while the taco shape borrows playfully from Mexican street food presentation. Handheld desserts have been growing in popularity for entertaining—mini cheesecakes, tartlets, and hand pies—because they offer portion control without sacrificing elegance, and this version fits easily into that tradition.
In summer, swap the canned blueberry filling for lightly macerated fresh berries with a touch of sugar and lemon. In fall, use warm spiced apple filling with a pinch of nutmeg. For the holidays, add a tablespoon of orange liqueur to the filling and top with cranberry-orange compote for a festive flavor profile.
Make the graham-coated shells a day ahead and store them at room temperature in an airtight container. Prepare the filling in the morning and keep it chilled; pipe moments before serving. If transporting, bring shells and filling in separate containers and assemble on-site—this keeps everything crisp and prevents spills. Use disposable or reusable pastry bags for easy filling at parties.
These Blueberry Cheesecake Taco Shells are a conversation-starter that combine familiar flavors with a playful form. Try them once and you’ll find they become a go-to for casual get-togethers and celebrations alike—simple to make, delightful to share, and endlessly adaptable.
Press graham crumbs firmly into the buttered tortilla rounds so they adhere and form a consistent crust when baked.
Chill the filling for at least 30 minutes to help it hold shape when piped into the shells.
Bake shells until golden at the edges; small ovens brown quickly, so check at 8 minutes during first试 bake to avoid over-browning.
Store baked shells airtight at room temperature for up to 48 hours; add the blueberry topping just before serving to keep shells crisp.
This nourishing blueberry cheesecake taco shells recipe is sure to be a staple in your kitchen. Enjoy every moist, high protein slice — it is perfect for breakfast or as a wholesome snack any time.
This Blueberry Cheesecake Taco Shells recipe makes perfectly juicy, tender, and flavorful steak every time! Serve with potatoes and a side salad for an unforgettable dinner in under 30 minutes.
Preheat oven to 400°F (200°C). In a bowl, mix 1 cup graham cracker crumbs with 1/2 teaspoon ground cinnamon and set aside. Melt 4 tablespoons unsalted butter in a shallow dish for dipping.
Cut 4 to 5 rounds from each 8-inch tortilla using a 3.5–4 inch round cutter. Keep them stacked to prevent drying while you work.
Dip or lightly brush each round in melted butter, then press both sides into the graham-cinnamon mixture so crumbs adhere evenly. Tap off any excess butter to avoid soggy spots.
Drape each coated round over inverted muffin cups to form a taco shell. Bake for about 10 minutes until crisp and golden at the edges. Cool completely on the pan to set the shape.
Beat 1 cup chilled heavy cream and 8 ounces room-temperature cream cheese until smooth and fluffy. Add 1 teaspoon lemon zest, 1 teaspoon vanilla extract, and 1/4 cup powdered sugar. Beat until silky and combined.
Cover and refrigerate the filling for 30 minutes to thicken. Transfer to a piping bag and pipe into each cooled shell, finishing with 1 teaspoon blueberry pie filling and a sprinkle of graham crumbs.
Serve immediately or store baked shells in an airtight container for up to 48 hours. If storing assembled, keep blueberry topping separate and add before serving to maintain crispness.
Last Step: Please leave a rating and comment letting us know how you liked this recipe! This helps our business to thrive and continue providing free, high-quality recipes for you.
Leave a comment & rating below or tag
@royalmorsel on social media!

Juicy beef, sweet-charred peppers, and a silky queso drizzle turn these sliders into the ultimate crowd-pleasing bite for game day or weeknight fun.

Melt-in-your-mouth braised short ribs nestled over creamy garlic mashed potatoes, all in a rich, herb-scented sauce that feels like a warm hug.

Golden, garlicky pull-apart loaf swaddled in buttery herbs and stretchy mozzarella that begs to be shared warm from the oven.
Leave a comment & rating below or tag @royalmorsel on social media!
Enjoyed this recipe? Share it with friends and family, and don't forget to leave a review!
This recipe looks amazing! Can't wait to try it.
Comments are stored locally in your browser. Server comments are displayed alongside your local comments.

Join to receive our email series which contains a round-up of some of our quick and easy family favorite recipes.
