
>>

Purple peanut-butter cookies crowned with a chocolate kiss — spooky, chewy, and perfect for Halloween parties and classroom treats.
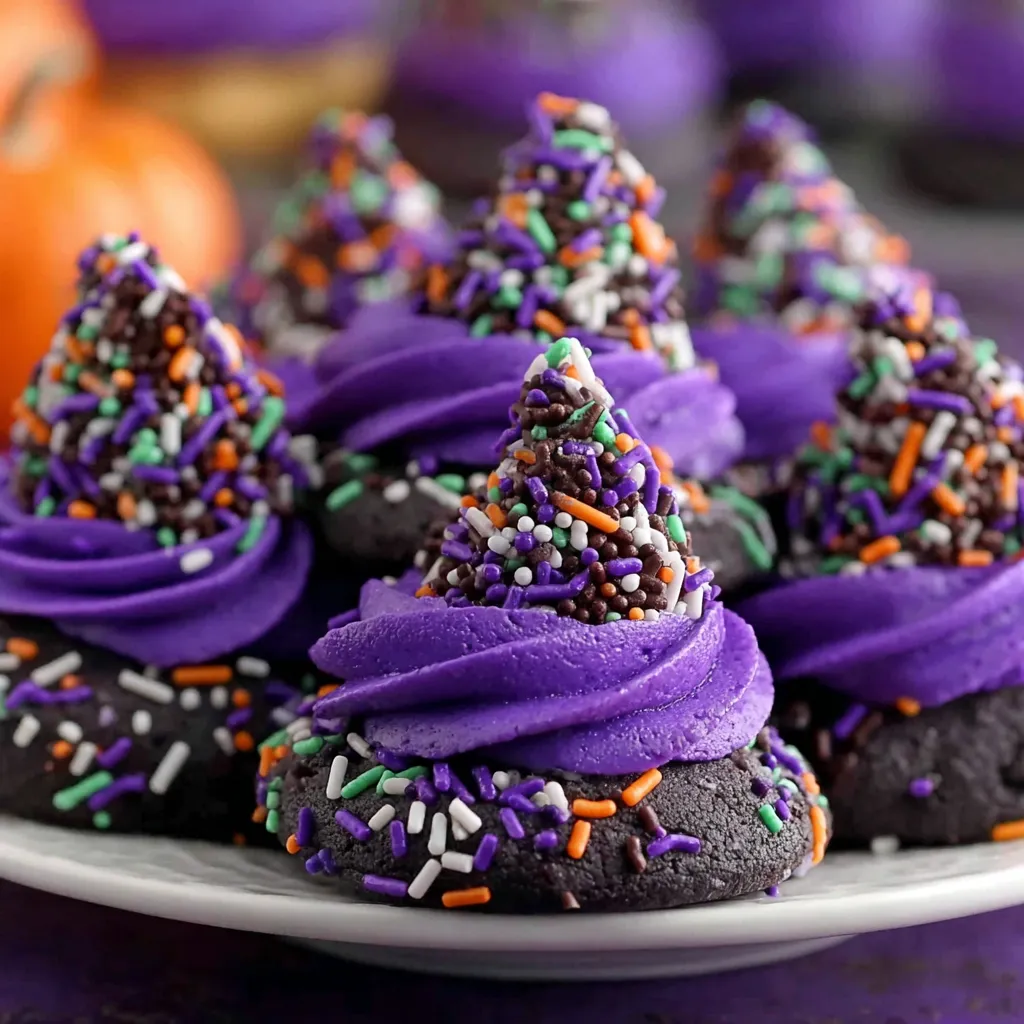
This recipe for the best Witch Hat Halloween Cookies is the sort of thing that turns a simple cookie tray into a conversation starter. I first made these on a blustery October evening when my nieces came over to help with decorations; the sight of little purple domes topped with shiny chocolate kisses felt delightfully witchy, and the aroma of peanut butter and warm sugar in the kitchen made the whole house feel like a cozy, silly spell. These cookies are soft, slightly chewy, and just sweet enough — the crisp outer crack and tender interior paired with that final chocolate hat are what keeps everyone coming back for more.
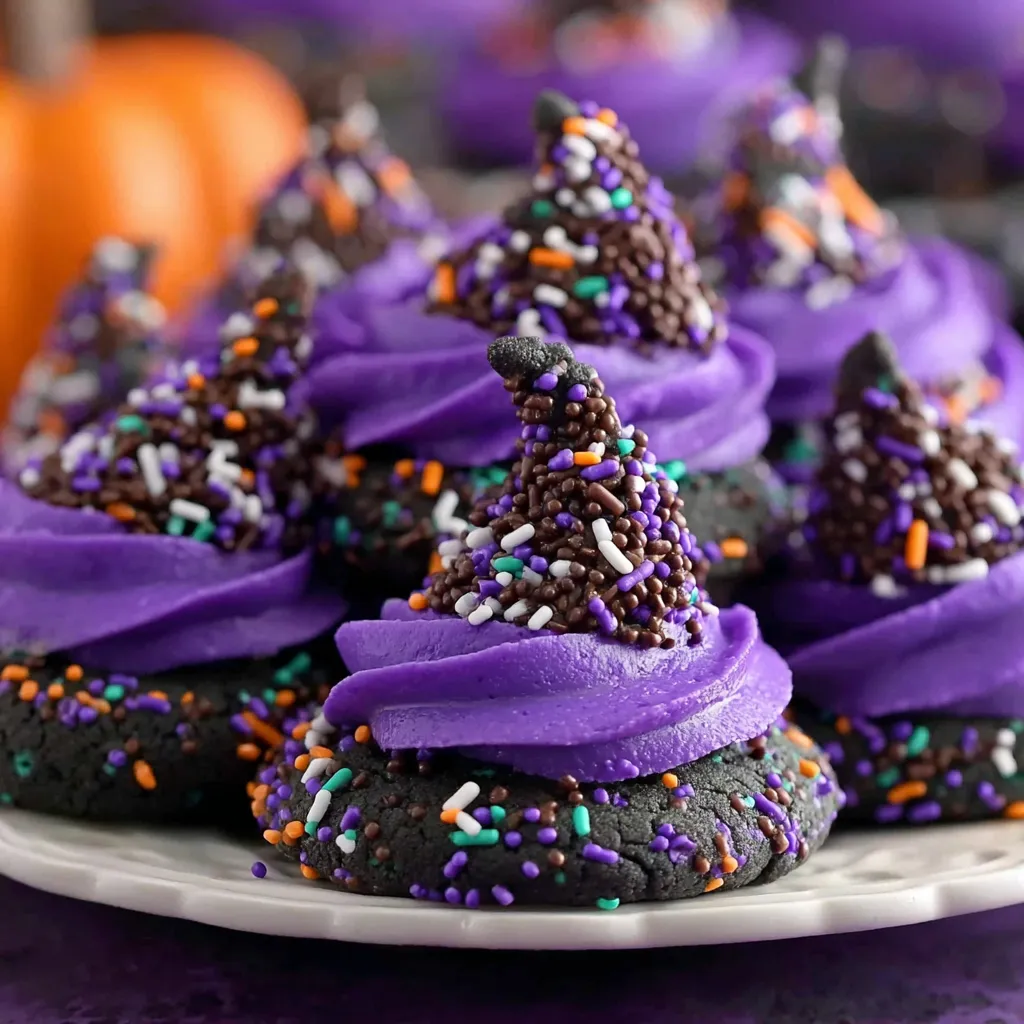
I discovered the method while adapting a classic drop cookie to make thicker, more pronounced rounds that could hold a chocolate hat without flattening. The tricks are simple: a touch of cornstarch for tenderness, a solid chill period to prevent spreading, and rolling the dough in sanding sugar so the surface glitters like a witch's hat under moonlight. I use smooth peanut butter for richness and a purple gel for vivid color — the result is whimsical but reliable. Every year at Halloween gatherings, these cookies are the first to disappear; friends love the balance of peanut butter and chocolate, and kids adore the purple. If you're baking for a crowd or a classroom, this batch scales well and keeps its shape during transport.
From the first test batch I made, family reaction was enthusiastic — my usually stoic brother declared them "dangerously good," and my niece insisted each cookie needed a glitter sticker next to it. The purple color and chocolate hat consistently win over both adults and children, and I love that a small change in chilling time can make these either slightly spread or delightfully domed to suit your preference.
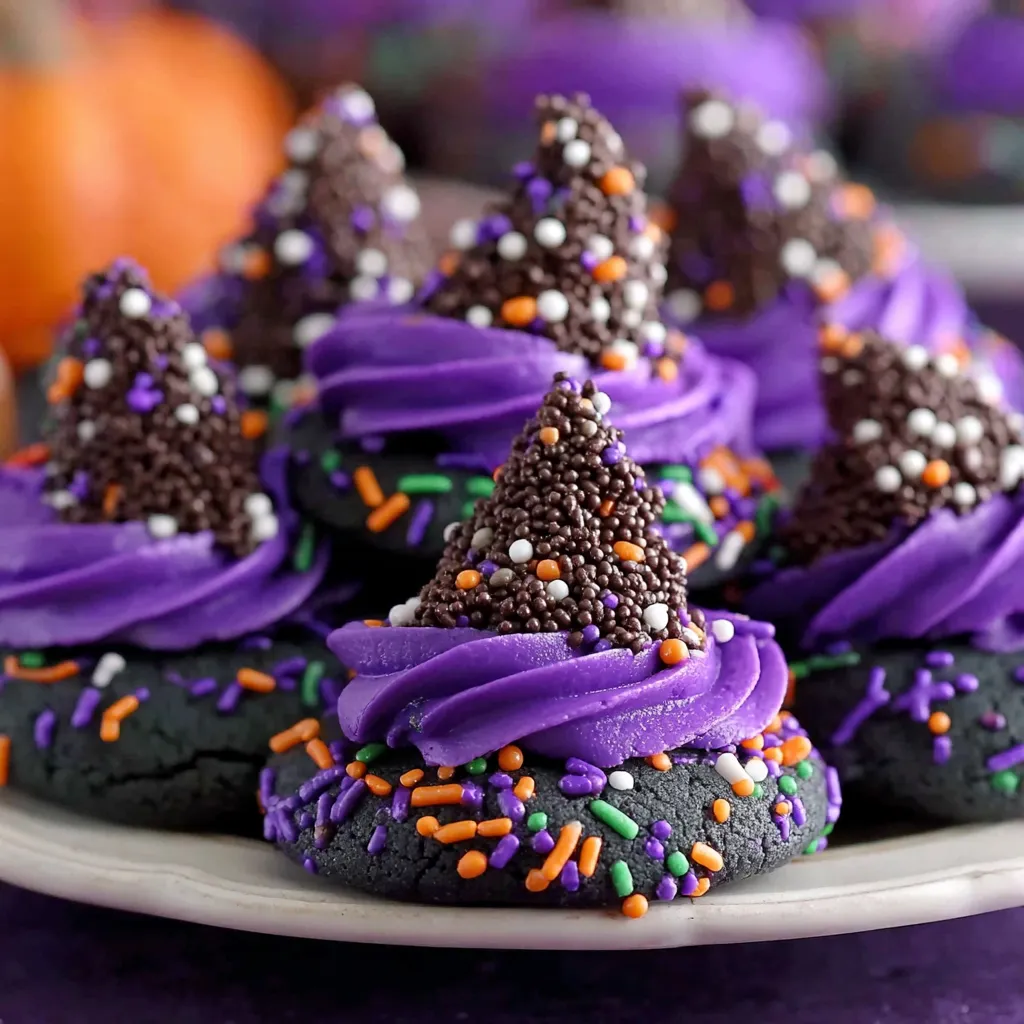
My favorite part of this recipe is the ritual of unwrapping each kiss and placing it atop the warm cookie; it feels like a tiny finishing touch that transforms a cookie into a themed bite. I've gifted trays of these to neighbors and received notes asking for the "purple ones" by name — they have a way of sticking in people's memories.
Store at room temperature in an airtight container layered with parchment paper to prevent sticking; they'll stay fresh for 3–4 days. For longer storage, freeze baked cookies in a single layer, then stack with parchment and place in a sealed freezer bag for up to 3 months. To refresh slightly stale cookies, heat them for 6–8 seconds in a microwave or 3 minutes in a 300°F oven — avoid overheating the chocolate. If you plan to transport the cookies, pack in a single layer or with sturdy dividers to keep the chocolate hats intact.
If you need to avoid peanuts, substitute almond butter or sunbutter at a one-to-one ratio; expect a subtle flavor shift and slightly different fat content that may alter spread a hair. For a dairy-free option, use dairy-free chocolate and swap butter for a plant-based stick butter (measure the same). To make them gluten-free, use a 1:1 gluten-free flour blend with xanthan gum included. Be cautious substituting natural unsweetened peanut butter — because of oil separation reduce any additional oil and chill the dough longer to maintain shape.
Arrange the cookies on a themed platter with edible spider web doilies, or stack them in cones lined with parchment for party favors. They pair nicely with a glass of cold milk, pumpkin spice latte, or even salted caramel for adults. Garnish with tiny candy eyes for a whimsical touch or add a drizzle of white chocolate to create a moonlit effect over the purple hat at a Halloween gathering.
These playful treats are an American take on decorated drop cookies, borrowing the idea of a candy-topped cookie like a kiss cookie and dressing it in Halloween colors. Decorating cookies for seasonal celebrations goes back centuries, and Halloween in the U.S. has evolved into a time for themed confections that blend nostalgia, color, and approachable techniques for home bakers.
For other holidays, tweak the color and topping: red or green sanding sugar with peppermint kisses for Christmas, pastel colors and white chocolate buttons for spring, or orange sanding sugar with caramel-filled chocolates for Thanksgiving. You can also switch the peanut butter to nut-free seed butter and change the candy crown to a caramel disc for a fall-flavored variation.
Make the dough a day ahead and portion it on sheet trays to chill; this saves time on the day of baking. Bake in multiple rounds and store cooled cookies in airtight containers separated by parchment. If assembling for a classroom, place cookies and unwrapped candies in separate bowls and let kids press a hat on their cookie to avoid melting and sticky fingers.
These witch hat cookies are fun, forgiving, and endlessly adaptable. Whether you're baking with kids, prepping for a party, or making a memorable treat to hand out, they bring color, texture, and a bit of Halloween magic to your table. Make them your own, and don't be surprised if they become an annual request.
Chill the dough for at least 2 hours to prevent spreading and create a domed cookie for the chocolate hat.
Use a gel food coloring and add little by little to avoid over-darkening the dough.
Press the chocolate kiss into the cookie while slightly warm, then chill immediately to avoid melting.
This nourishing best witch hat halloween cookies recipe is sure to be a staple in your kitchen. Enjoy every moist, high protein slice — it is perfect for breakfast or as a wholesome snack any time.
Yes — the dough benefits from at least 2 hours of chilling; overnight chilling yields a thicker, domed cookie.
Use a 1:1 gluten-free flour blend with xanthan gum and monitor texture; cookies may be slightly crumblier.
This Best Witch Hat Halloween Cookies recipe makes perfectly juicy, tender, and flavorful steak every time! Serve with potatoes and a side salad for an unforgettable dinner in under 30 minutes.
Whisk the all-purpose flour, cornstarch, baking soda, baking powder, and fine sea salt in a large bowl until evenly combined. Set aside.
Use a mixer to beat the softened unsalted butter and white sugar for 2 minutes until light and fluffy. Add the egg and beat until incorporated.
Mix in the smooth peanut butter and vanilla extract until fully combined, scraping the bowl sides as needed for an even mixture.
Fold the dry ingredients into the wet mixture until a uniform dough forms. Add purple gel food coloring gradually and finish by hand to remove streaks.
Portion dough using a 1-tablespoon scoop onto a tray, cover with plastic, and chill for at least 2 hours or overnight to prevent spreading.
Preheat oven to 350°F. Roll chilled dough balls in Halloween sprinkles or purple sanding sugar and arrange 2 inches apart on parchment-lined trays.
Bake for 9–11 minutes until puffed and beginning to crack. Remove and let rest 5 minutes, then press an unwrapped chocolate kiss into each warm cookie and chill 10 minutes.
Transfer to a wire rack to finish cooling. Store in an airtight container for up to 4 days or freeze for up to 3 months.
Last Step: Please leave a rating and comment letting us know how you liked this recipe! This helps our business to thrive and continue providing free, high-quality recipes for you.
Leave a comment & rating below or tag
@royalmorsel on social media!

Juicy beef, sweet-charred peppers, and a silky queso drizzle turn these sliders into the ultimate crowd-pleasing bite for game day or weeknight fun.

Melt-in-your-mouth braised short ribs nestled over creamy garlic mashed potatoes, all in a rich, herb-scented sauce that feels like a warm hug.

Golden, garlicky pull-apart loaf swaddled in buttery herbs and stretchy mozzarella that begs to be shared warm from the oven.
Leave a comment & rating below or tag @royalmorsel on social media!
Enjoyed this recipe? Share it with friends and family, and don't forget to leave a review!
This recipe looks amazing! Can't wait to try it.
Comments are stored locally in your browser. Server comments are displayed alongside your local comments.

Join to receive our email series which contains a round-up of some of our quick and easy family favorite recipes.
