
>>

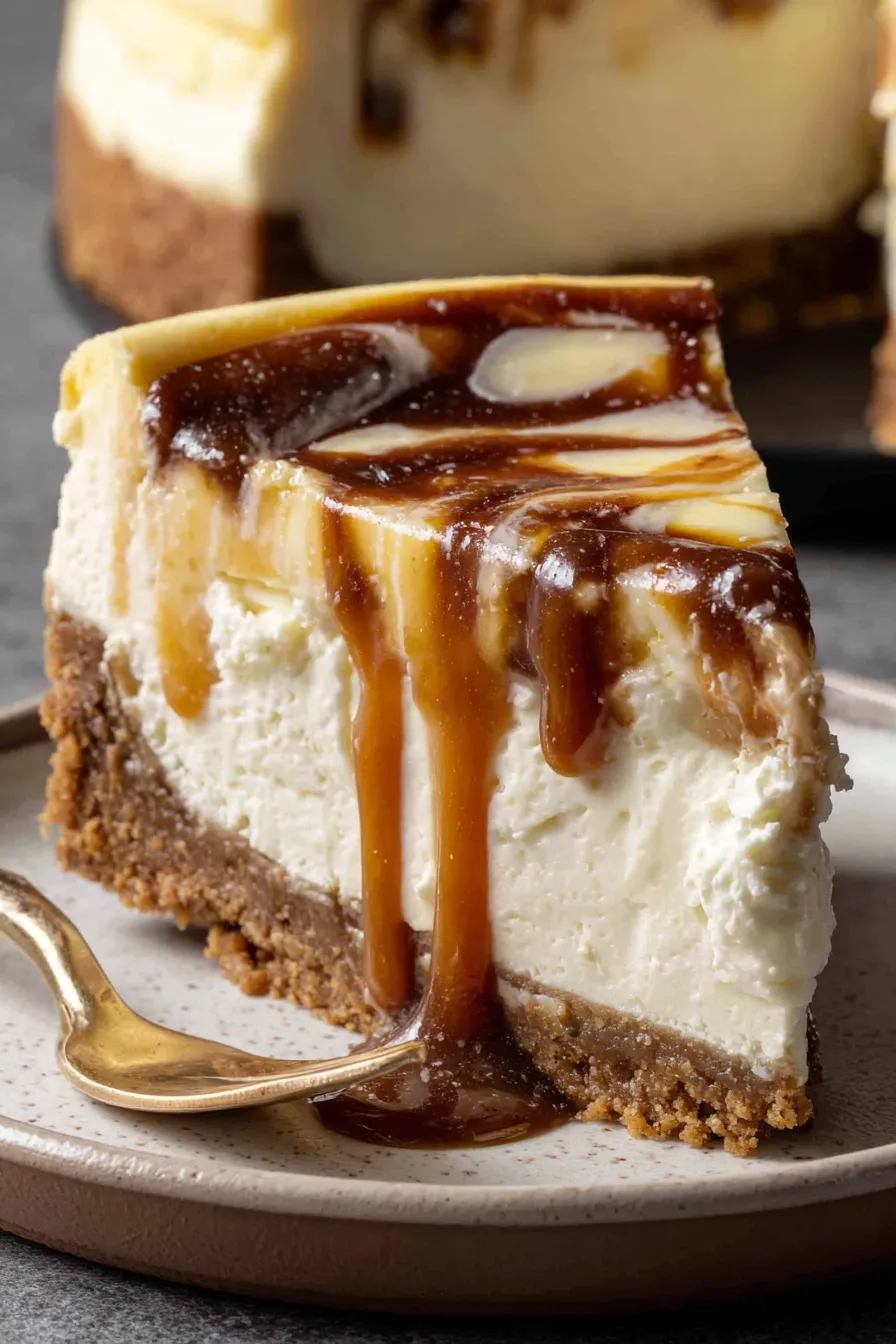
A creamy no-bake cheesecake with a cinnamon graham crust and ribbons of rich apple butter for a cozy, crowd-pleasing dessert.
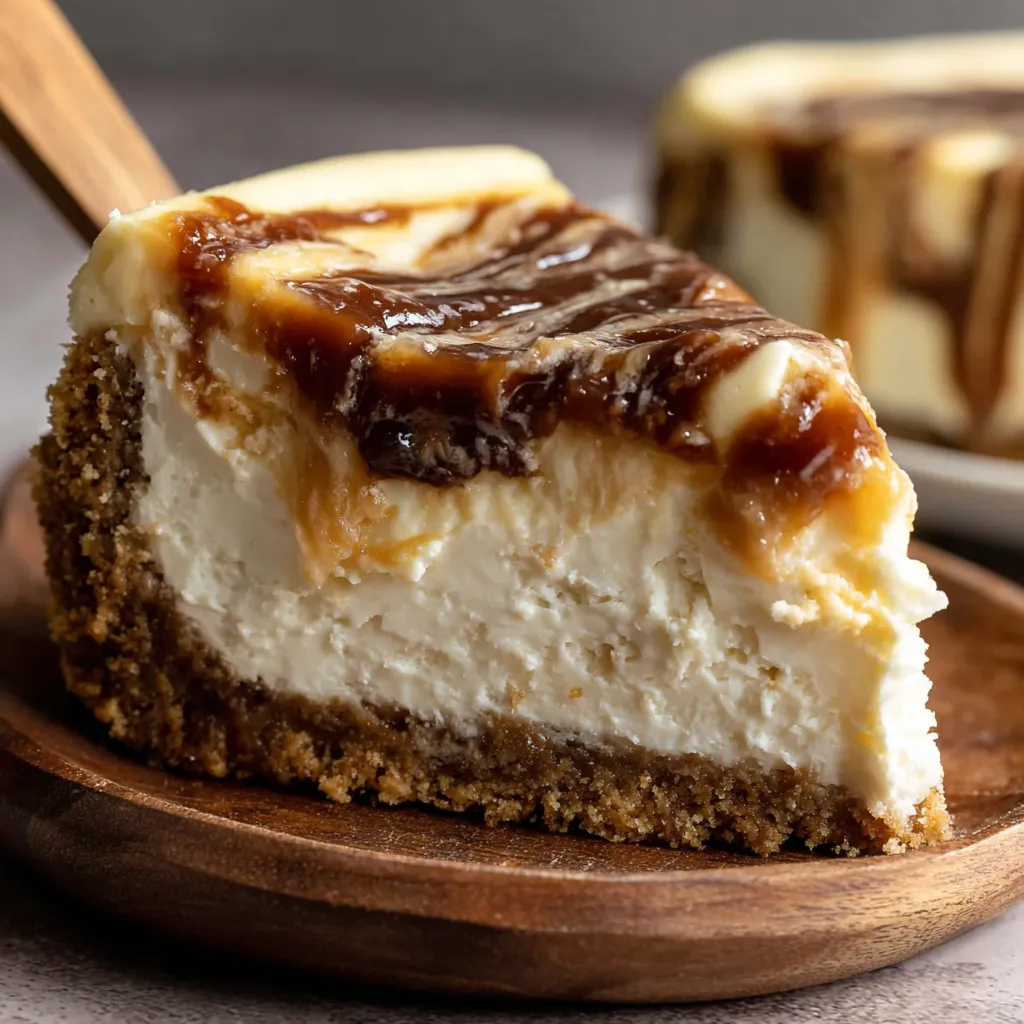
This Apple Butter Cheesecake is the kind of dessert that arrives at the table smelling like autumn and disappears before you can say "one more slice." I first made this no-bake version on a cool October evening when I wanted something both elegant and uncomplicated for a small family gathering. The buttery graham base gives a crisp contrast to the luxuriously smooth filling, and bright ribbons of apple butter add a warm, spiced sweetness that keeps each bite interesting.
I discovered the apple butter swirl idea while experimenting with jarred preserves one weekend. A simple dollop turned into a visual swirl and a layered flavor that elevates a classic cheesecake texture. What makes this preparation special is the balance of tang from the cream cheese and lemon, the airy richness from whipped heavy cream, and the deep, concentrated apple notes from the apple butter. It sets without baking, so it stays perfectly creamy and light, while the cinnamon in the crust ties everything together with a subtle spice aroma that fills the kitchen and gets my family excited before dessert even hits the table.
My family always gravitates toward this cheesecake at parties. I remember bringing one to a holiday potluck where everyone asked for the recipe and the host told me it tasted like a bakery version but homemade. That kind of feedback keeps me coming back to this simple, reliable preparation.
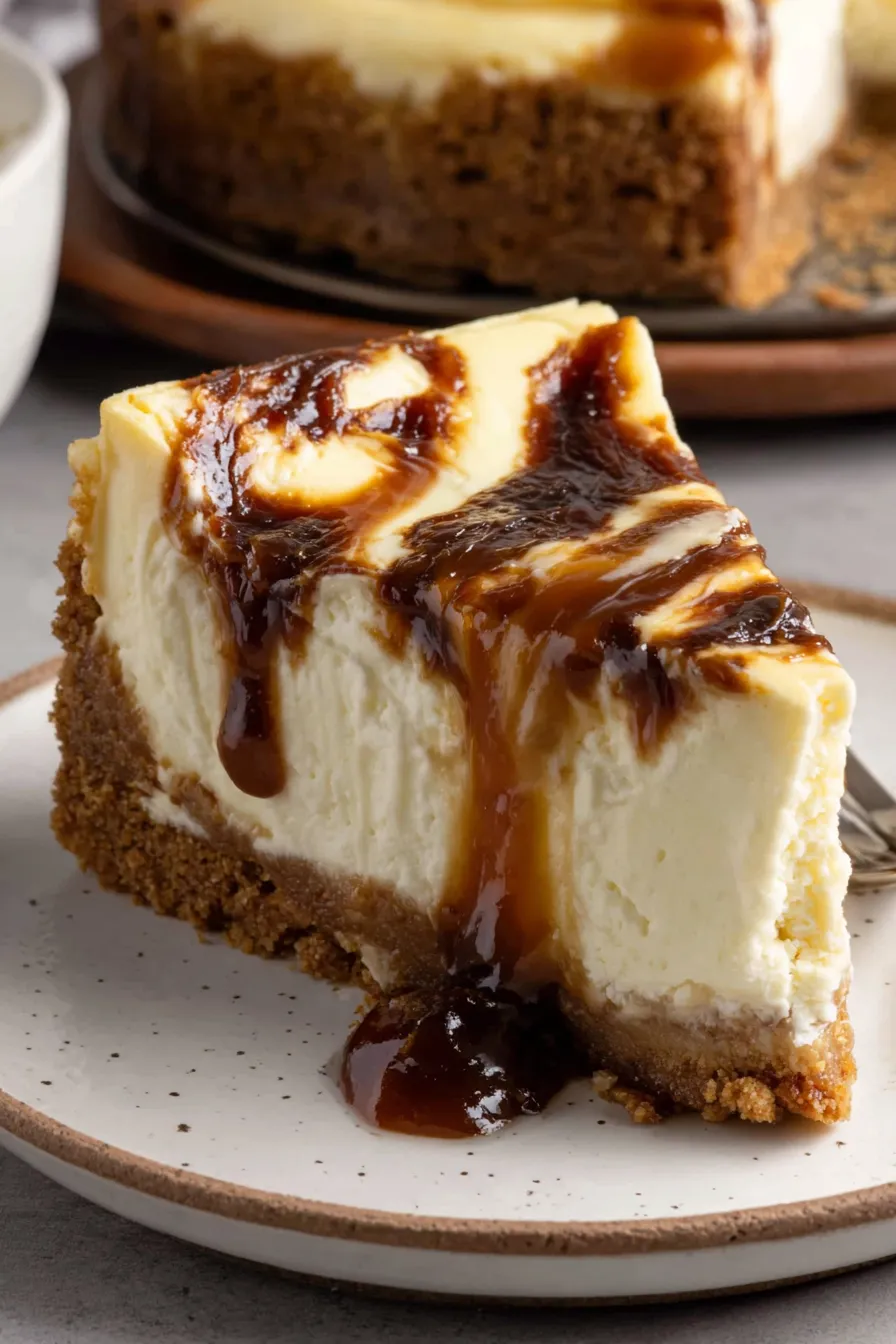
My favorite part is how the apple butter threads through the creamy filling to give each bite a surprise of concentrated apple flavor. At a recent family gathering a cousin asked if I had bought the cake from a bakery, which felt like the highest compliment. The combination of texture, temperature, and spice makes it a repeat favorite for seasonally themed dinners and casual Sunday treats alike.
Store the chilled cheesecake in the refrigerator tightly covered with plastic wrap or an airtight cake container to prevent it from absorbing other fridge odors. Properly stored, slices will keep their texture for up to four days. For longer storage freeze individual slices wrapped first in parchment and then in aluminum foil or in airtight freezer-safe containers; thaw overnight in the refrigerator before serving. When reheating slightly, bring to room temperature for 20 minutes prior to slicing so the filling loosens and yields clean cuts.
If you need a gluten-free base, substitute gluten-free graham crumbs or use finely ground almond flour mixed with a little sugar and melted butter; expect a slightly different texture and nuttier flavor. For a lighter option replace heavy cream with whipped aquafaba to mimic volume for a dairy-free adaptation, though this shifts flavor and removes the characteristic richness. Swap apple butter with spiced pear butter or fig jam for a different fruit profile. If you prefer a less sweet finish reduce sugar to 3/4 cup and increase the lemon juice by a small pinch to maintain balance.
Serve chilled slices on dessert plates with a small spoonful of warm apple compote or a dollop of freshly whipped cream for contrast. Sprinkle toasted chopped pecans or candied walnuts around the plate to add crunch and a toasted flavor. For an elegant presentation garnish the rim with thin apple slices brushed with lemon and lightly caramelized in a hot pan. This dessert pairs well with a lightly spiced tea or a late-harvest Riesling for a special occasion.
Make this cheesecake feel seasonal by switching the swirl component: fall calls for apple butter as written, winter benefits from cranberry-apple preserves, and spring works nicely with rhubarb compote. Adjust spices in the crust and apple butter to be warmer in winter by adding a pinch of ground cloves or nutmeg. For a summer twist use a lemon curd swirl and serve with fresh berries to brighten the profile while keeping the same easy no-bake technique.
To make ahead for a party prepare the crust and filling the day before but hold off on swirling the apple butter until just before chilling to maintain a bold visual swirl. Portion slices into individual containers if packing for an event to prevent damage during transport. Use shallow airtight containers so slices remain upright and stable. For best results plan refrigeration space and allow at least one hour of resting at room temperature before serving so flavors emerge and the texture softens slightly.
Friends have told me this cheesecake is their go-to for potlucks because it travels well and can be served directly from the springform pan. One memorable success was a holiday brunch where I assembled two cakes the night before; both were gone within an hour and several guests requested my measurements. That consistent positive feedback has made this dessert a trusted standby for celebrations where I want something that looks impressive but is truly effortless.
Bring this dessert to your next gathering and watch it become a favorite. The creamy texture, apple-rich swirls, and buttery crust are a simple luxury worth repeating.
Soften cream cheese to room temperature for at least 30 minutes to ensure a lump-free filling.
Use a cold bowl and chilled beaters when whipping heavy cream to achieve stable volume.
Press the crust firmly and chill briefly before adding the filling to reduce crumbling.
Run a sharp knife under hot water and dry it between slices for clean cheesecake portions.
Allow the assembled cheesecake to rest overnight for best flavor and texture development.
This nourishing apple butter cheesecake recipe is sure to be a staple in your kitchen. Enjoy every moist, high protein slice — it is perfect for breakfast or as a wholesome snack any time.
This Apple Butter Cheesecake recipe makes perfectly juicy, tender, and flavorful steak every time! Serve with potatoes and a side salad for an unforgettable dinner in under 30 minutes.
Spray a 9 inch springform pan with nonstick spray and line the bottom with parchment if desired to prevent sticking.
Combine graham cracker crumbs and cinnamon, add melted butter and mix until all crumbs are moistened. Press into the bottom and up the sides of the pan and chill to firm.
Beat softened cream cheese with sugar until smooth. Add heavy cream and lemon juice and beat until light and fluffy, scraping the bowl as needed for an even texture.
Pour filling into chilled crust, dollop apple butter on top, and gently swirl with a knife to create marbling without disturbing the crust edges.
Refrigerate the assembled cheesecake for at least 6 hours or overnight until fully firm before slicing and serving.
Last Step: Please leave a rating and comment letting us know how you liked this recipe! This helps our business to thrive and continue providing free, high-quality recipes for you.
Leave a comment & rating below or tag
@royalmorsel on social media!

Juicy beef, sweet-charred peppers, and a silky queso drizzle turn these sliders into the ultimate crowd-pleasing bite for game day or weeknight fun.

Melt-in-your-mouth braised short ribs nestled over creamy garlic mashed potatoes, all in a rich, herb-scented sauce that feels like a warm hug.

Golden, garlicky pull-apart loaf swaddled in buttery herbs and stretchy mozzarella that begs to be shared warm from the oven.
Leave a comment & rating below or tag @royalmorsel on social media!
Enjoyed this recipe? Share it with friends and family, and don't forget to leave a review!
This recipe looks amazing! Can't wait to try it.
Comments are stored locally in your browser. Server comments are displayed alongside your local comments.

Join to receive our email series which contains a round-up of some of our quick and easy family favorite recipes.
